Steps to install and configure a VPN Server on Windows 2008 R2 have changed to some extent as compared with Windows 2003. Though installing a VPN server in Windows 2008 server isn’t too difficult at all. You must install RRAS via. server manager as a ‘Role’ first.
Steps to Install the Services Essential for running a VPN Server
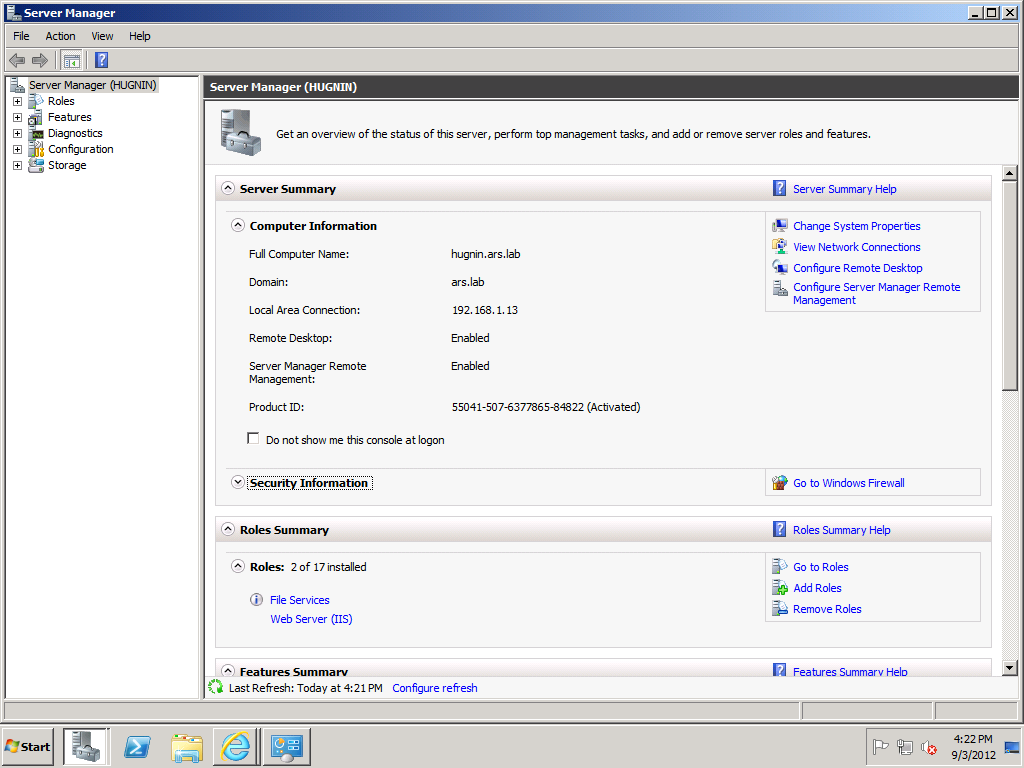
Step 1 – Go to the “Server Manager”
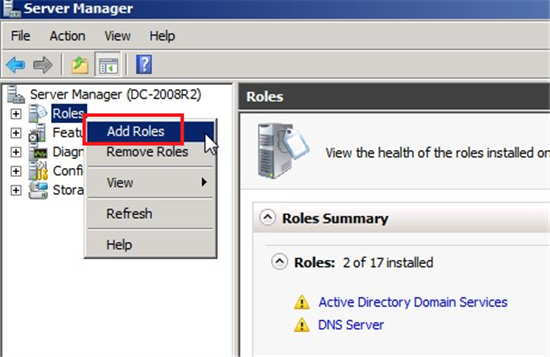
Step 2 – Look for the option termed “Action”, click it and proceed with Adding Roles.
Step 3 – You would be presented with an installation wizard. It is advisable to go through the requirements first and only then proceed further by clicking Next.
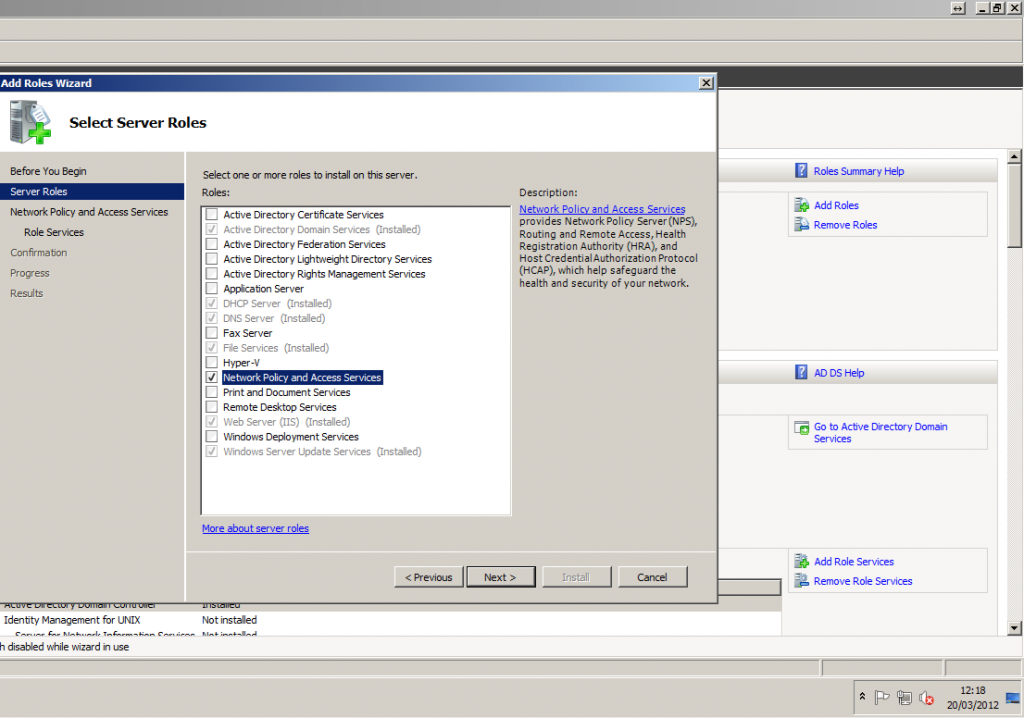
Step 4 – Upon clicking, you should be able to see a box titled “Select Server Roles“, here you must check-box against the option “Network Policy and Access Services” and hit the “Next” button to proceed.
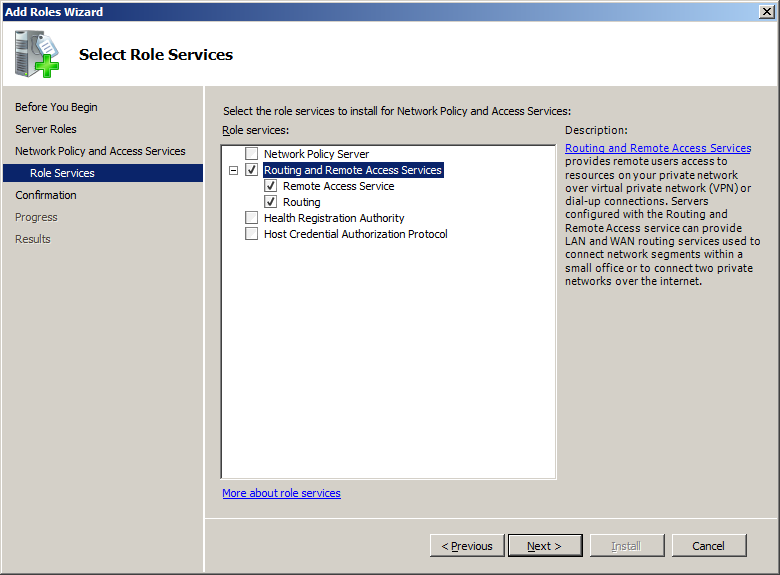
Step 5 – Next, you are required to check the box against the option named “Routing and Remote Access Services”. Upon checking the box two sub-boxes namely “Remote Access Service” and “Routing” would appear, you must also check those and hit the Next button to proceed.
Step 6 – It would then ask you to “Confirm Installation Selection”, in there a summary of anything that has been chosen for installation would be presented, you can cross-check everything here.
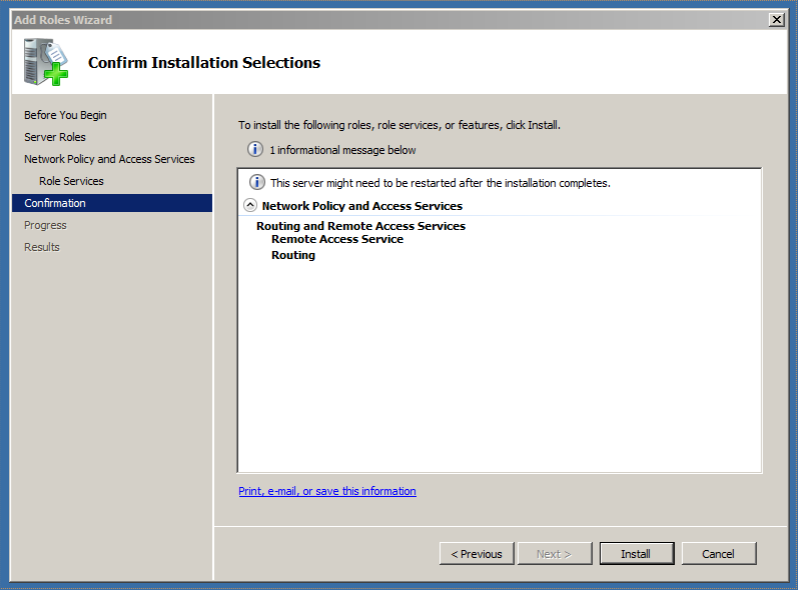
Step 7 – If everything is as per the expectations, you may proceed with clicking the “Install” button. Upon completion of the installation process, you may close the setup wizard.
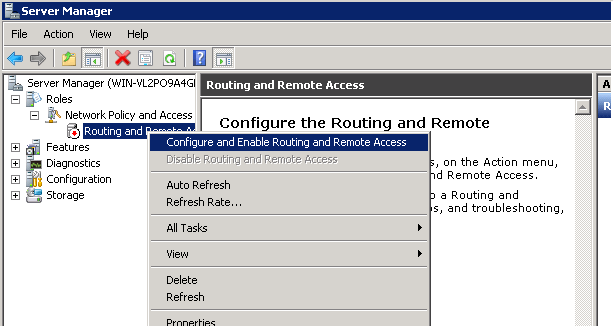
Step 8 – Now, you are expected to return to the Server Manager wherein you must right-click on “Configure and Enable Routing and Remote Access“ and hit the Next button.
Step 9 – Hit Next on the window “Routing and Remote Access Wizard“.
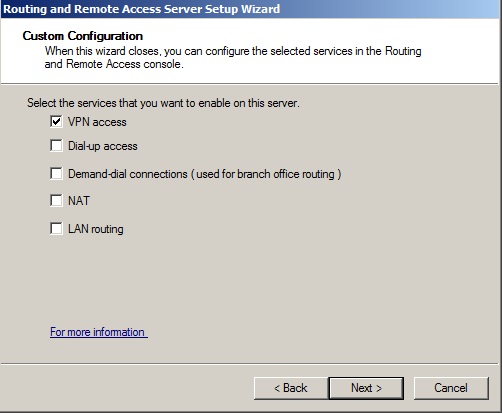
Step 10 – Choose “Custom Configuration” and hit “Next”
Step 11 – Check-box against “VPN access” and Hit “Next”
Step 12 – Hit the “Finish” button and click the “Start Service”
This completes the procedure, you’d then be taken to the main Server Manager screen. You can now see that the Routing and Remote access is up and running.
You can now change the settings in the Firewall to allow the ports necessary to run a VPN server. The following are the required ports :
Port 1723 TCP
Port 47 GRE
This concludes the process to install a VPN Server on Windows 2008 Server. If you need any assistance, please contact our support department via. our 24×7 Live Chat or send an email to [email protected] from your registered email id. with all the necessary details.
NOTE: We only allow VPN servers to be run on services such as Virtual Private Server, Semi-Dedicated, Cloud Hosting, and Dedicated Servers. Please contact our Sales Department to get a quote about the servers.
Like this post?
Share on your Social Networking Profile ( Facebook, Twitter & Google+ ) and get a flat 10% Recurring discount on our VPS Hosting and Dedicated Servers.
Email us the shared link at: [email protected] or speak to our live chat operator now, by clicking on the “Live Chat” Scroller on the left-hand side of this page.