This guide explains how to install WHMCS manually. It allows clients to include automation during the billing process. It also includes invoice generation, suspension, payment processing and account creation. WHMCS installation is possible through two processes: Manually and as site software.
Follow the process of installing WHMCS:
- Open the Download WHMCS website.
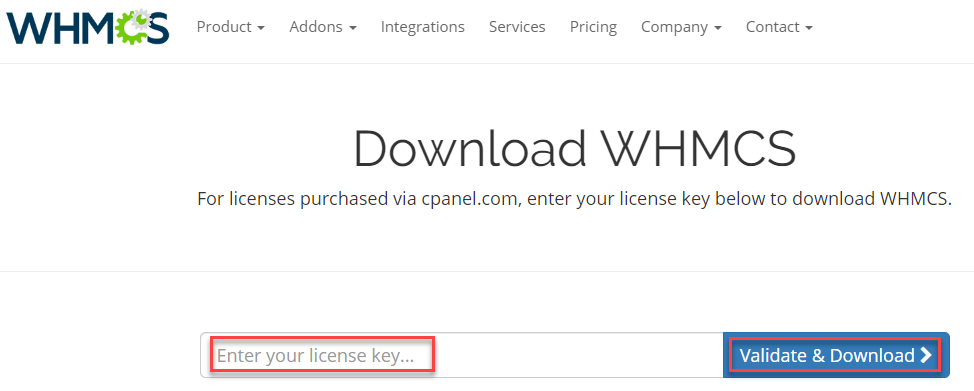
- You will enter the WHMCS dashboard, here you can enter the license key in the box provided.
- Click on the “Validate and Download” button.
- A “.zip” file will be downloaded that covers WHMCS files.
- You should unzip the file and save the data on your local computer.
- The “configuration.php.new” file in the WHMCS folder needs to be renamed to “configuration.php”.
- You need to upload the WHMCS folder to your website. If desired, rename the folder.
- Visit https://domain.tld/whmcs/install/install.php, where domain.tld represents your domain.
- WHMCS files can be uploaded to a directory other than public_html. Paste the path after your domain name in the URL.
- To complete the installation, follow the steps. The permissions of the directories need to be changed. Run the following commands to accomplish this:
chmod 400 configuration.php
chmod 777 attachments
chmod 777 downloads
chmod 777 templates_c
The installed directory should be deleted from the directory where you uploaded WHMCS. Use your license key to log into your WHMCS account.
This way you can install WHMCS manually. Hope you liked our article. For more such informative articles do visit our KB section regularly.