How to install the Zimbra Outlook Connector (ZCO)?
Here is a step-by-step procedure to install as well as configure Zimbra Outlook Connector. This Zimbra app. helps you to automatically synchronize every information ie. emails, contacts, calendars etc. into your Zimbra account.
It supports Outlook 2003, 2007 and 2010 as well.
Customers may download the latest Zimbra Outlook Connector (ZCO) from the Admin UI present on the Downloads page.
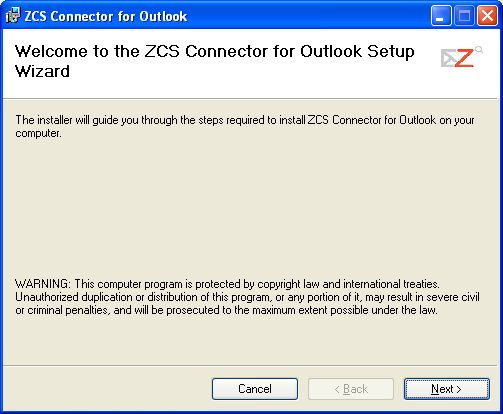
Once the installation initiates, an install Setup wizard screen would appear :
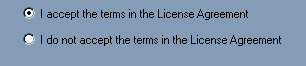
Click the “Next” tab where you would be prompted a license agreement page. By default, the selection is set to “I do not accept the terms in the License Agreement” :

You must choose the “I accept” option to proceed further :
Then, select the “Next” tab to start installing the application. Clicking on “next” will install the connector proper. As the Zimbra Outlook Connector supports Outlook 2003, 2007 and 2010, the connector would not install any previous version (such as 2002).
Incase you have a unsupported version, you’d be shown an error :
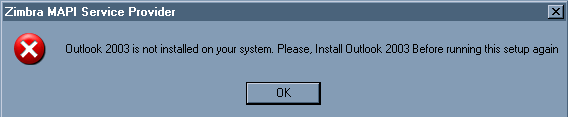
Our email servers support all outlook clients. You need to install the compatible outlook versions on your local machines. If the requirements match with the criteria of ZCO, you would be able to see :
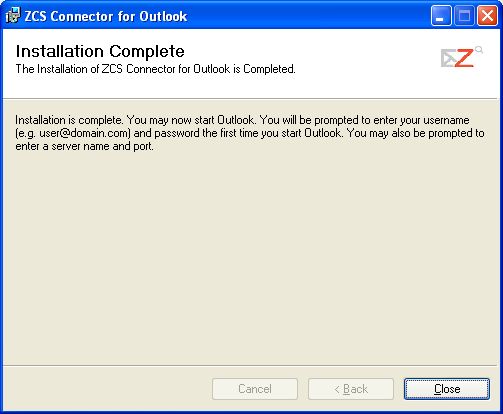
This completes the Zimbra Outlook Connector, you should now click the “Close” tab.
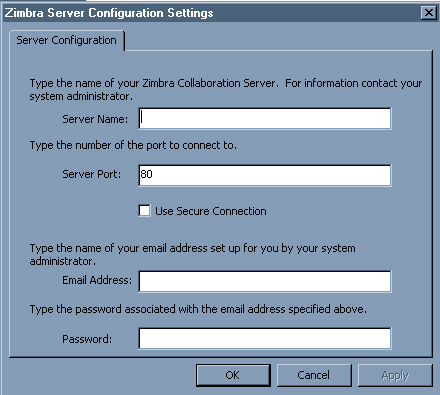
Since the ZCO is installed, you must now configure Outlook to establish a connection with the Zimbra Server. With the launch of Outlook 2003, you would be prompted by the new software to configure the Zimbra account with the below box :
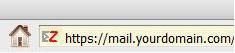
Here you must populate the Server Name field with the name of your mail server that hosts your Zimbra account. Inorder to confirm your mail server, you might want to login to your Zimbra account. Once logged-in, look the address-bar of your browser. The server name would be the suffix to “https://” and the prefix to “.com”

Here as you can see, here the server address is: mail.yourdomain.com:
If you do not have an SSL, the server port would be 80, whereas if you have an SSL the port should be changed to 443. Populate the email address and your password to proceed further.
On clicking the “OK” tab, your account would be configured and the Outlook would start synchronization with the Zimbra server. You probably might not view your emails appear instantly, as it would take some time to fetch your emails, contacts and calendars into Outlook. Though, you can view the progress in the progress bar :

On completion of the synchronization, you’d be set to go. Outlook would now automatically synchronize your contacts, calendars, and email with the Zimbra web client.