A. How to Download the Certificate
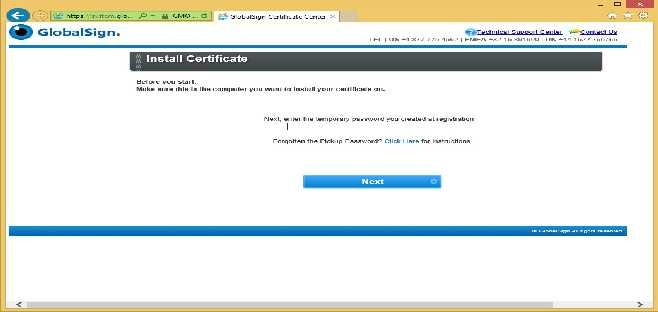
1. Follow the link in your pickup e-mail and enter the pickup password created when you placed your order.
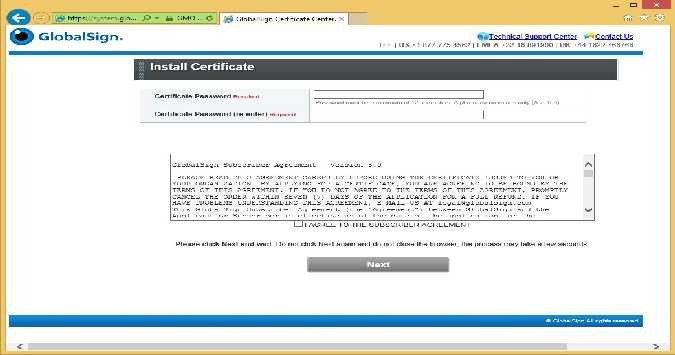
2. Create a 12+ character password for your certificate (alphanumeric only).This will be needed during certificate installation. Agree to the subscriber agreement and press next.
3. Click Download My Certificate to download your PKCS#12 file (.pfx):

4. Be sure to choose Save when prompted by your browser.
5. Save your certificate in a location you will remember and name it something you will remember. Press Save.

B. How to Install The Certificate
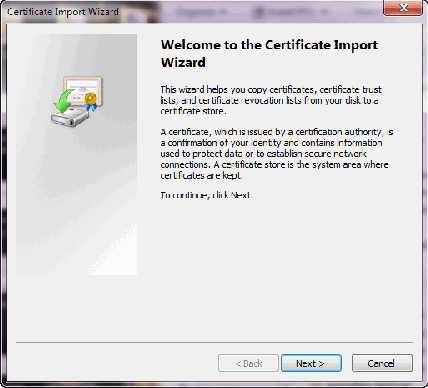
1. Double-click on the .pfx you just downloaded to open the Certificate Import Wizard.
Click Next.
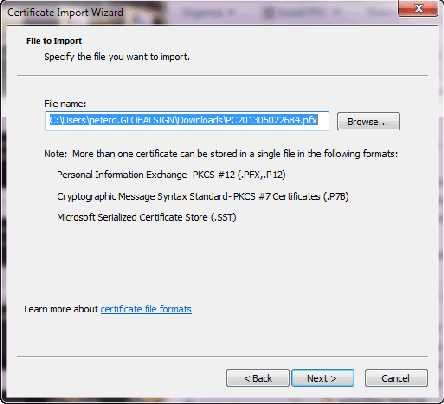
2. The file path is automatically selected. Click Next to continue:
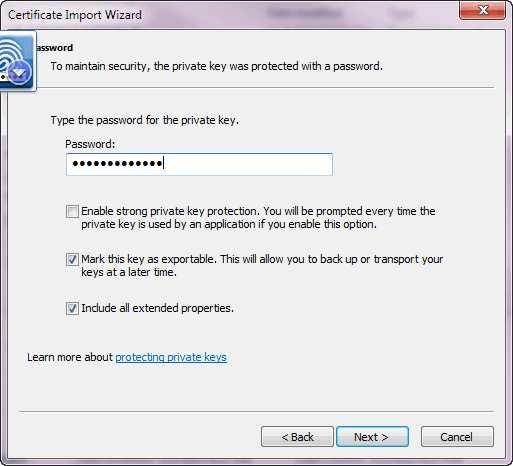
3. Enter the private key password. This is the password that was created when you downloaded the certificate. Check the following options:
- Mark this key as exportable.
- Include all extended properties – this will carry over all the certificate details during import.
Click Next.
4. Let the Certificate Import Wizard determine the best place for the installation.
Click Next.
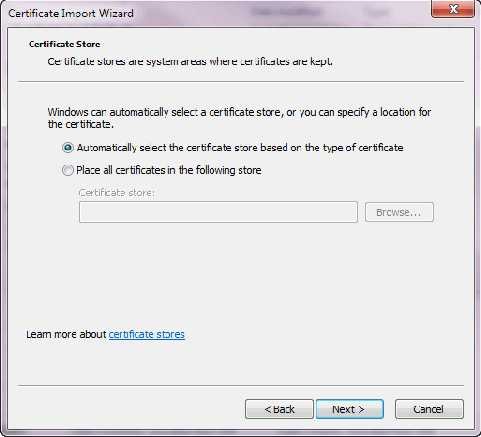
[alert]Note: In some instances, the certificate may not install under Personal. If this is the case then manually select the second option when rerunning the installation.[/alert]
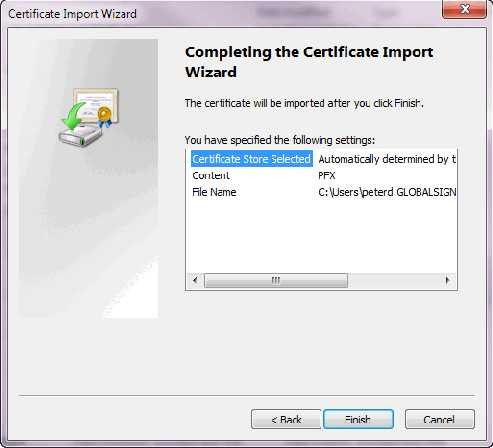
5. Click Finish.
6. Your certificate is successfully installed.
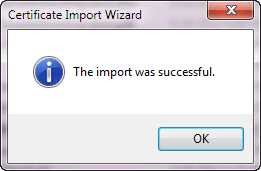
You have now successfully obtained and installed a PersonalSign Certificate.