In this article, we will explain to you how to install Microsoft SQL Server 2019 on the Windows server. Relational database management systems (RDBMS) such as Microsoft SQL Server support a wide range of transaction processing and business intelligence applications.
SQL Server installation media:
- First, download the SQL server installation media from the authorized site.
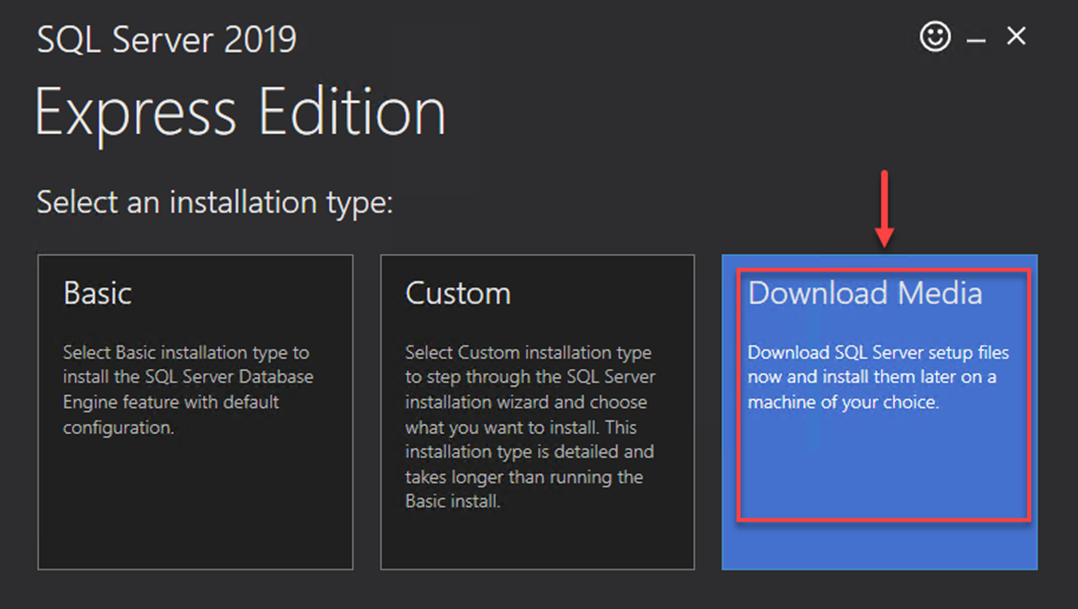
- Run the downloaded file and select the third option “Download Media”.
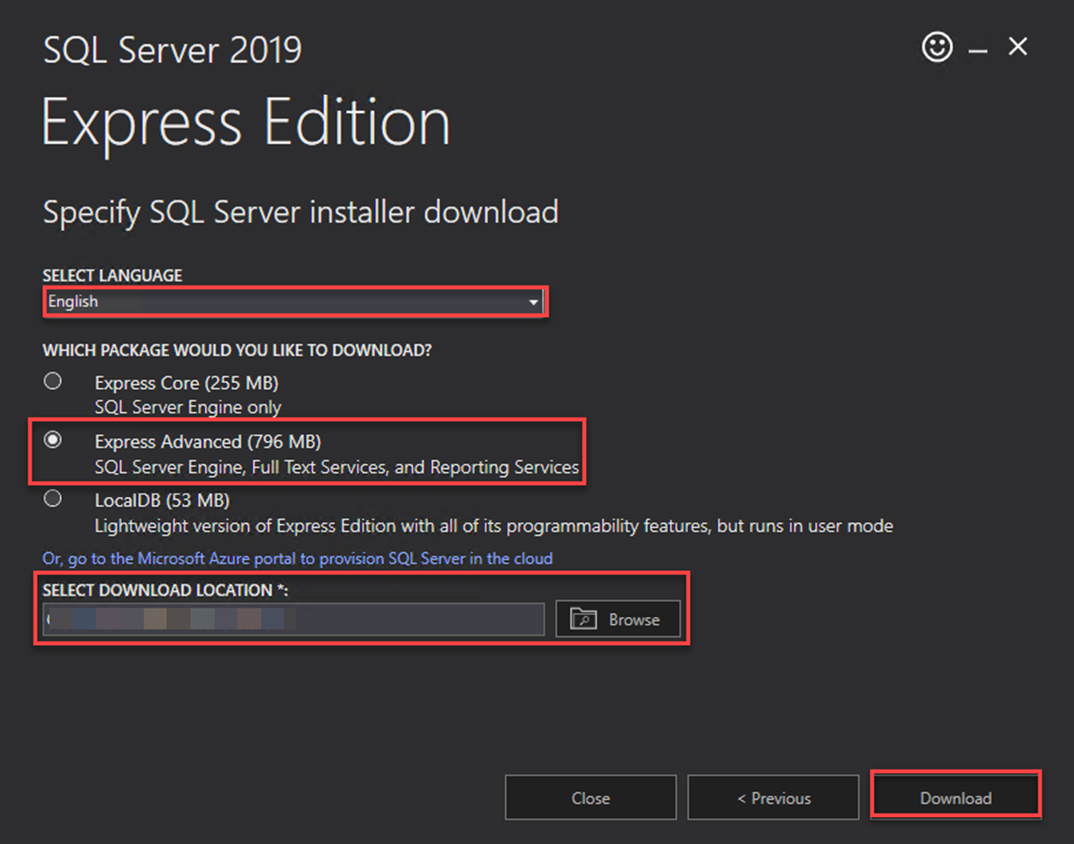
- You will enter a new screen where you can select the language of your choice, the package to be downloaded, and the location where it is to be saved. Select the “Express advanced” option here.
- Click on the “Download” button.
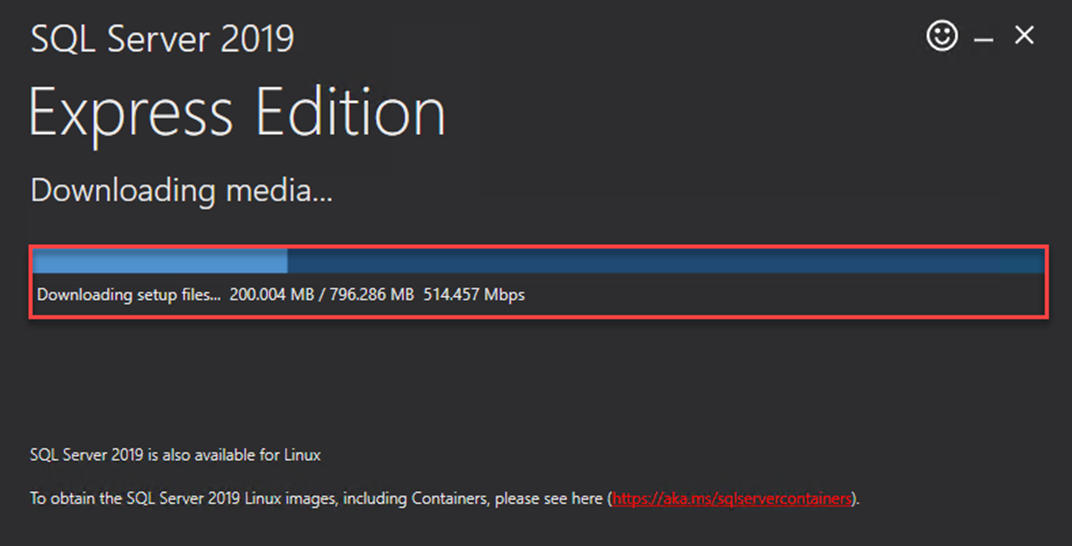
- It will start downloading.
- As soon as the downloading ends, you will get a success message as shown below. Click on the “Close” button.

Install SQL Server 2019
Now, let’s install SQL Server 2019 after downloading the installation media.
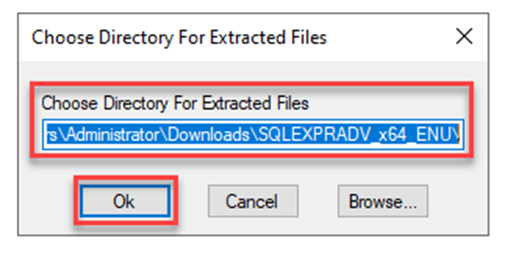
- Double-click on the “SQLEXPADV_x64_ENU.exe” file.

- It will extract itself to a sub-folder, if you want you can select any custom location for setup files. Click on the “Ok” button.
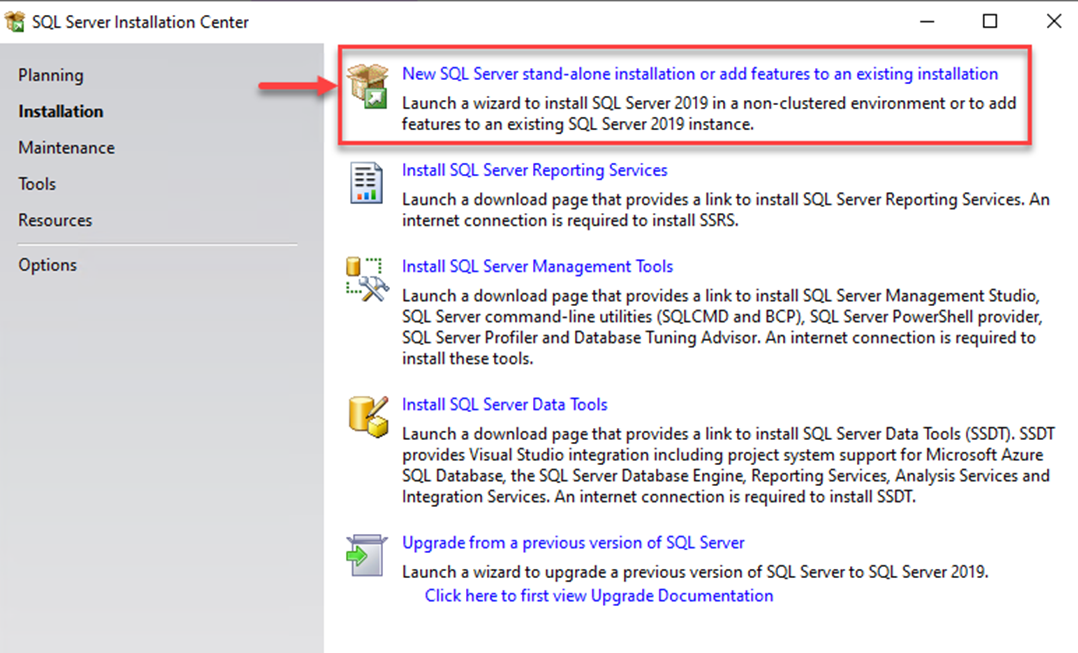
- The installation will execute itself and a new screen will appear.
- Select the first option “New SQL server stand-alone installation or add features to an existing installation”.
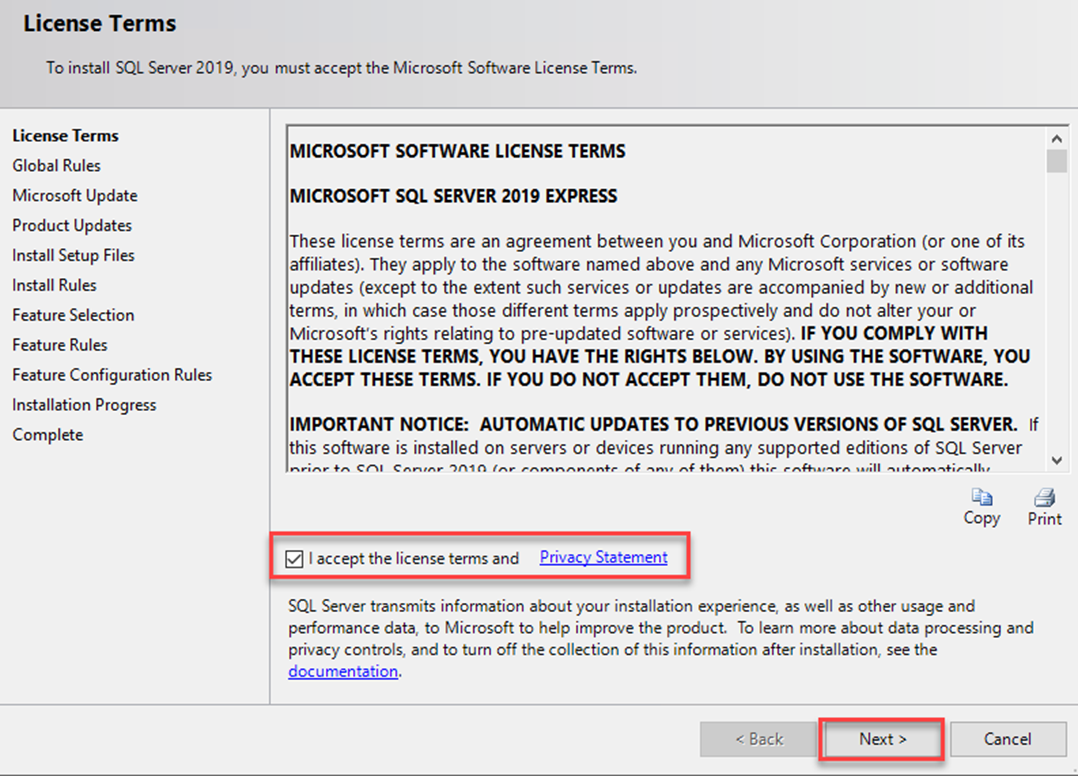
- You will be redirected to a new page, where you will have to accept the terms and conditions. So, tick the box “I accept the license terms and privacy statement”. Then click on the “Next” button.
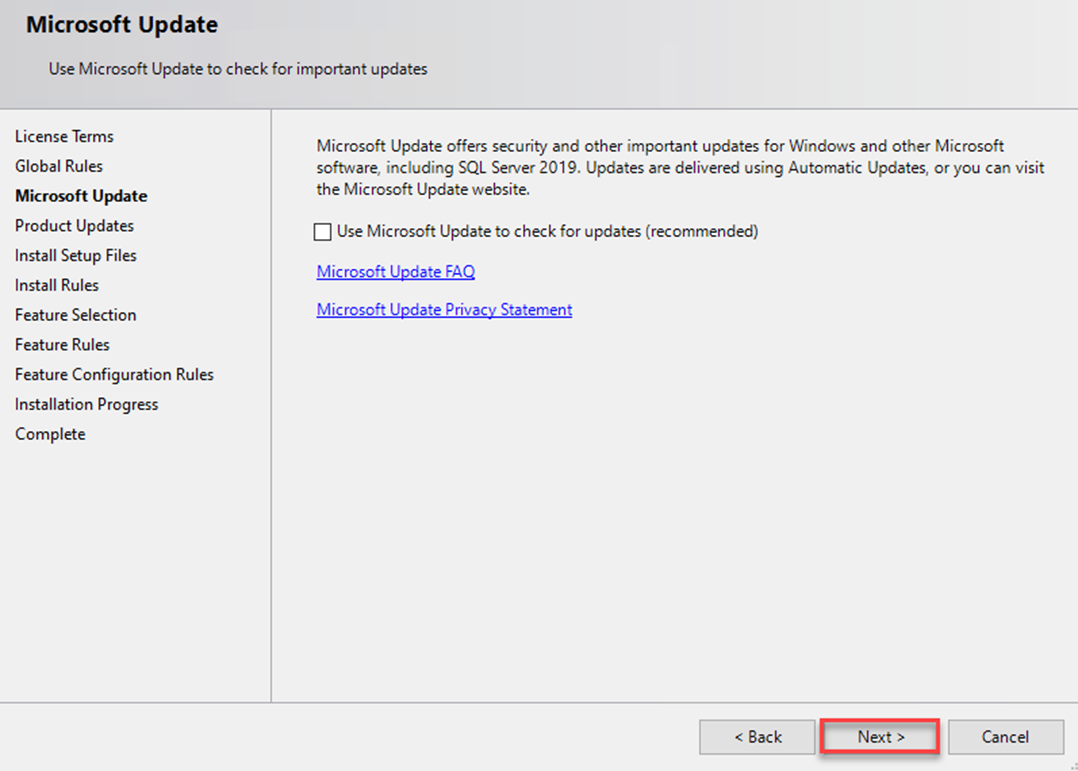
- Again select the “Next” button.
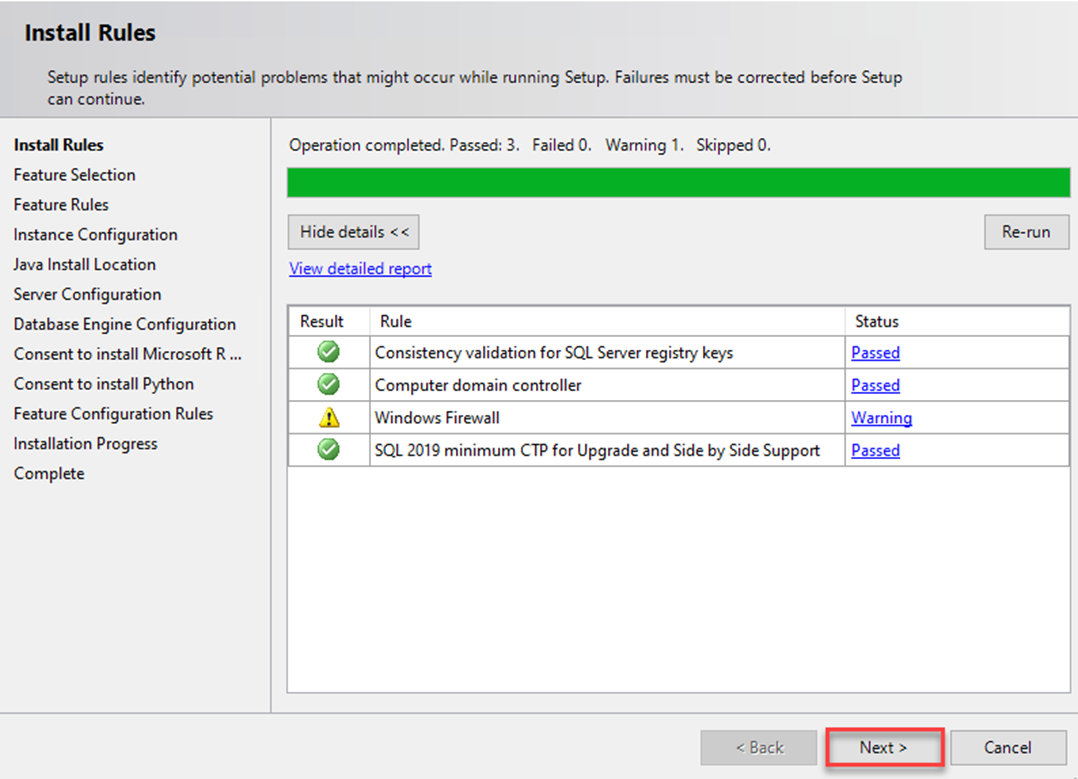
- Wait until the Microsoft SQL Server 2019 processes the current operation.
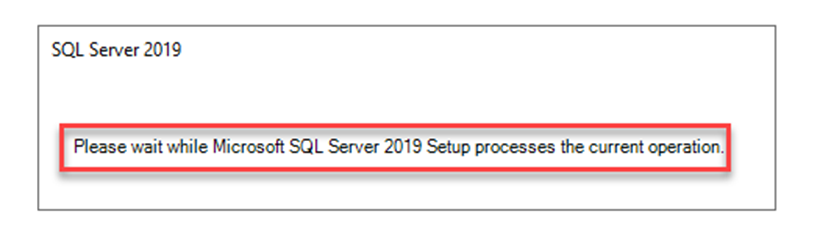
- Click on the “Next” button.
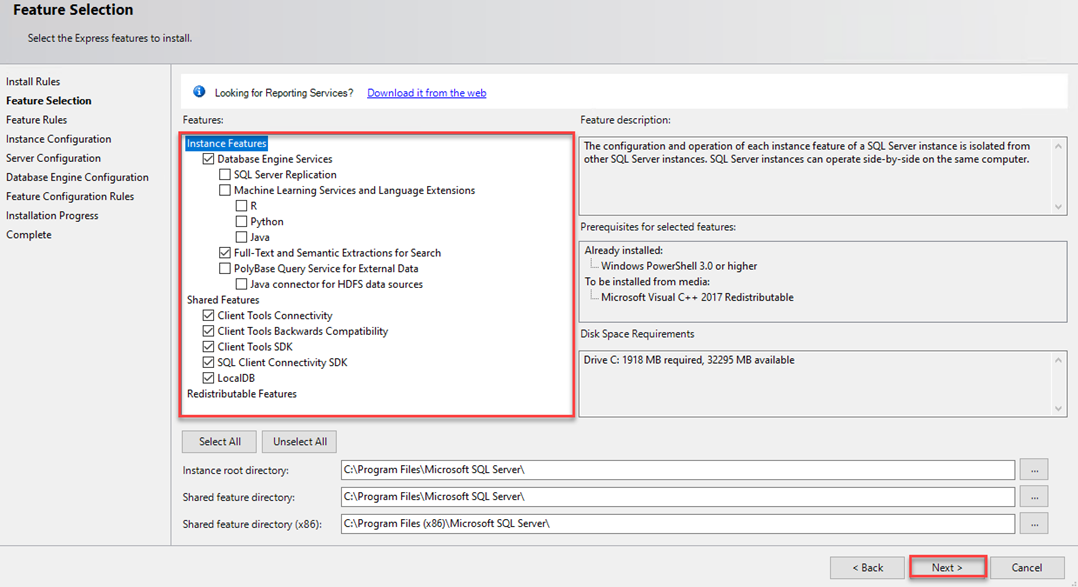
- Set the “Instance Features” for Web hosting. Then click on the “Next” button.
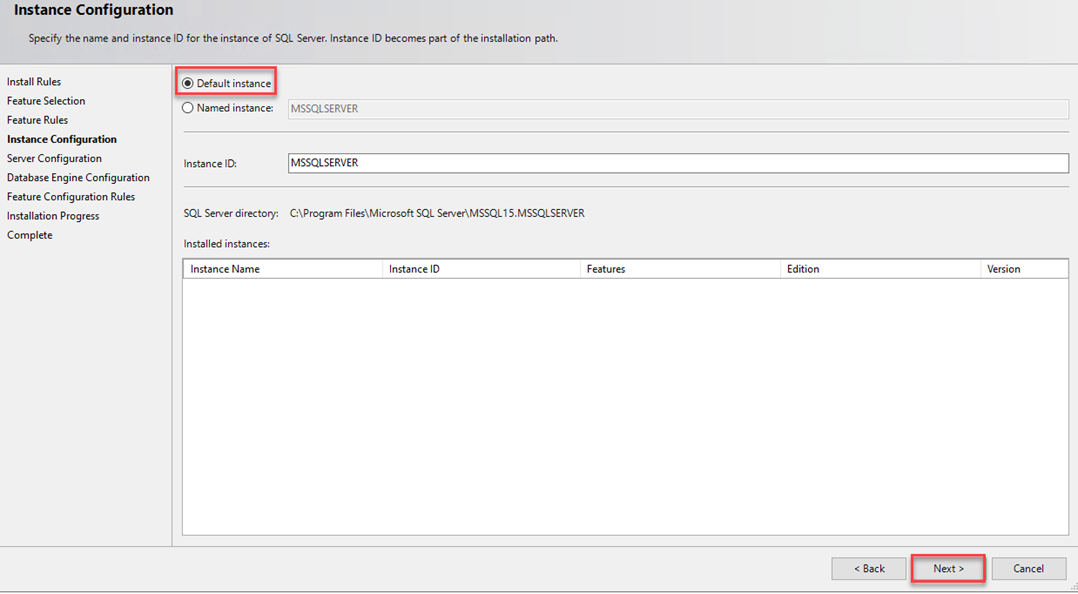
- Select the “Default instance” and click on the “Next” button.
- “Service Accounts” are seen. Microsoft recommends that you use a separate account for each SQL
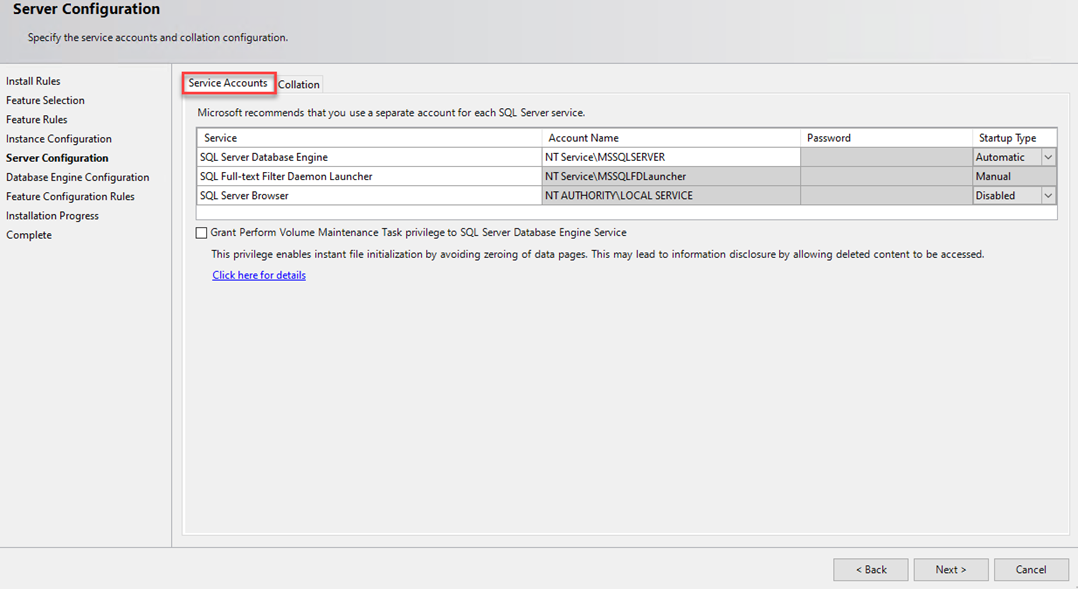
- If you want you can take a custom “Collation” from the collation tab. Then click on the “Next” button.

- Choose the “Mixed mode” option and set the “Password” for the SA user.
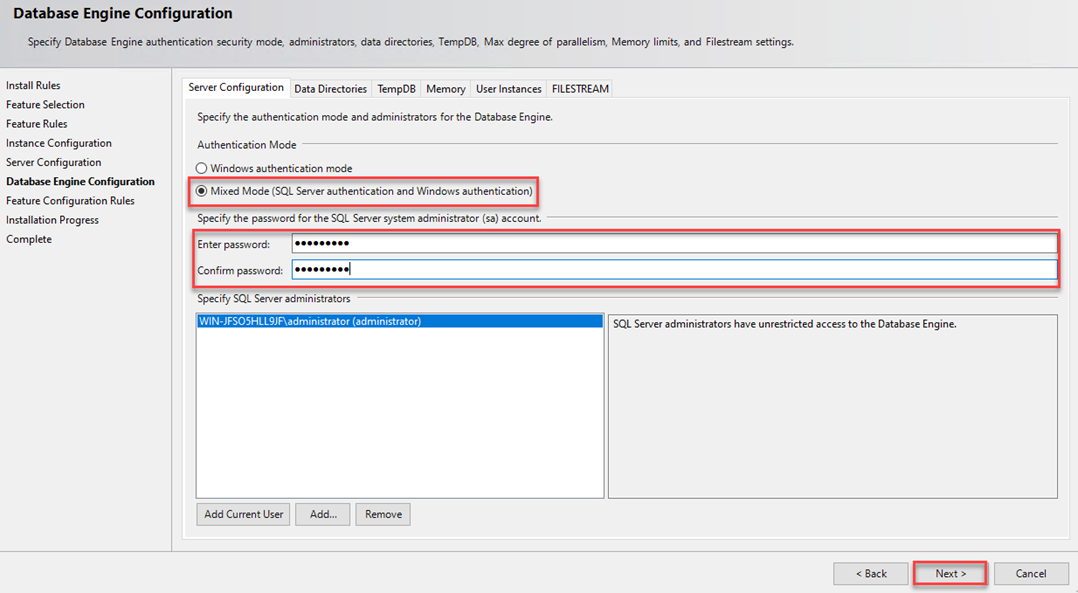
- If you want to set a custom location for the databases and logs then you can set it from the “Data directories” tab.

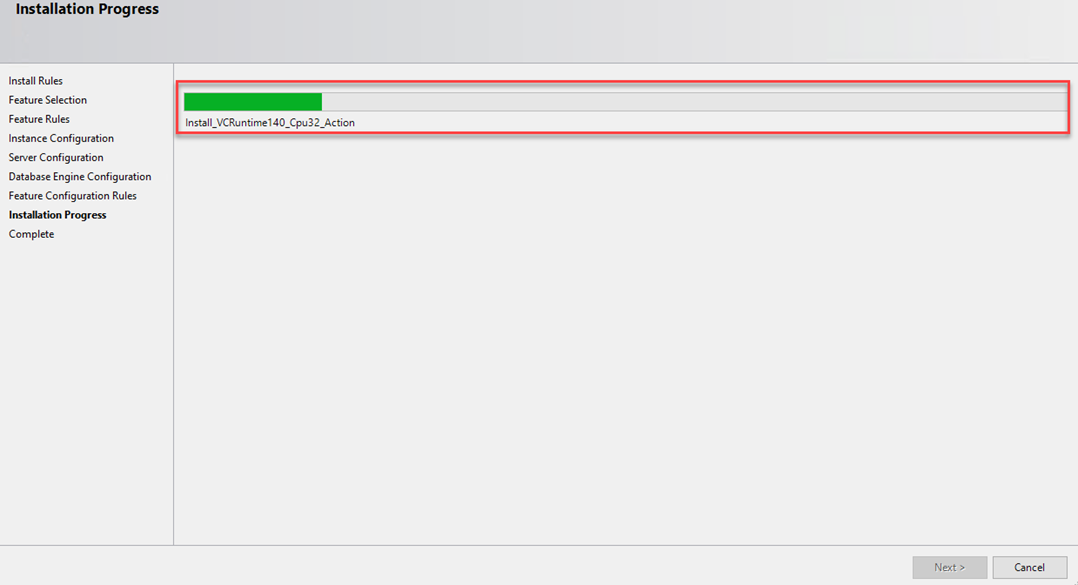
- Now, the installation starts.
- Finally, you will receive a success message as shown below. Click on the “Close” button.
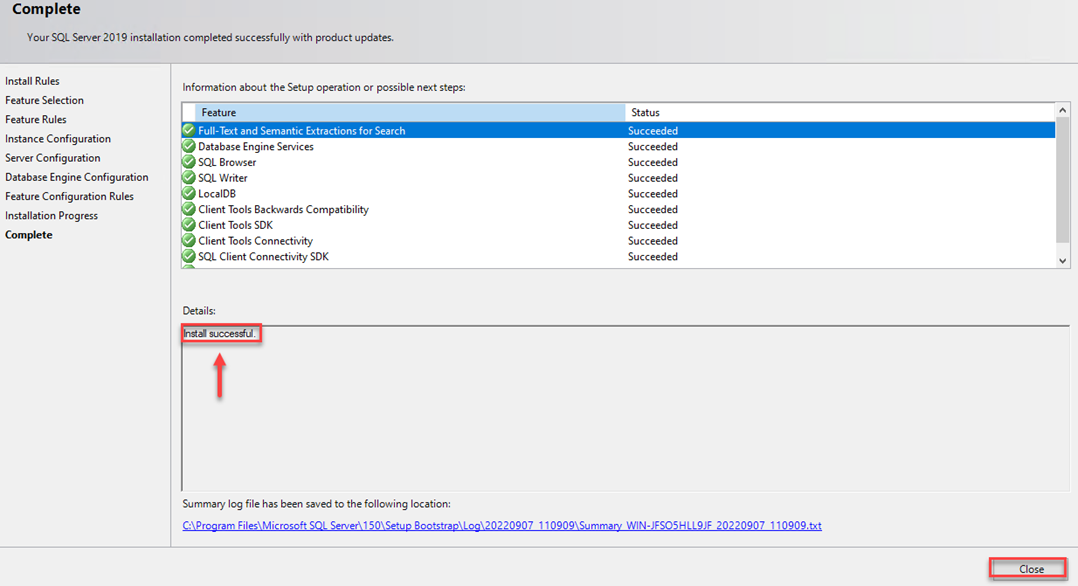
This way you can install Microsoft SQL Server 2019 on the Windows server.
Need to install an earlier version? Check out How to Install Microsoft SQL Server 2014 Express