This tutorial will explain how to optimize and repair MySQL Database using phpMyAdmin in cPanel.
Why Optimise and Repair MySQL Database?
Before moving further on the process of optimizing and repairing the MySQL database let us understand why it is necessary to do so:
1. Databases develop to a considerable extent when a website receives a lot of traffic and has a lot of data. As a result, it becomes critical to optimize databases at regular periods to improve the site’s performance.
2. The records can be destroyed for a variety of reasons, including programming vulnerabilities, equipment problems, and even environmental disasters. In such situations, you can use phpMyAdmin to repair database tables.
Now, let us see the procedure:
1. Log in to the cPanel account.
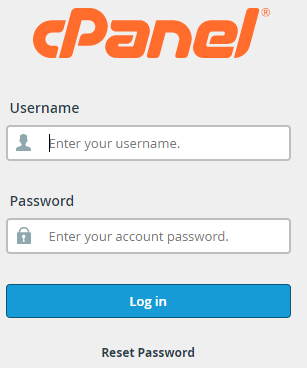
2. Select the Databases option and click on phpMyAdmin.

3. You will enter into a new page of phpMyAdmin.
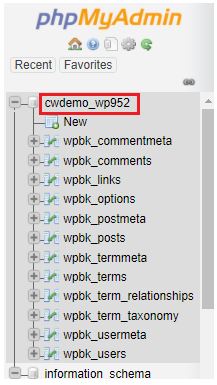
4. First of all select the structure from the left-hand side and you will be able to see a list of tables.
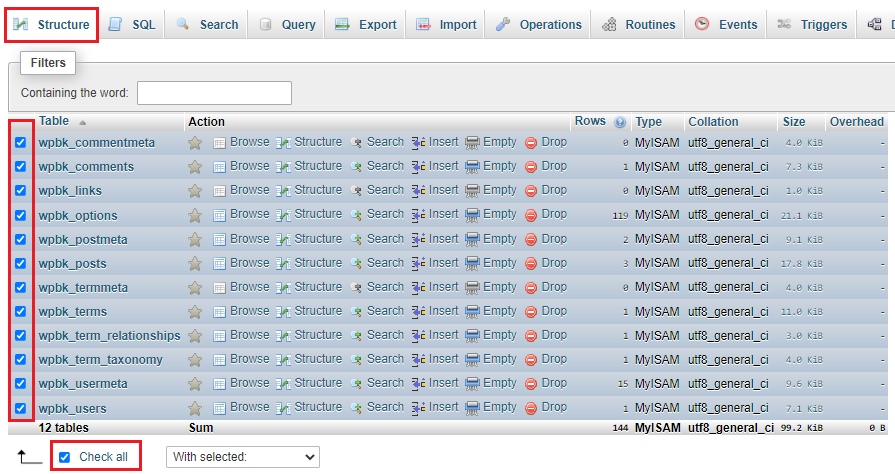
5. Now, depending on the operation you wish to carry out, select the databases and put a tick mark in front of the names. You can select all at a time by choosing the “Check all” option.
6. Click on the drop-down arrow next to the tab “With selected”.
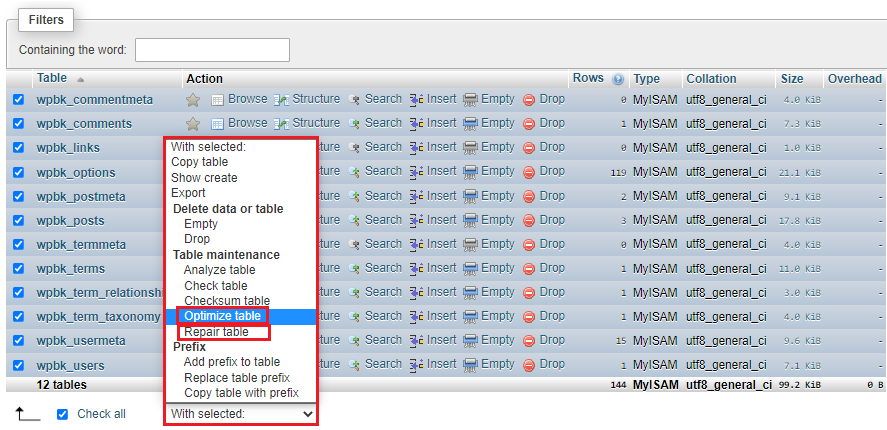
7. You will get a list of options. Select “Optimize table” if you wish to optimize the table and select “Repair table” if you wish to repair the table.


8. phpMyAdmin will let you know whether or not the optimization and repair were successful. You can see this as shown in the images given below.
This tutorial will show you how to optimize and repair your MySQL database using phpMyAdmin in cPanel. Hopefully, you were able to comprehend everything. Check out the eukhost Knowledge Base for more useful tutorials. We also have an expert team available to assist you 24 hours a day, seven days a week.