This post will explain and demonstrate How to Enable Spam Protection in Plesk.
To enable spam prevention in Plesk, follow the instructions below:
- Log in to Plesk account.
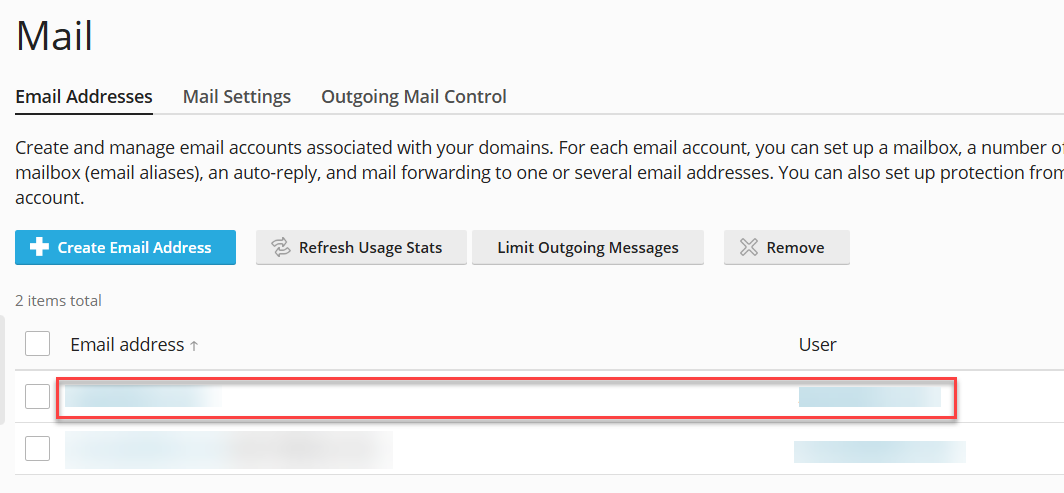
- Select “Mail” from the left sidebar.

- Select the email address for which spam protection should be enabled.
- Select “Spam Filter”.
- Check the “Switch on spam filtering for this email address” box as shown below.
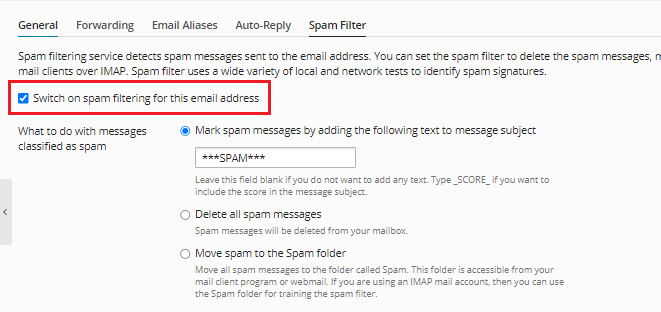
- You can Select any option in this area based on your preferences.
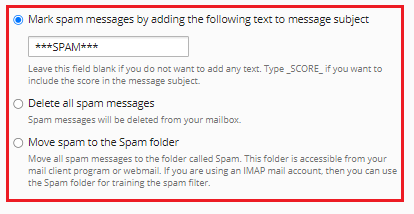
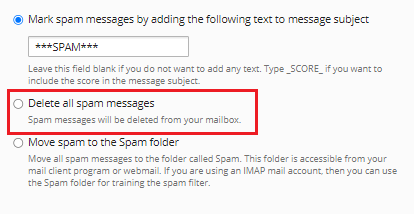
- This option allows you to mark spam messages that can be identified by their “Subject line“
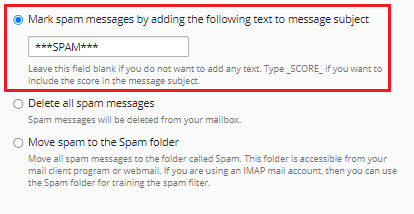
- If you want to “Delete” all spam communications, use this option.
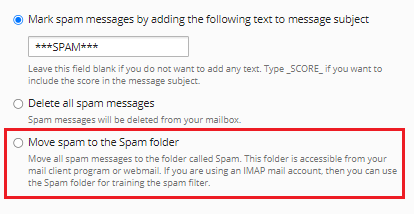
- To move spam emails to the “Garbage email folder”, select this option.
- Expand the “Advanced Settings” menu by clicking on it to see more options.
- You can set the sensitivity of the spam filter in the “Spam filter sensitivity” field by typing the desired sensitivity value.
- Seven is the default value. The sensitivity of the filter is increased by using a “Smaller value and decreased by using a larger number“
- The white list textbox allows you to add specified “Email accounts or domains“. There will be no filtering of mail sent to those addresses.
- Add “Specific websites or Email addresses” to the blacklist if you want to block them.
- You can specify particular “Languages and locations” that will always pass the filter in the trusted languages and trusted locales section.
- Enter particular “IP addresses” in the IP addresses textbox if you wish to allow specific IP addresses to pass through the filter.
- Once you’ve clicked “OK“, you’ll get a success message.
This is how spam protection in Plesk is enabled. If you are still facing any difficulty in the procedure mentioned above, feel free to reach out to the eukhost Team for proactive support 24×7