
This article explains how to add a new customer account in the Plesk control panel. A customer in Plesk is a separate user who can manage their own hosting subscriptions, domains, and services based on the permissions assigned by the hosting provider.
Follow the steps:
- Log in to Plesk.
- Navigate to Hosting Services > Customers.
- Click on the Add Customer button.
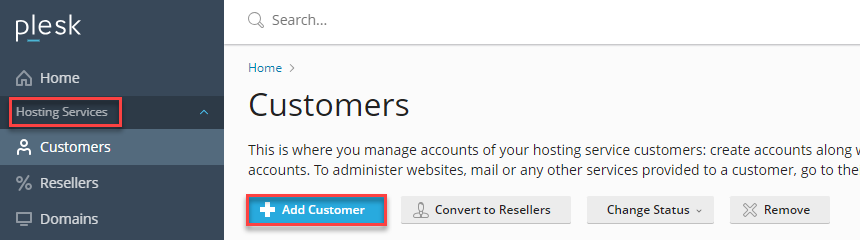
- A form will appear. Fill in the information as follows:
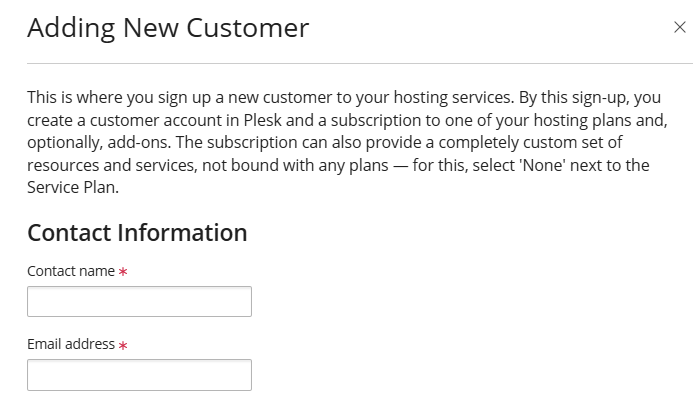
Step 1: Contact Information
Fill in the basic customer details:- Contact name*:
Enter the customer’s full name (e.g., John Smith). - Email address*:
Enter a valid email address.
This email is used for login details and notifications.
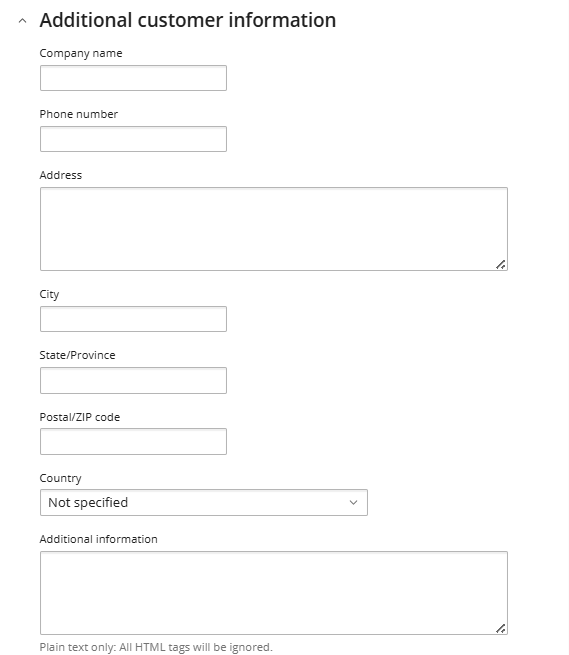
Step 2: Additional Customer Information (Optional)
These fields are optional. You can skip them if not needed.
- Company name: Customer’s business name
- Phone number: Contact number
- Address: Full address
- City / State / ZIP / Country: Location details
- Additional information: Any notes about the customer.
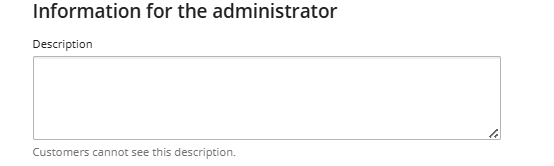
Step 4: Information for the Administrator (Optional)
- Description:
Add internal notes (e.g., Managed VPS customer).
Customers cannot see this field.
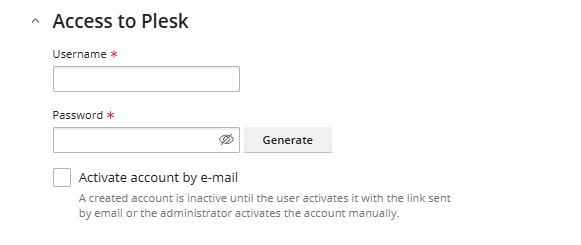
Step 5: Access to Plesk
Create login details for the customer.
- Username*:
Enter a unique username (e.g., client123). - Password*:
Enter a strong password or click Generate. - Activate account by e-mail (optional):
- Tick this if you want the customer to activate their account via email.
- If unchecked, the account is active immediately.
Step 6: Subscription
- Keep the Create subscription for the customer checked. Required if you want to host a website or domain.

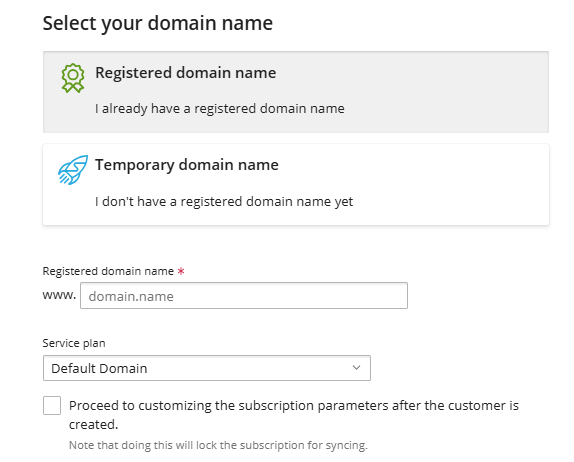
Step 7: Select Domain Name
Choose one option:
Option 1: Registered Domain Name
- Select Registered domain name
- Enter the domain (e.g., example.com)
Option 2: Temporary Domain Name
- Select a temporary domain name
- Plesk will create a temporary URL for testing
Step 8: Service Plan
- Service plan:
Select a hosting plan (e.g., Default Domain). - Leave other settings as the default unless customisation is needed.
Step 9: Additional Subscription Settings
- IP address:
Keep the default shared IP unless a dedicated IP is required.
Step 10: System User Credentials
These are FTP/SSH login details.- Username*:
Auto-filled by Plesk (you can keep it). - Password*:
Click Generate or enter your own.
Step 11: Click Add Customer.
The customer account and subscription will be created successfully.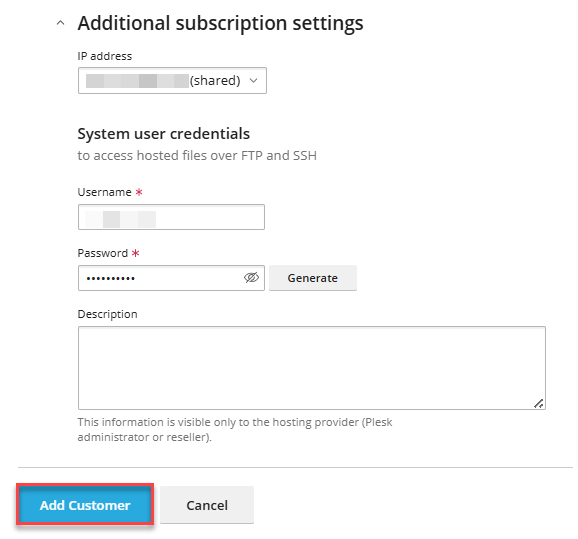
- Contact name*:
Once these steps are completed, the new customer will be added to your Plesk control panel and can start using the hosting services based on the assigned service plan. We hope this guide was helpful. If you face any issues during the process, feel free to contact our technical support team for assistance.