This guide explains how to add a new reseller in Plesk. The Reseller feature allows you to resell physical resources on your VPS, such as disc space and RAM, and then provide your buyer access to the Server Administration Panel.
Let us follow the steps:
- Log in to Plesk.
- You will find the “Resellers” option under the “Hosting services” option.
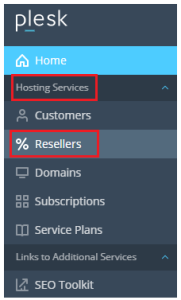
- Then click on the “Add reseller” tab.
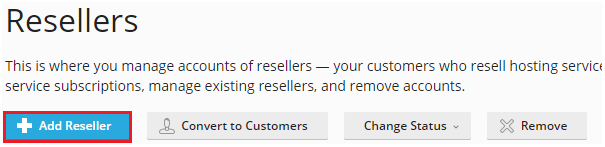
- You will get a form type page and you will have to fill in the information.
- This form is divided into four sections:
- Contact Information- Enter the Contact name, E-mail address, Company name, Phone number, Address, City, State/Province, Postal/ZIP code, Country, and additional information.

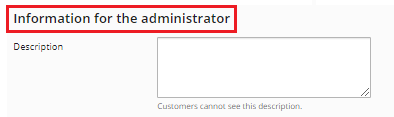
- Information for the Administrator- Add the description (Customers cannot see this description).
- Access to Plesk- Enter the username, enter the password and repeat it. If you wish to activate your account by e-mail you can tick the box. The reseller will use these credentials to log in to Plesk and administer the services for which they have signed up.

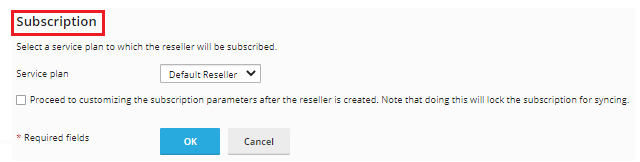
- Subscription- Select a service plan, and tick the box to prevent the subscription from being synced.
- Contact Information- Enter the Contact name, E-mail address, Company name, Phone number, Address, City, State/Province, Postal/ZIP code, Country, and additional information.
- Finally click on the “Ok” button.

- You will get a success message that the reseller is created.
So, this way one can create a new reseller in Plesk. For more information contact our support staff and also check our latest web hosting plans today itself.