This article covers how to add and remove domains from Plesk’s Blacklist. We’ll break it down into two parts so you can understand it completely.
Follow the steps:
To add a domain from blacklist in Plesk:
- Log in to the Plesk control panel.
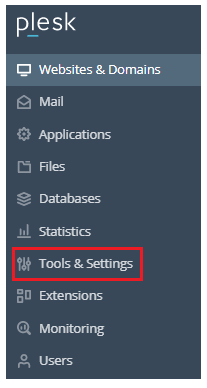
- From the left-hand side menu click the “Tools & Settings”.
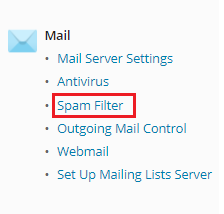
- Search for the “Mail” section and click on the “Spam Filter”.

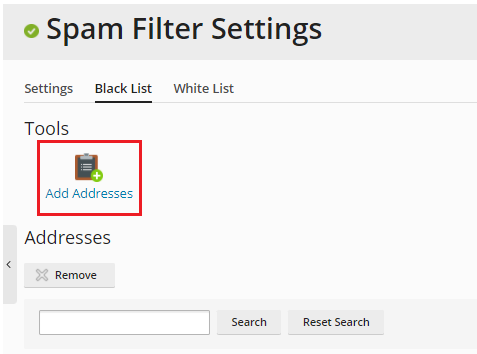
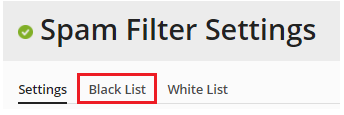
- You can see the “Spam Filter” settings. In that you get three tabs, “Settings”, “Black List”, “White List”.
- Click on the “Black List” tab.

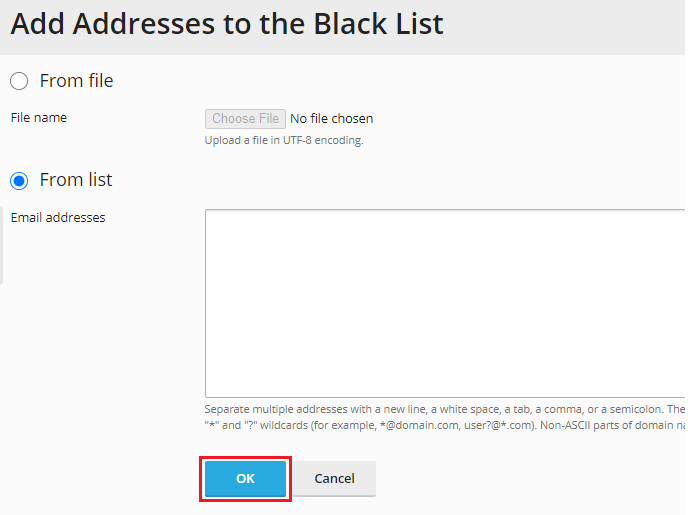
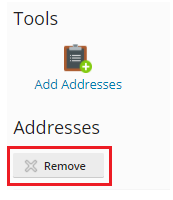
- After that select the “Add Addresses” option. Now you can add the email addresses.
- Once you have added the address, Click on the “OK” button.
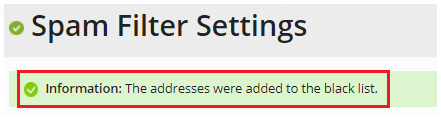
- The email address will be put to the Black List, and you will receive a notification.
To remove the email address from the Black List:
- Log into the Plesk control panel.

- From the left-hand side menu click the “Tools & Settings”.

- Search for the “Mail” section and click on the “Spam Filter”.
- You will enter the “Spam Filter settings” page. You will see three tabs, namely; “Settings”, “Black List”, “White List”.
- Select the “Black List” tab.
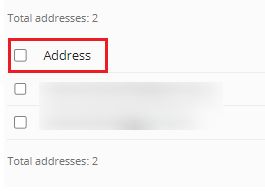
- Select the email addresses you want to remove from the Black List.
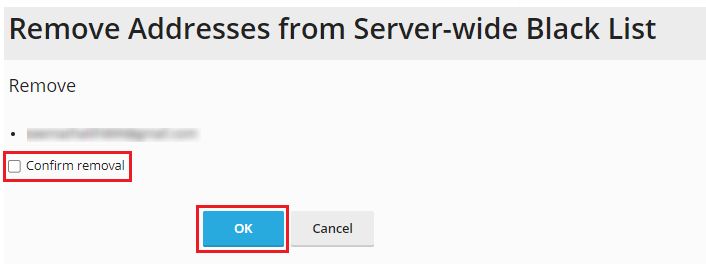
- Click on the “Remove” button.
- Confirm the removal and click on the “Ok” button.
- You will get a message as shown in the image given below.
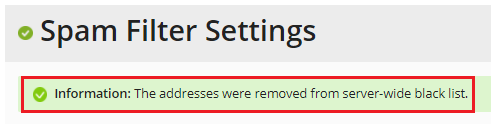
Now you will be able to add and remove the email addresses from the Black List.
For more articles, please visit eukhost.