FileZilla is a powerful FTP client commonly used to upload, download, and manage website files on a server. Configuring FileZilla correctly is important for maintaining secure connections and avoiding common FTP-related issues. This guide walks you through the essential FileZilla settings and explains how to configure them correctly.
Steps to configure settings in FileZilla:
- Connect to your FileZilla account.
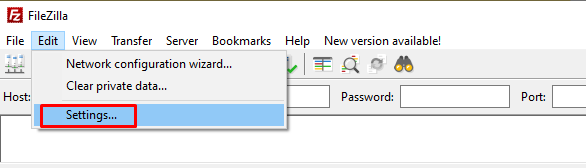
- Click the Settings option under the Edit option.
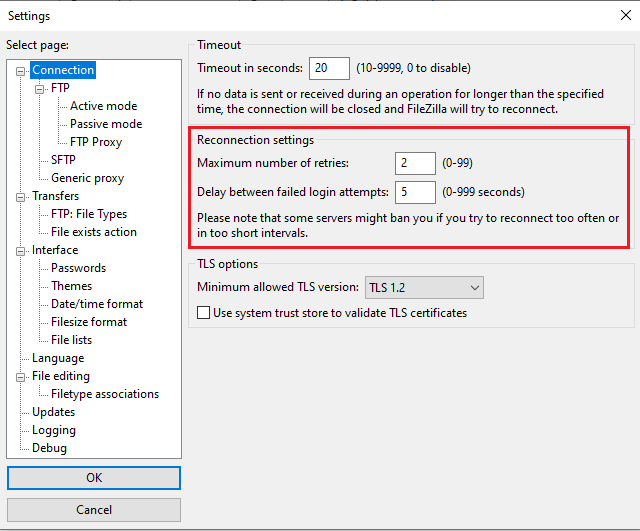
- In the Connection section, you can adjust the maximum number of retries for failed connections and set the time interval between each retry.
- In the FTP section, you can choose between Active or Passive transfer modes and configure FTP proxy details as needed.

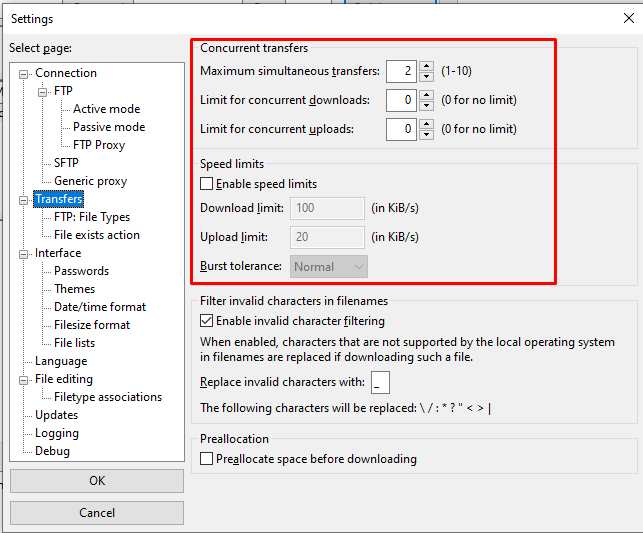
- In the Transfers section, you can establish the maximum number of simultaneous transfers, define limits for concurrent downloads and uploads, and optionally enable speed limits.
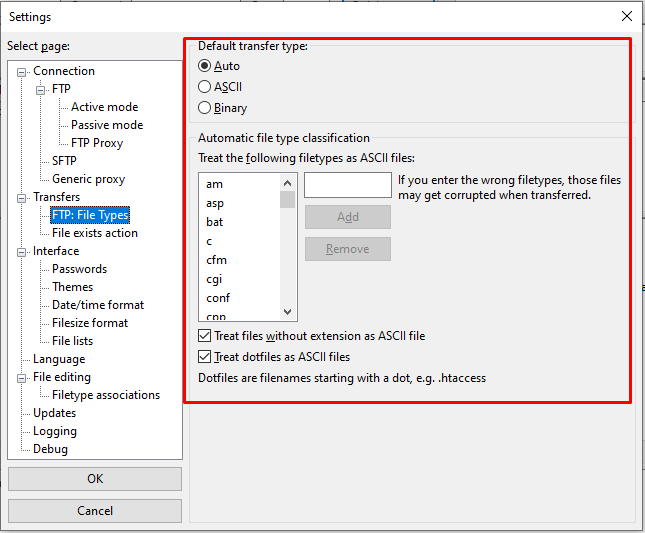
- From the File Types section, you have the option to configure the default transfer type as Auto, ASCII, or Binary.
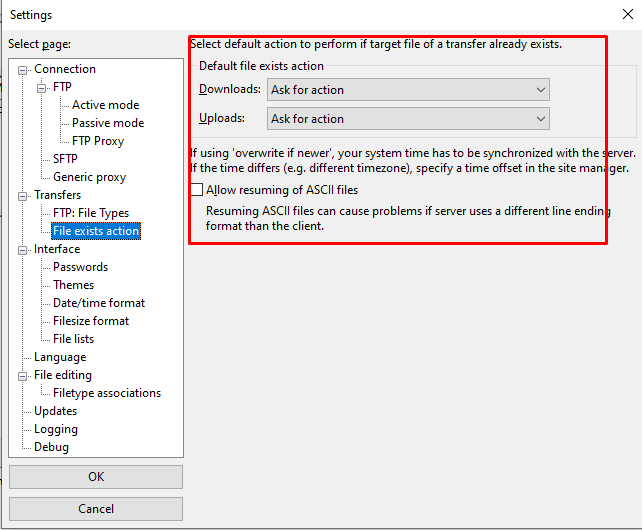
- The File Exists Action section enables you to instruct FileZilla on how to handle a situation where a downloaded or uploaded file already exists.
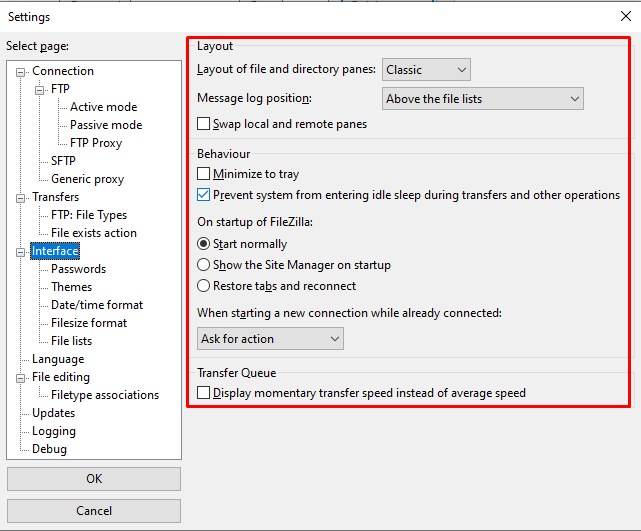
- In the Interface section, you can customise your preferred theme and layout, specify the visual placement of logs, and adjust the date and time format.
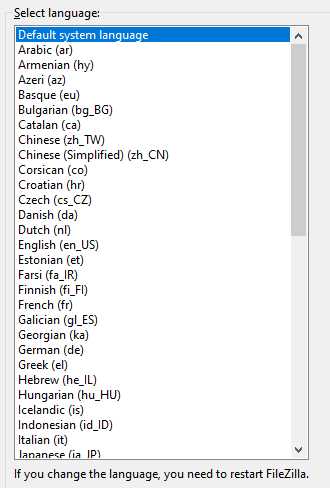
- You have the option to configure your default language.
- Set your default file editor.

- Set how often Filezilla and check the updates.

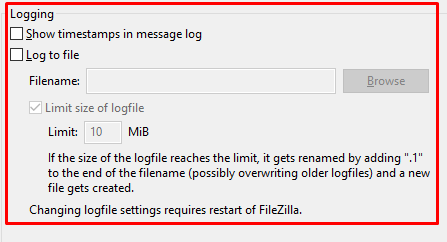
- The logging section allows you to create a log.
- The Debug section is where you can specify the level of debugging.

- Click OK.
This concludes the tutorial. You can now confidently configure the required settings in FileZilla.