In this article, you will learn how to create a customer account with Plesk.
Follow the steps:
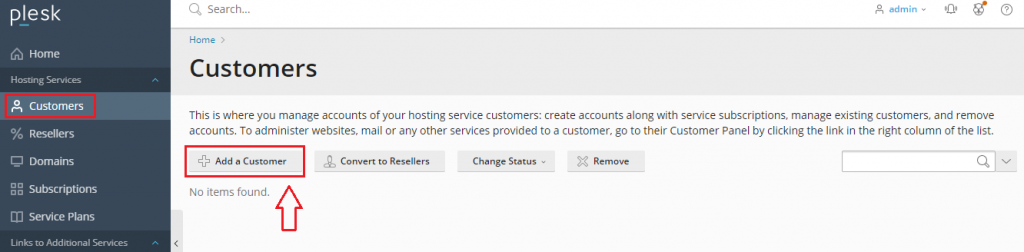
- Log into Plesk using your Username and password.
- Click Customers in the menu on the left and then click on add a customer.
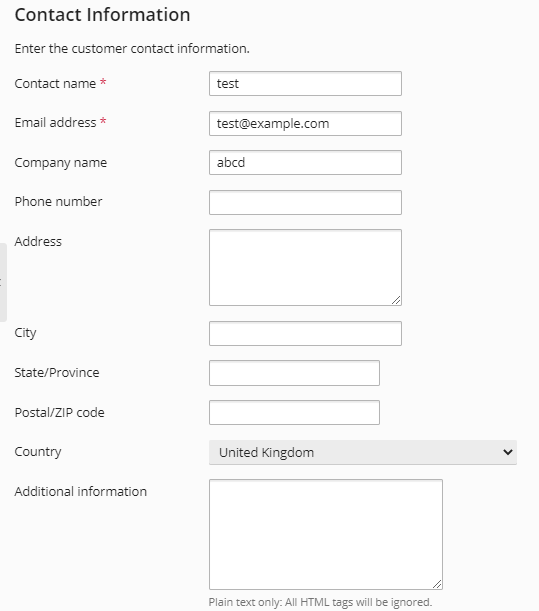
- Enter customer details. Information with the red star has to be filled compulsorily, everything else is optional.
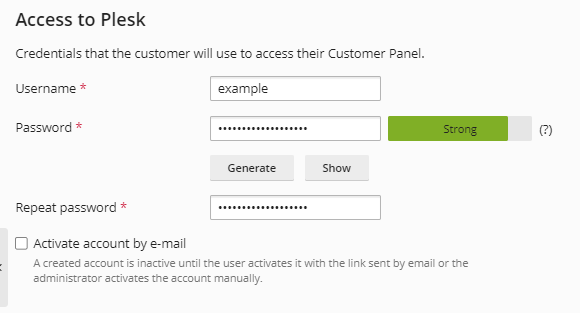
- Now fill in the credentials that are required by the customers to access their customer panel. Username and password. Tick on activate account by e-mail, the user has to activate the account by the link sent by email or the administrator has to activate it manually.
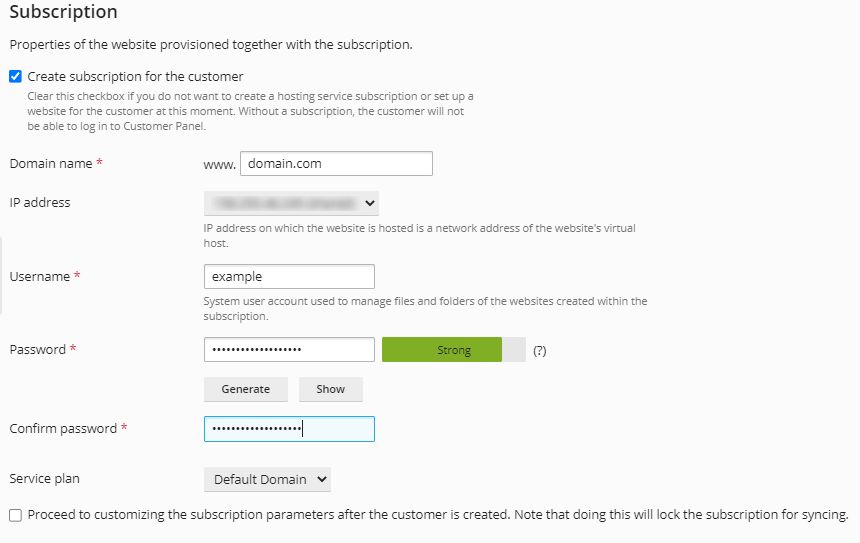
- Type the Subscription details like Domain name, Username, and Password– it should always be strong enough, select the service plan.
- Tick the Secure option if you want to secure the domain with Encrypt and enable Git support. Finally hit the OK button.

- And here you receive messages. Your account has been created successfully.
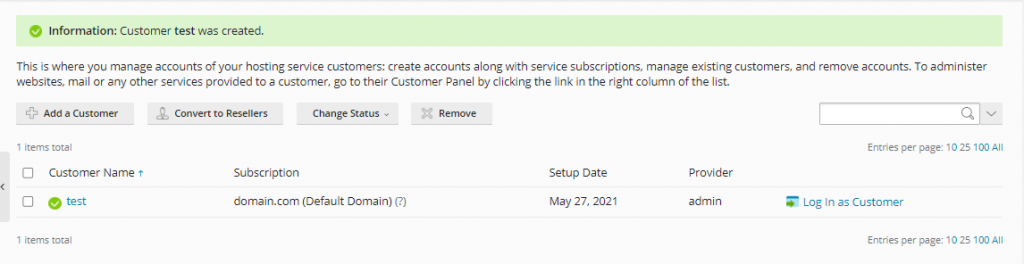
- You can log in as customer also.
After going through these steps, one can easily create a customer account in Plesk. For more such tutorials regularly check the KB section. And for support don’t forget to get in touch with our 24×7 support team.