In this guide, we will explain to you how to make a new service plan in Plesk. A service plan is a set of hosting services you offer to consumers. Customers may receive the web hosting service, five gigabytes of server disc space, and ten gigabytes of data transfers per month, for instance, as part of a subscription.
Let’s proceed as follows:
- Log in to the Plesk control panel.
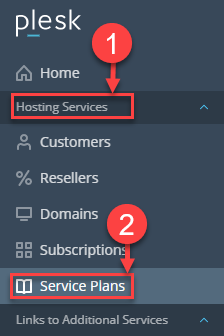
- Select the “Hosting Services” category.
- Click on the “Service Plans” option.
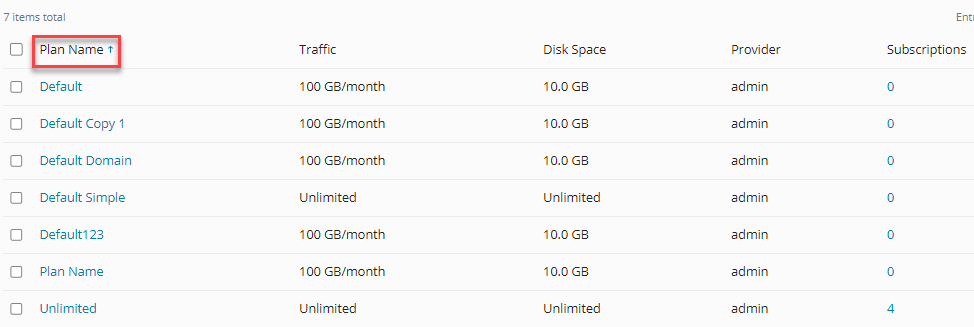
- You will find the default service plans on the screen.
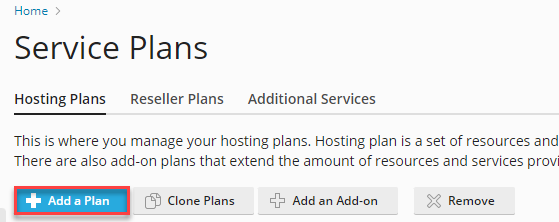
- You can create a new service plan by clicking on the “Add a Plan” button.
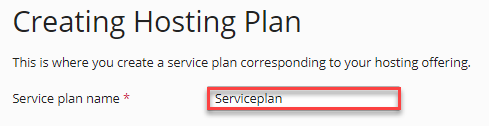
- Enter the service plan name of your choice in the textbox labelled “Service plan name.”
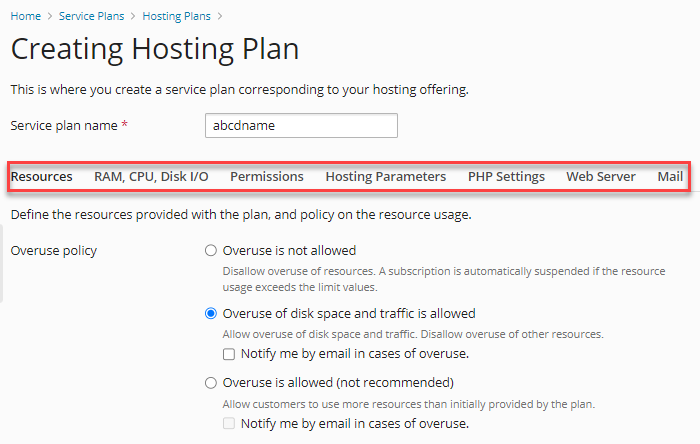
- Under the Resources tab, you can choose options to define the quotas and limitations according to your needs. You can use the limitless option or manually determine the precise restrictions.
- In the Permissions tab, select the services and privileges you want to enable and check the appropriate boxes. Some of the checkboxes are checked by default. You can uncheck this box if you do not wish to provide specific permission.
- In the Hosting parameters tab, choose the checkboxes next to the hosting options you want to activate.
- By selecting one of these drop-down menus on the PHP Settings tab, you can modify the PHP version and other settings or leave them as-is.
- Choose the email features you want to activate from the Mail tab.
- Choose the DNS zone setting you desire in the DNS tab.
- You can establish the quotas and limitations by choosing these settings on the Performance page.
- To enable these settings, tick the appropriate boxes on the Logs & Statistics page and provide the necessary details in the text boxes.
- Choose this checkbox on the Applications tab to limit the applications that are made available to your clients, or deselect it to make them all available.
- Choose the appropriate choice from the drop-down menus to enable Let’s Encrypt and WordPress Toolkit in the Additional Services tab.

- Click “OK” to save the chosen changes across all tabs.

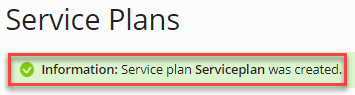
- When finished, you’ll receive a success message.
In this manner, you can make a new service plan in Plesk. Hope you understood this piece of writing very well. For any help do contact our support staff, 24×7.