When you add password protection to a directory in Plesk, visitors must enter a valid username and password to access its content. Once authenticated, they can view the directory and its subdirectories, as any directories beneath the protected one are also secured. This article explains how to set up a password-protected directory for a domain in Plesk, allowing you to restrict public access and enhance website security.
Let us follow the steps:
- Log in to Plesk.
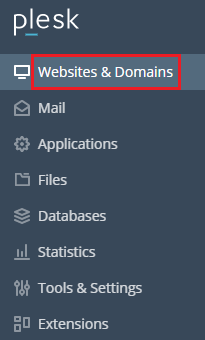
- Select the “Websites & Domains” option.
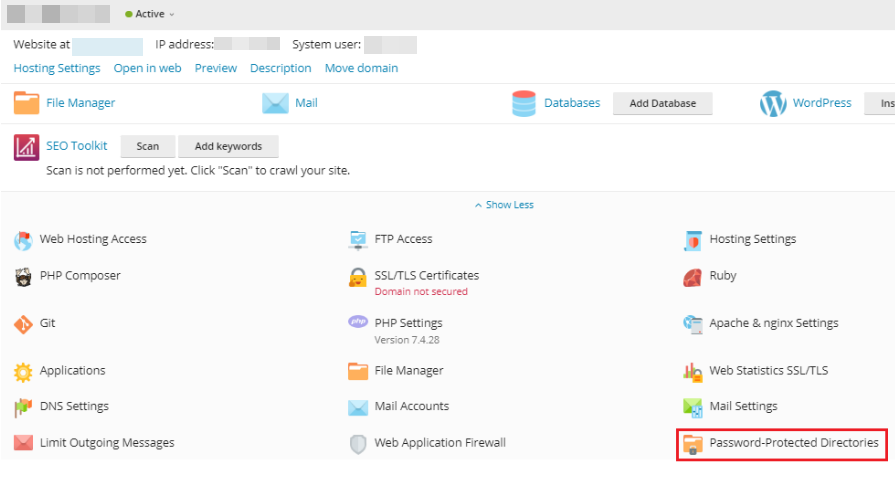
- Select “Password-Protected Directories” from the drop-down menu.
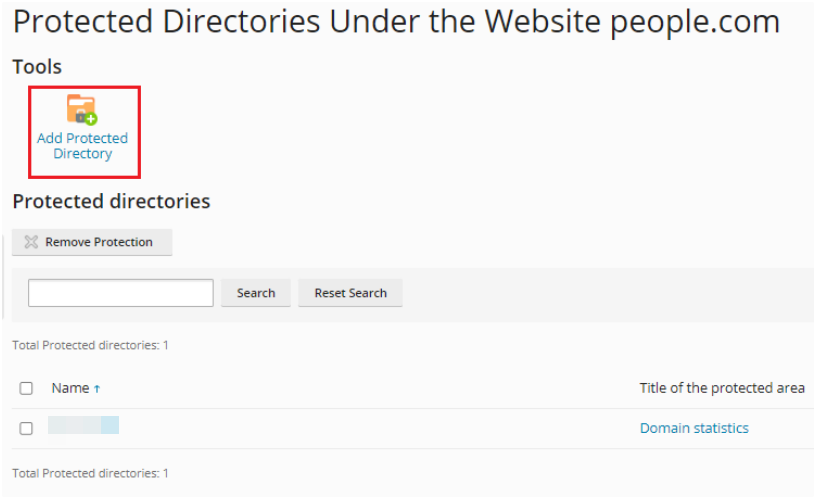
- Click on the “Add Protected Directory” under tools.
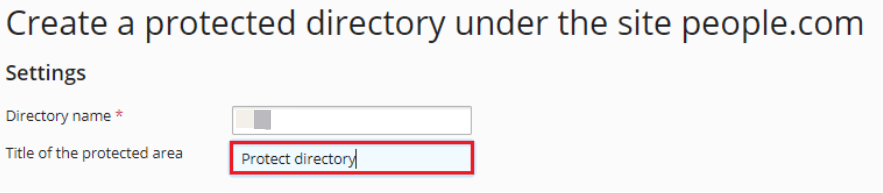
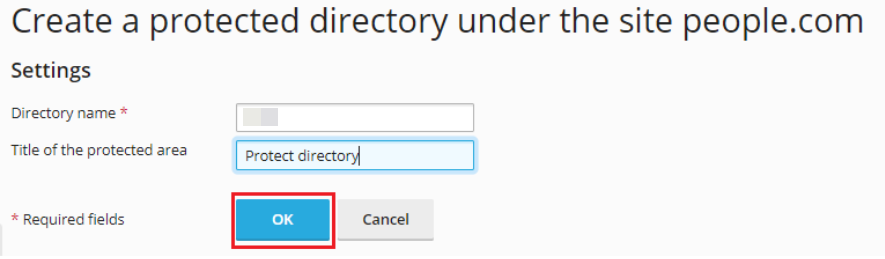
- Type the name of the directory you want to protect in the Directory Name text box under Settings.

Note: The directory name should not contain the words httpdocs. Simply type the directory’s name.
Optionally, type a name for the protected directory in the Title of the protected area text box. - Enter the “Title of the protected area”.
- Click on the “Ok” button.
- You will get a success message.

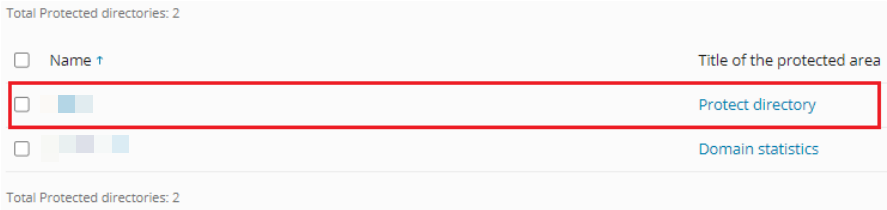
- You will find the list of the directories as shown below.
- Click on the recently added directory.
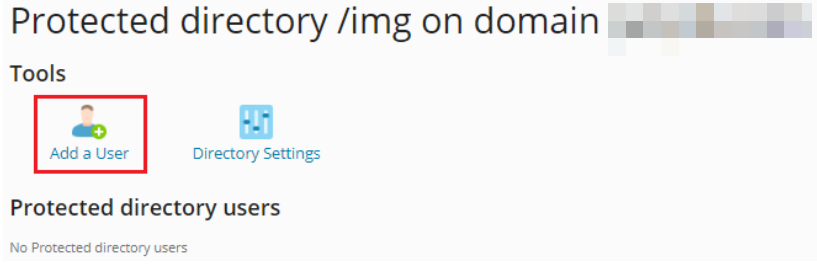
- Click Add a User under Tools, then type a name for the user in the Username text box under Protected directory user.

- Type the user’s password in the New Password and Confirm Password text fields
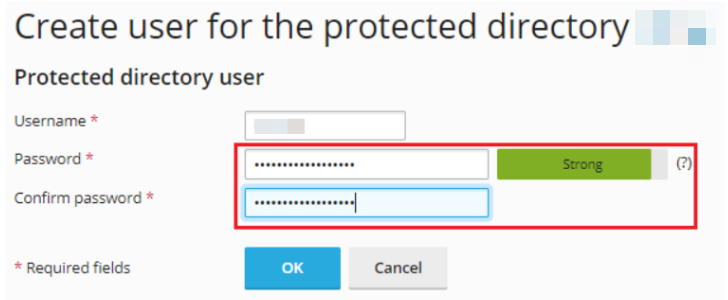
- Click on the “Ok” button.
- You will receive a success message.

That’s it!!
This option isn’t limited to just Plesk; you can also set up Directory Privacy in cPanel for securing your files and folders.
For any problem, contact our support staff at any moment. Also, take a glance at eukhost’s latest web hosting plans.