In this article, you will learn how to use the WordPress Toolkit in Plesk.
To access the complete WordPress Toolkit, follow these steps:
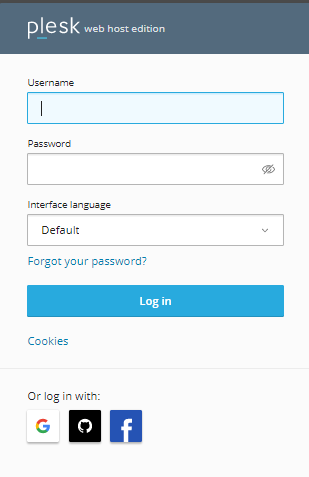
- Log in to Plesk.
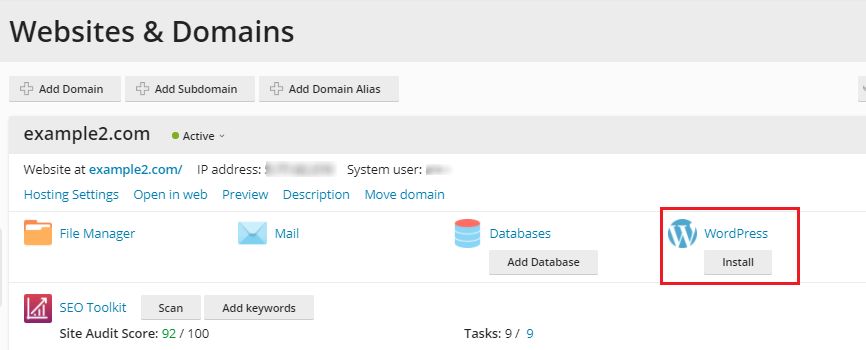
- Click Websites and Domains and Select WordPress.
- You will enter into the WordPress toolkit. You will see the settings option.
- On the Installation tab you can manage your WordPress installations:
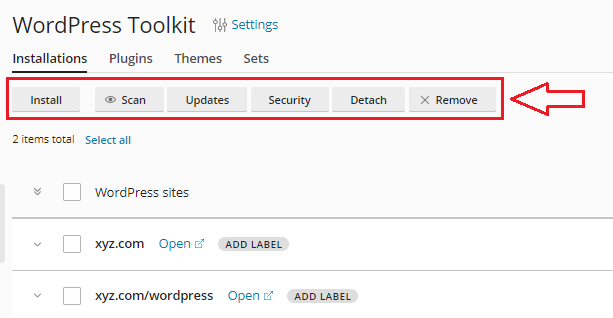
> Click Install to set up a new WordPress instance.
> Click Scan to find all WordPress examples on your account.
> Click Updates to see if there are any WordPress updates available.
> Click Security to manage security for your WordPress cases.
> For each WordPress example provided, there are numerous extra choices. - On the Plugins tab you can manage WordPress plugins:
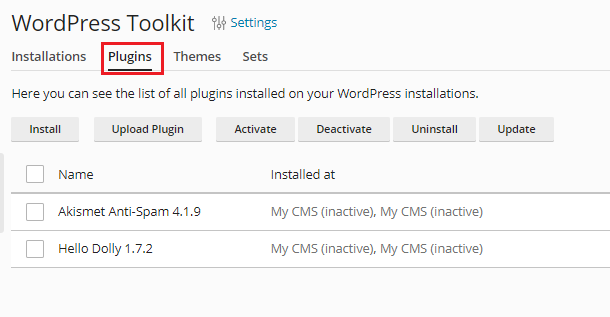
> Click Install to instal a plugin.
> Click Upload plugin to add a plugin.
> Click Activate to make a plugin active.
> Click Deactivate to turn off a plugin.
> Click Uninstall to remove a plugin.
> Click Update to update a plugin. - On the Themes tab you can manage WordPress themes:
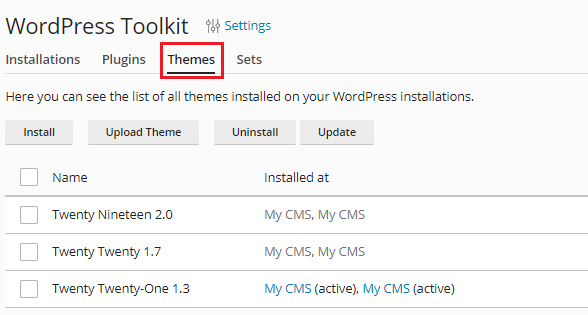
> Click Install to instal a theme.
> Click Upload theme to add a new theme.
> Click Uninstall to remove a theme.
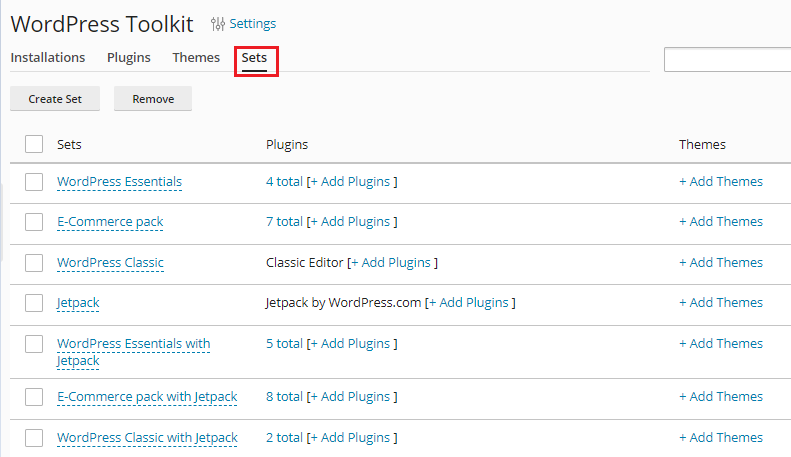
> Click Update to update a theme. - On the Sets tab you can create a set or remove them.
Hope you liked this article. If you liked our article you will unquestionably love our support. For any query contact our specialists and get your problem solved.