This article provides information on installing third party software applications through the Plesk control panel. Through third-party applications, you can add additional features and functionality to your website.
Let’s follow the steps:-
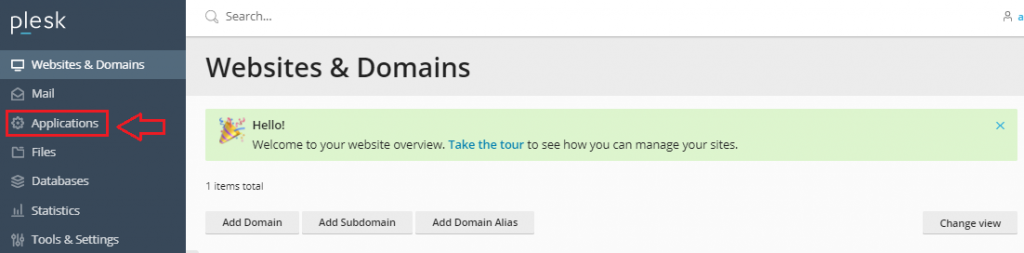
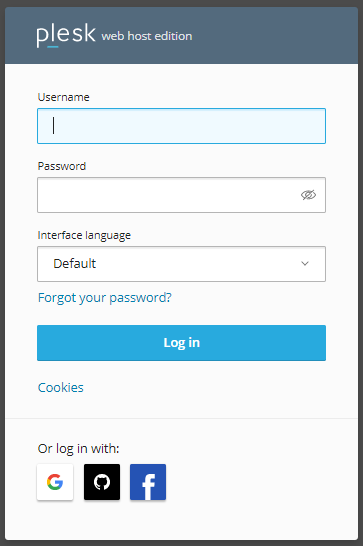
1. Log in to Plesk.

2. Select ‘Applications’ from the left sidebar.
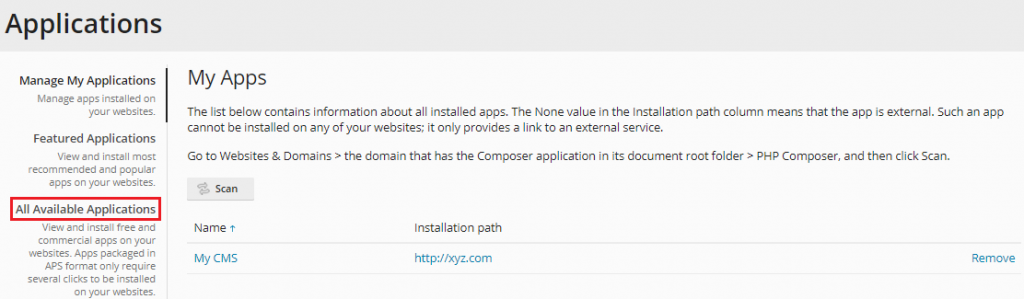
3. On the Applications page, select the ‘All Available Options’ box. This section will include all of the applications that may be installed, both free and paid.
4. The most popular and recommended programs can be found in the ‘Featured Applications’ area.
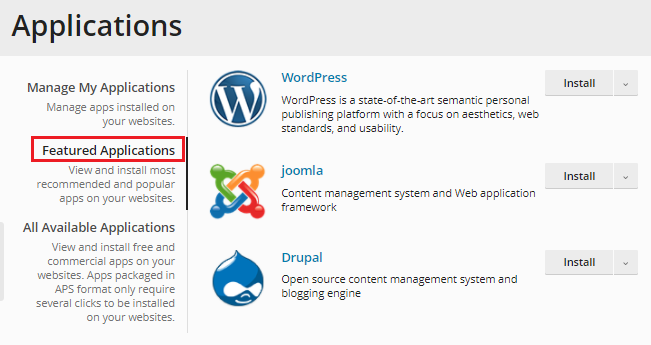
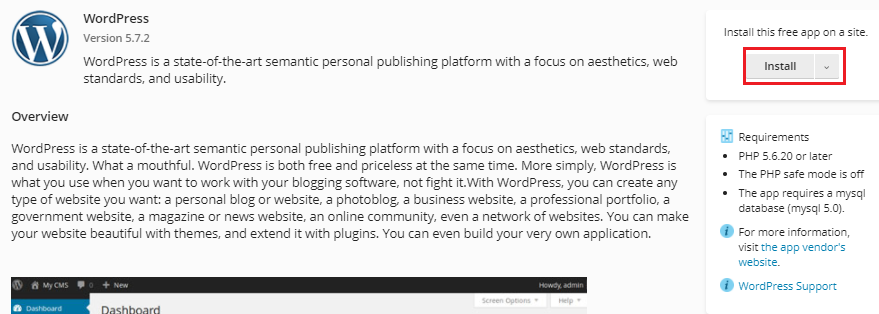
5. Click on an application’s name to learn more about it.
6. Select ‘Install’ to begin the installation process.
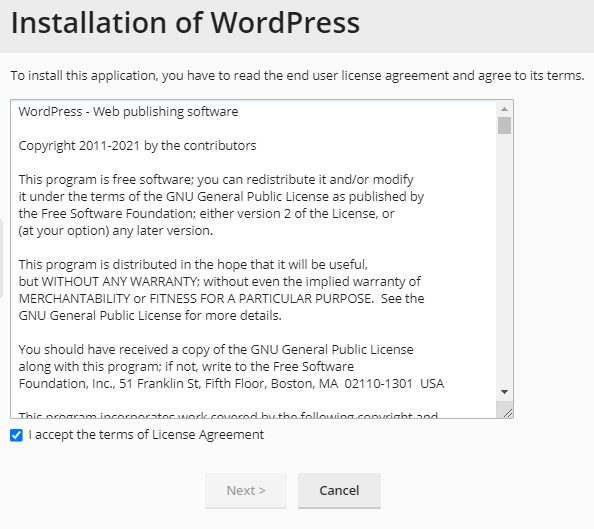
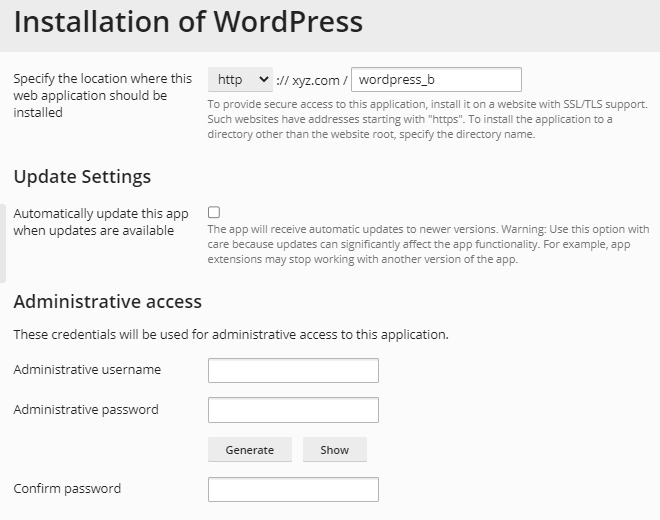
7. On the installation page, fill in all of the fields and then click ‘Install.’
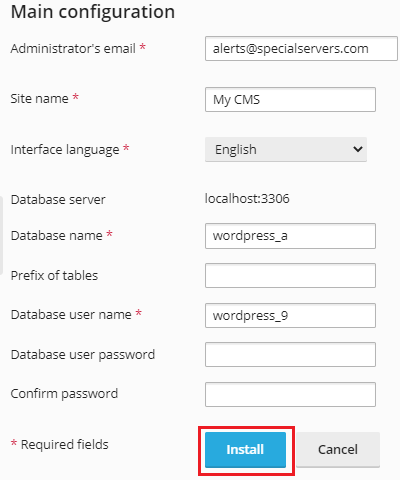
8. Plesk will set up the application for you.
Organising Your Applications To manage the applications you’ve previously installed, follow the steps outlined below:
1. Log in to Plesk.
2. Select ‘Applications’ from the left sidebar.

3. On the Applications page, select the ‘Manage My Applications’ option.
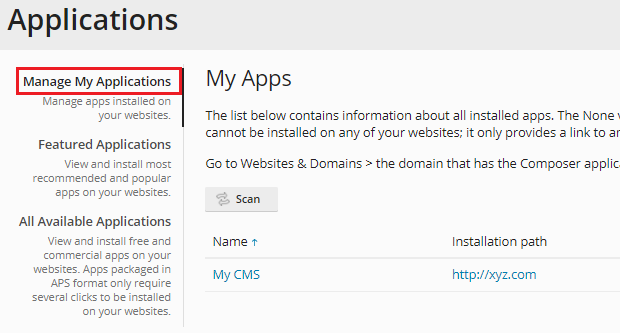
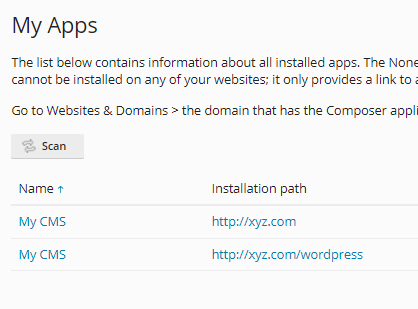
4. You’ll be sent to the ‘My Apps’ section, where you may click on the name of the app you want to manage.
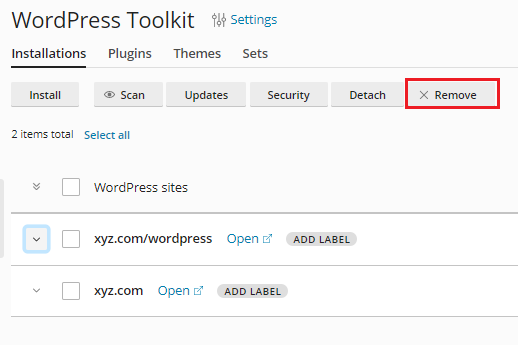
5. On the apps page, you can customize the following settings:
- Select ‘Change Settings’ to modify the application’s settings.
- Click on ‘Remove’ to remove an application from your account.
- Go to >> ‘Administration access entry points’ >> ‘Administrative interface’ to get to the application’s administrative page.
- Click on ‘Site’ under ‘Public access entry points’ to view the public-facing site.
In this way, you become successful in installing the third-party software applications through the Plesk control panel. For more help feel free to contact our support department anytime.