In this tutorial, we’ll explain how to change the file permissions in cPanel. File permissions allow operating systems to understand how requests to access files should be handled.
Changing file permissions in cPanel:
- Log in to your cPanel account.
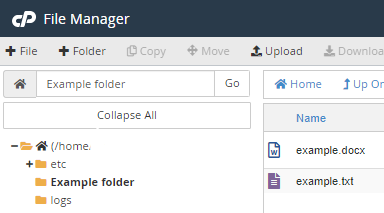
- Scroll to the Files section and click on the File Manager icon.
- In the File Manager option, find the folder or file whose permission you wish to change.
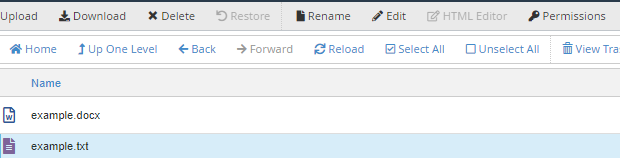
- Next, select the file or folder you want to change by clicking its name. Once it is highlighted in blue, click the Permissions button (with the key icon) in File Manager’s top menu.
- A dialog box will then open where you can see the existing permissions for that file or folder.
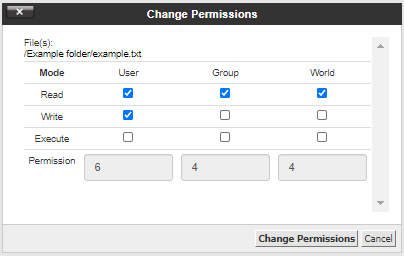
- The three categories, User, Group, and World, are displayed across the top and their Read, Write and Execute permissions are in the columns underneath. A highlighted checkbox indicates that permission has been granted.
- To change permissions, check or uncheck the required boxes. When you do this, the permission value numbers at the bottom will automatically be updated.
- Once you have made the changes, click on the Change Permissions button to save the new permission settings.
- Do remember that if permissions are modified incorrectly, it could affect the functionality of your website.
For more information on how to use cPanel, visit our Knowledgebase.