In this article, we will explain how to change your WordPress logo for your website.
Your website logo is the face of your brand. Keeping it updated ensures your site looks professional and up to date.
Here’s how to change your logo in WordPress:
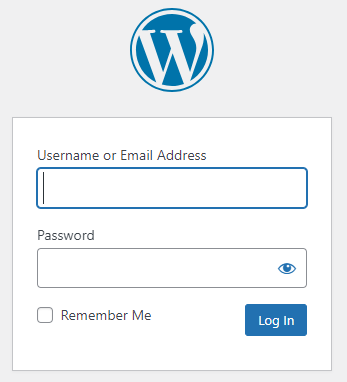
- Log in to your WordPress Admin.
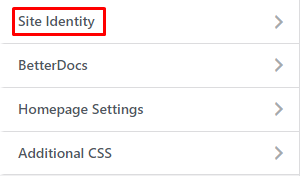
- Click Appearance > Customize.

- Click on Site Identity.
- Click on “Select Site Icon” button.
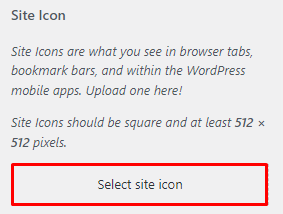
- Upload your logo with a transparent background to the media library, or select an existing logo file. If needed, you might be asked to crop your image, but you can choose “Skip Cropping” to keep the image as a whole.
- Save your edits and publish to view your new logo.
In this way, you can change or upload your logo from WordPress. For more information, you can visit the knowledge base section.