In this guide, we have explained how to configure default nameservers in WHM. Name servers help in translating the domain name into an IP address and linking data that’s informal for users to understand with the info that’s informal for computers to comprehend.
Let us follow the steps:
-
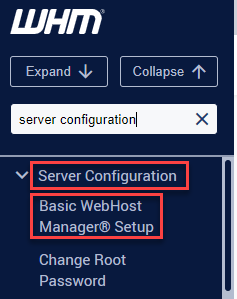
Log in to the WHM account.
-
Select the “Server Configuration” section and click on the “Basic Webhost Manager Setup” sub-option.
-
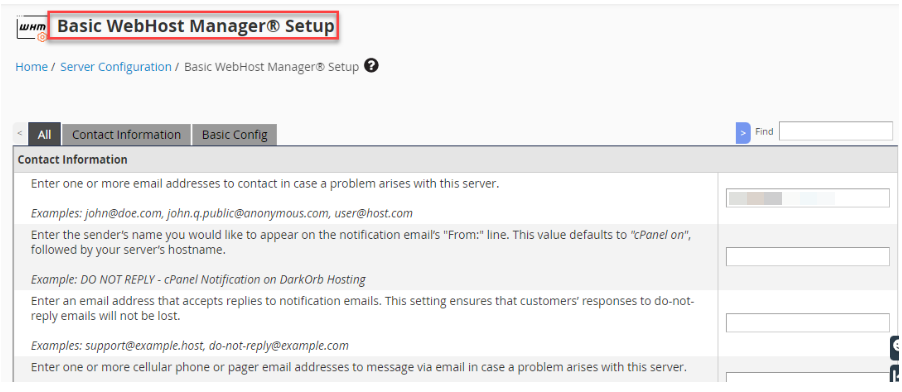
You will enter a new interface.
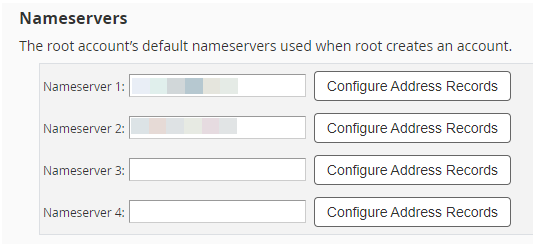
- Scroll down the page and find the “Nameservers” option.
-
Enter the names of the nameservers in the space provided.
Important tips while naming a nameserver:-
The name should consist of a prefix, a dot and then the domain name. The resolution for nameservers is to prefix them with ns1, ns2, ns3 and so on. Let us take an example: ns20.test.com.
-
The domain should represent your company. The main URL of your company’s homepage is the domain you should use.
-
- Click on the “Save Changes” button.

This way, you can configure default nameservers in WHM. Hope it was useful to you. For further information on nameservers, you can visit our KB section. You can also seek help from our support team for any queries.