In this article, we will find how to create subaccounts in cPanel using User Manager.
Let us follow the steps to create subaccounts in User Manager within cPanel:
- Log in to cPanel.
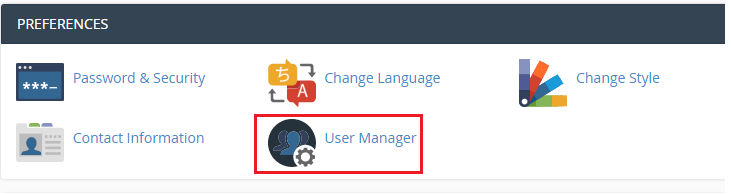
- Find preferences. In preferences, click User Manager.
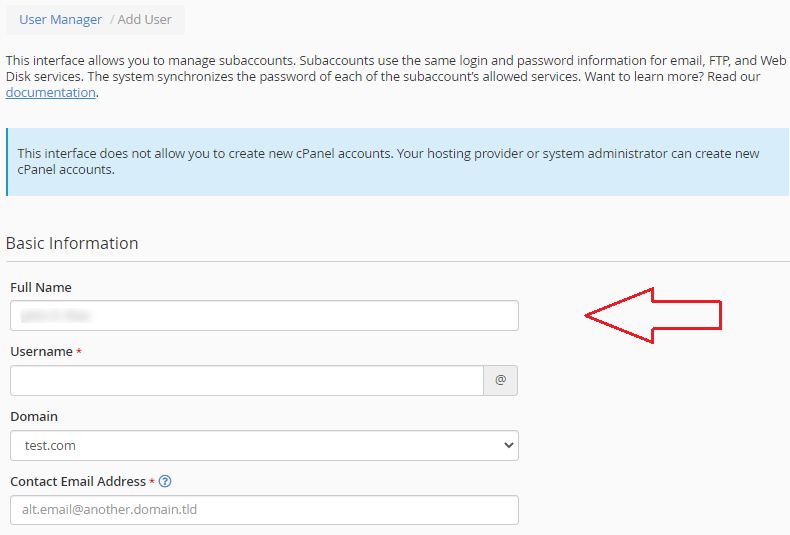
- Select the Add User button.

- After entering into the User Manager, fill in the basic information like Full name, Username, Domain, and Contact Email Address.
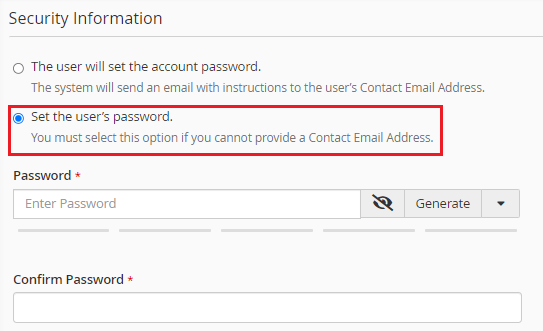
- Choose a strong password. Select any one option out of two in Security Information depending on who will set the password.
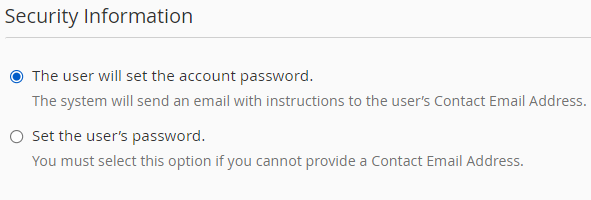
- If you select the first option, the user will set the password. In the second option, you will have to set the password. It is recommended to use the cPanel tool to generate one.
- Next come services such as Email, FTP, and Web Disk as given below. There is a slide button to enable or disable them. Set the quotas for these and select the Home Directory where it is to be saved.
And then hit the Create button. Next to it, there is another button to create and add another User. Cancel if you don’t want to save it due to any reason.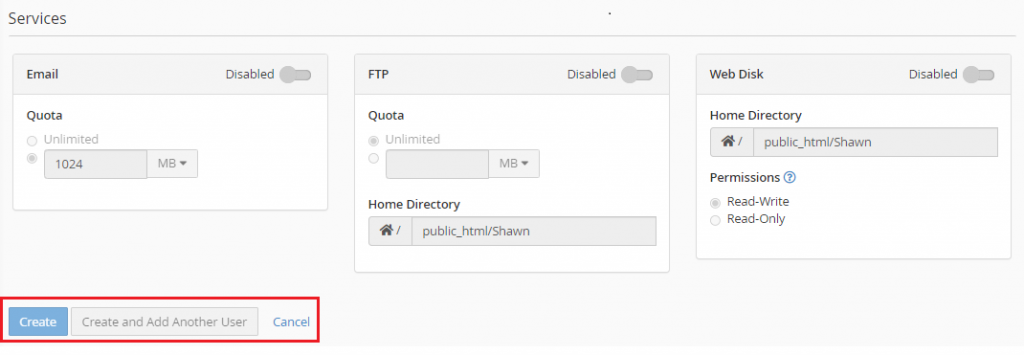
- Your account will be created as shown in the image given below. You can also Edit it, Change the Password or Delete it.

In this manner, Sub-accounts can be created in cPanel. If you have any queries always feel free to get in touch with the support team anytime.