The following guide helps in understanding how to use WHM to enable/Disable Demo mode for an account.
We will see this in two segments.
To “Enable” Demo mode for a WHM account:
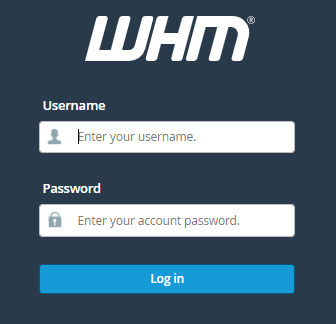
- Log in to WHM.
- Look for the “Account Functions” option from the left-hand side menu.
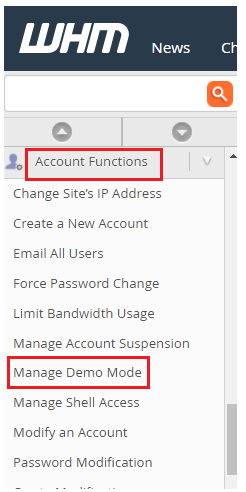
- Click on the “Manage Demo Mode”.

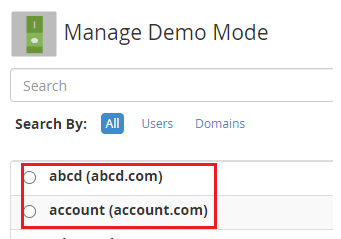
- Select the domain and click on the “Modify” button.

- You will enter into the “Results of Your Request” page and here you can click on the “Enable” button.
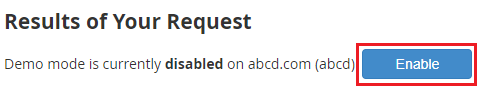
- You can see the success message.

To “Disable” the Demo mode for a WHM account:
- Follow the above procedure till you reach the “Results of Your Request” page and then click on the “Disable” button.
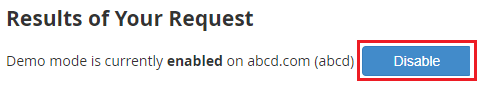
- You will get a success message as shown below.

This way one can Enable/Disable Demo mode for a WHM account. If you need a more powerful hosting solution to cope with increasing demand, visit our homepage.