
This guide explains how to enable Greylisting in WHM. Greylisting is an email spam-filtering technique that temporarily rejects messages from unknown mail servers, helping reduce spam by allowing only valid mail servers to retry delivery.
Let’s take a look at how to do it:
- Log in to WHM.
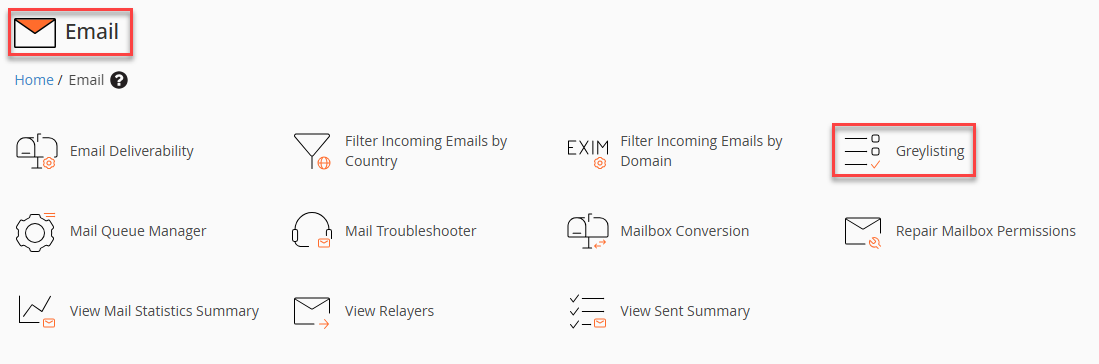
- Select the “Email” section from the left-hand side of the screen and click on the “Greylisting” option.
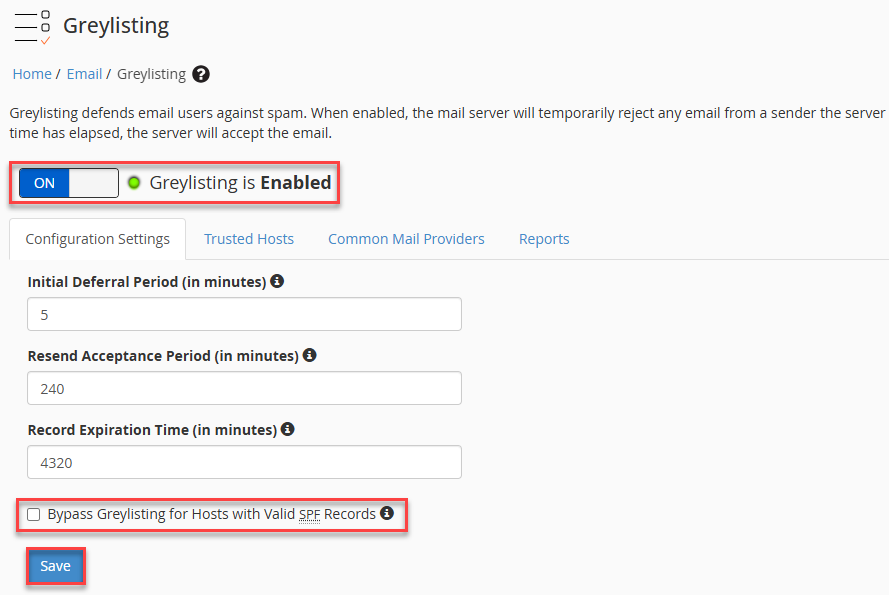
- Greylisting helps reduce spam by temporarily rejecting emails from unknown senders. Legitimate servers retry delivery and are then accepted. You can enable or disable the option.
- If you enable the option, you will see the following options:
- Configuration setting
- Trusted Hosts
- Common Mail Providers
- Reports
-
Under Configuration Settings, configure the Initial Deferral Period, Resend Acceptance Period, and Record Expiration Time according to your requirements. Enable Bypass Greylisting for hosts with valid SPF records to allow trusted senders without delay. Click Save to apply the changes.
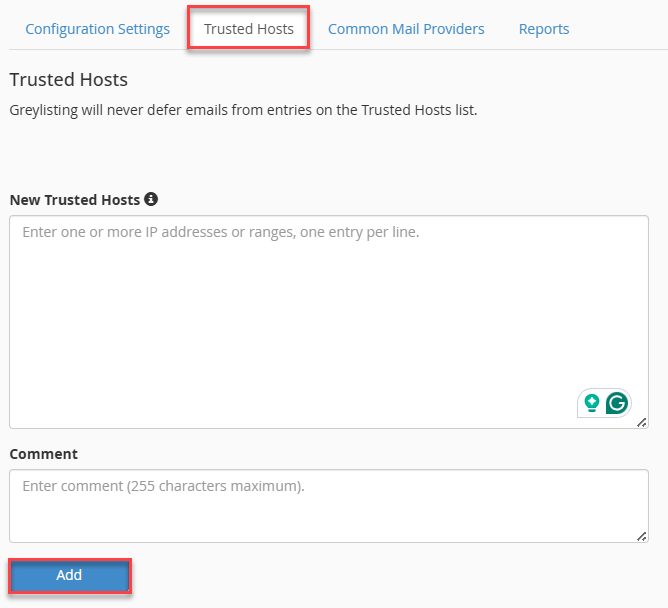
- In the “Trusted Hosts” section, you can specify a list of IP addresses that Greylisting should exclude from email checks. Enter the IP address, add a comment if needed, and then click “Add.”
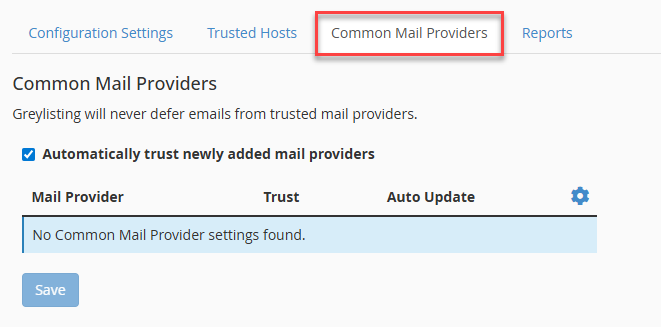
- In Common Mail Providers, Greylisting will not accept mail from the common mail providers listed on the Common Mail Providers page.
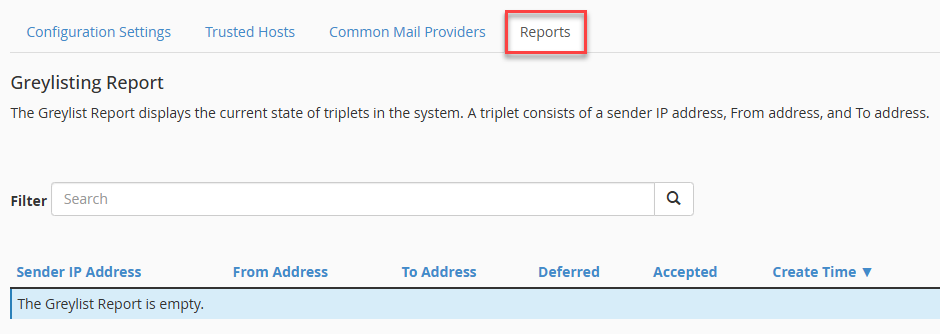
- The Greylist Report shows the current state of the system’s triplets. A triplet is made up of the sender’s IP address, the recipient’s From address, and the recipient’s To address.
That’s all! You have now successfully enabled Greylisting in WHM. We hope this guide was easy to follow. For more details, please visit our latest web hosting plans.