This article explains, how to install WordPress in the cPanel account using Softaculous.
Let us follow the steps to install:
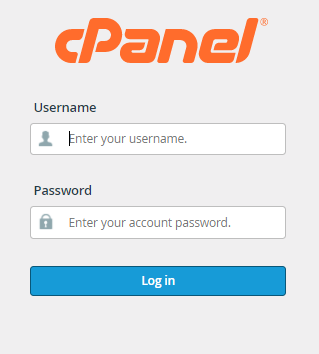
1. Log in to the cPanel account.
2. Select “Softaculous App Installer” from the Software section.

3. A new screen will appear with different Apps such as WordPress, Joomla, AbanteCart to be installed using Softaculous.
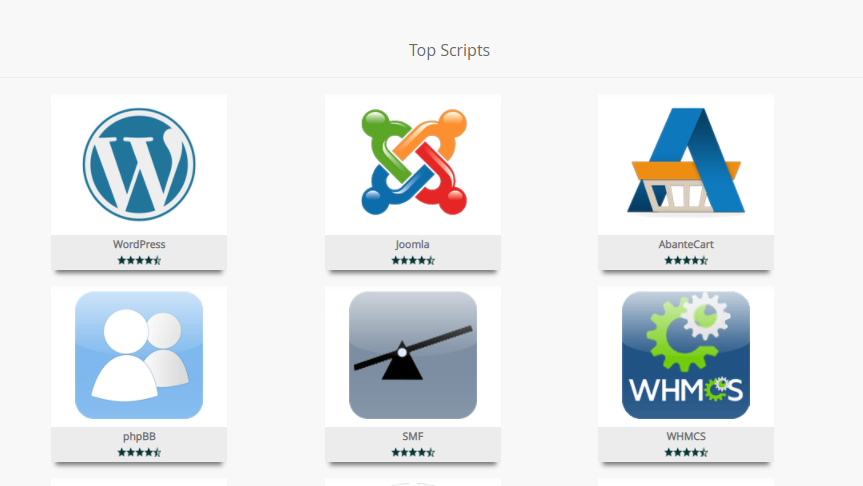
4. Click on “WordPress”.
5. Here you can install it. Click on the install button.
6. Different sections of a form will appear to be filled:
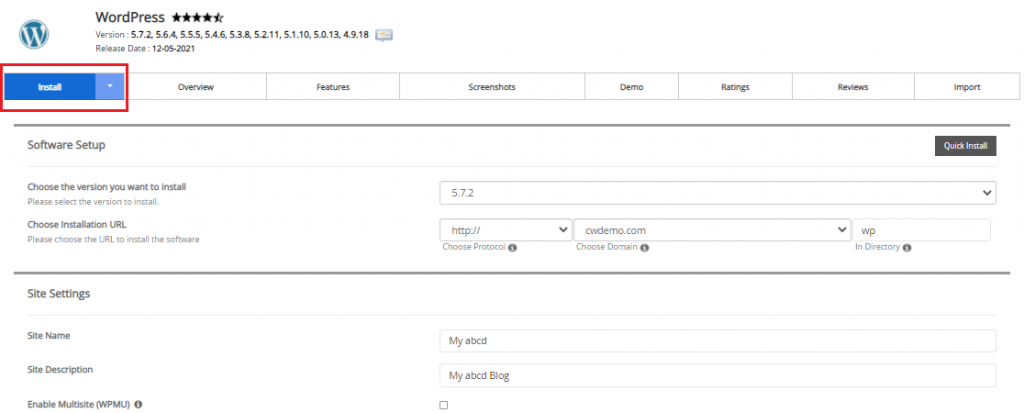
- Software Setup: Choose the version to be installed and the installation URL.
- Site Setting: In this segment, you will write the Site name, Site description, enable the Multisite option (WPMU) for your WordPress blog, this feature will enable the Multisite option. To use this functionality, your server must support Apache mod-rewrite.
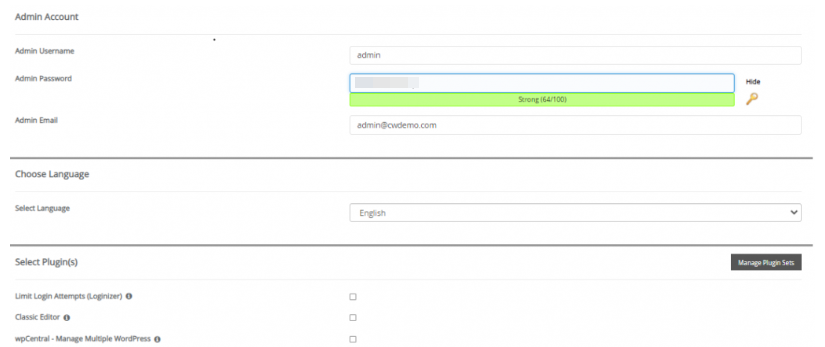
- Admin Account: Type your WordPress Admin username, password and email.
- Choose Language: Select the language.
- Select Plugin(s): Select the Plugin.
- Advanced Options: Type the Database Name, Table Prefix, Disable Update Notifications, Auto-upgrade, Auto Upgrade WordPress Plugins, Auto Upgrade WordPress Themes, Automated backups, Backup Rotation.
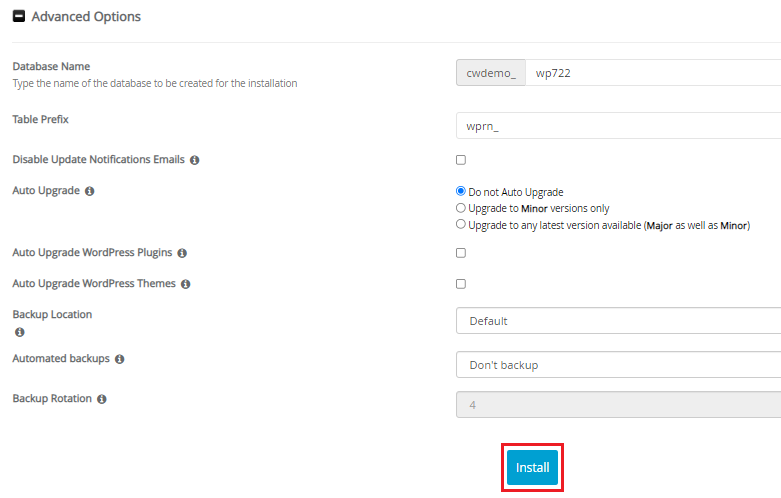
7. Finally hit the “Install” button. You can view the progress of WordPress once you start the installation process.
In such a manner, you can install the WordPress in Your cPanel account using Softaculous. While doing so, if you face any issues, don’t hesitate to contact our support team whenever you require.