This guide will illustrate how to set up Google DNS on Windows 10/11.
Follow the steps:
- Navigate to the “Control Panel”.
- Proceed to “Network and internet” > “Network and sharing center”.
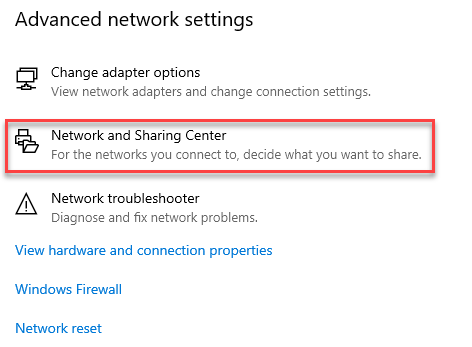
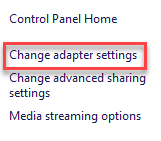
- And click on “Change adapter settings” from the left-hand side menu.
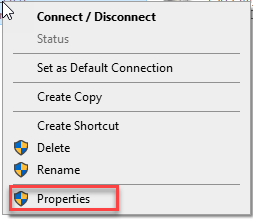
- Choose the connection you want to adjust, right-click, and select “Properties.”
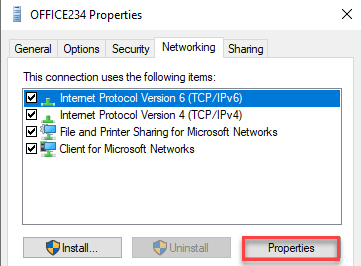
- Navigate to the “Networking” tab and find the checklist titled “This connection uses the following items.”
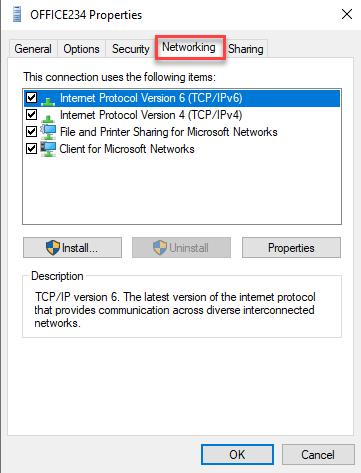
- Select either “Internet Protocol Version 4 (TCP/IPv4)” or “Internet Protocol Version 6 (TCP/IPv6)” and click “Properties.”
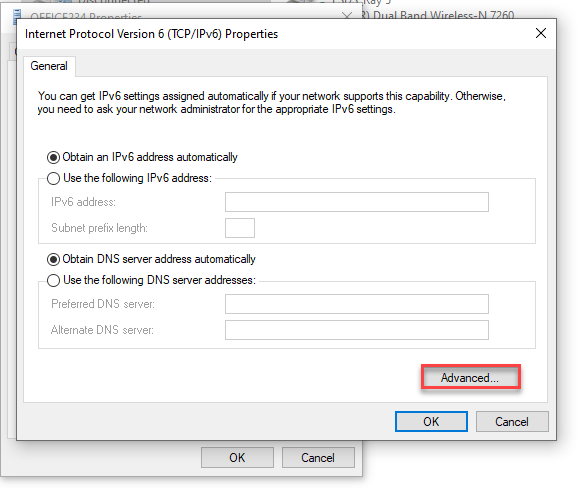
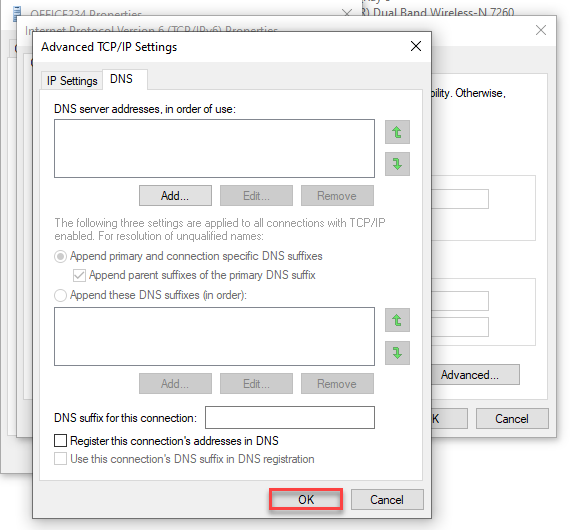
- Access the “Advanced” settings and continue to the “DNS” tab.
- If any DNS server addresses are existing, remove them and click “OK.”
- Select “Use the following DNS server addresses” and input the Google DNS server addresses: 8.8.8.8 and/or 8.8.4.4 for IPv4. 2001:4860:4860::8888 and/or 2001:4860:4860::8844 for IPv6.
- Apply the modifications.
That is it! Should you encounter any issues, contact our support staff at your earliest.
Looking to improve DNS reliability and browsing performance?
A Windows VPS Hosting solution gives you greater control over network settings, DNS configuration and server connectivity for business-critical applications.
A Windows VPS Hosting solution gives you greater control over network settings, DNS configuration and server connectivity for business-critical applications.