This article explains how to build a custom Exim system filter file. Building a custom Exim system filter file allows for tailored email filtering configurations while avoiding the risk of losing changes during Exim Configuration rebuilds.
Caution- Avoid directly editing the /etc/cpanel_exim_system_filter file, as any alterations will be lost during Exim Configuration rebuilds.
To create a customised system filter file, follow these steps:
- Access the server as the root user.
- Execute the command below to duplicate the /etc/cpanel_exim_system_filter file-
cp -p /etc/cpanel_exim_system_filter /etc/cpanel_system_filter_new
Caution- It is highly advisable to create a copy of this file before making modifications. If issues arise, you can use the copied file to revert your changes.
- Ensure that the new file possesses the following ownership and file permissions-
-rw-r--r-- 1 root root
- Utilise your preferred text editor to modify the /etc/cpanel_system_filter_new file.
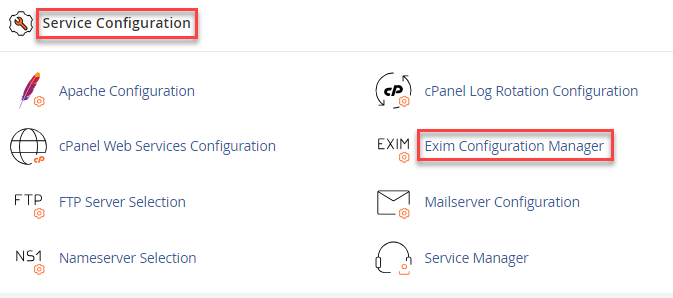
- Go to the Basic Editor section within WHM’s Exim Configuration Manager Interface (WHM » Home » Service Configuration » Exim Configuration Manager).
- Opt for the text box option for the System Filter File setting.
Caution- Irrespective of the selected option, the Exim configuration will include all files within the /usr/local/cpanel/etc/exim/sysfilter/options/ directory.

- Insert the absolute path of the new file in the text box (e.g., /etc/cpanel_system_filter_new).
- Save your changes.
Note- Restarting Exim occurs automatically when saving changes within the Exim Configuration Manager interface.

In this manner, building a personalised Exim system filter file becomes straightforward. For guidance on creating a custom filter rule file, please refer to our Knowledge Base section.