This article explains how to add a customer in Reseller Plesk Panel. Adding a customer in Reseller Plesk Panel enables efficient management, resource allocation, customized services, streamlined billing, and enhanced security for individual clients within a hosting environment.
Follow the steps:
- Log in to Plesk.
- Select the “Customers” sub-option under “Hosting Services” section.
- Click on the “Add a customer” button.

- You will encounter a form-style interface; input your contact information.
- Enter the “Contact Name” and “Email Address” under “Contact Information” section.
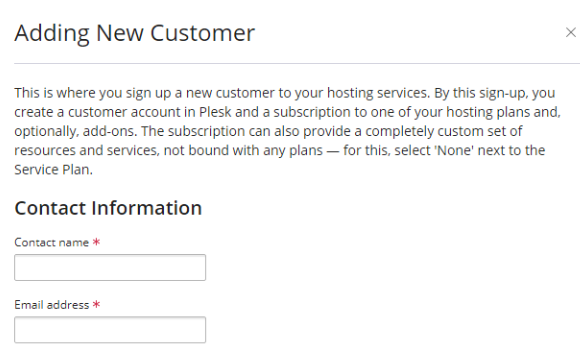
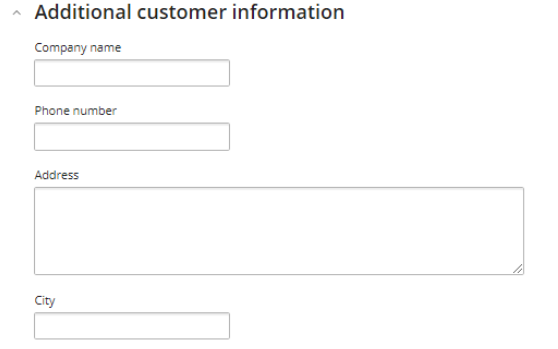
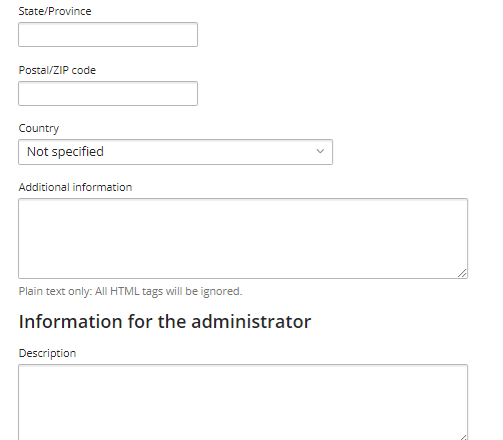
- Under “Additional Customer Information” section, enter “Company Name”, “Phone Number”, “Address”, “City”, “State/Province”, “Postal/Zip code”, “Country”, and any additional information if any.
- You can also add a description under the “Information for the Administrator” section.
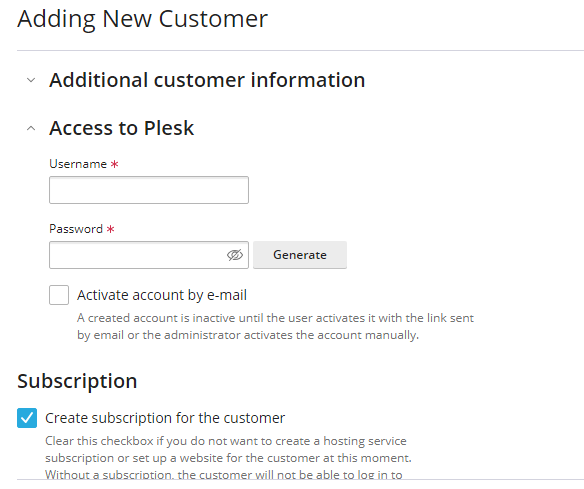
- Enter the “Username” and “Password” under the “Access to Plesk” section. You may use the auto-generated password using the “Generate” button.
- If you wish to send an activation link to the customer through email then select the checkbox.
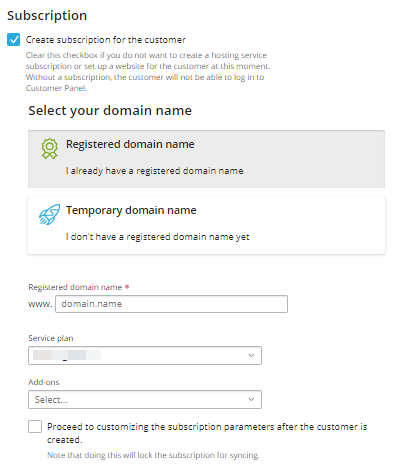
- By default, the checkbox in the Subscription section is selected; if you deselect this option, the customer will lose access to the Customer Panel.
- Now, select your domain name and enter the “Registered Domain name”.
- Select the “Service Plan” and “Add-ons”.
- Choosing this checkbox will prevent the subscription from synchronizing, so it is advisable not to select it.
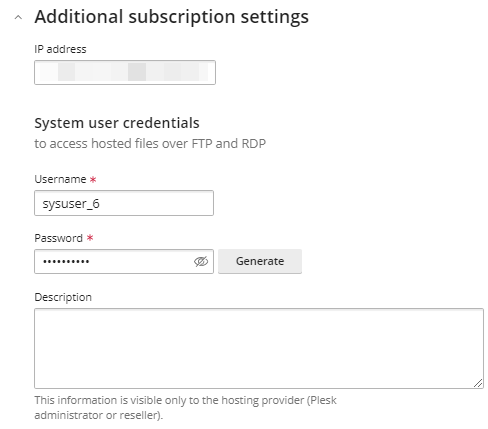
- Then select the “IP address”.
- Enter the “System User Credentials” to access hosted files over FTP and RDP such as “Username” and “Password”.
- If you wish to include a description, you can enter it in this textbox; this information is exclusively visible to the Plesk administrator or reseller.
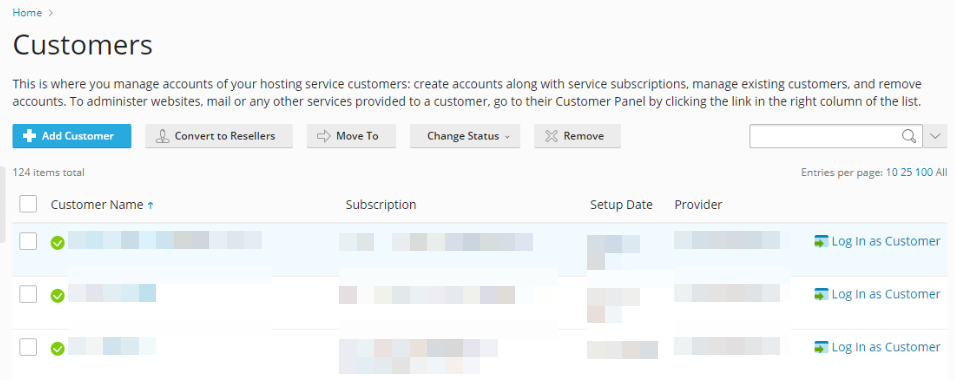
- Click on the “Add Customer” button.

- You will find the added customer in the list as shown below.
This article explains how to add a customer in Reseller Plesk Panel. Should you require any assistance, feel free to reach out to our support team.
