This guide explains how to configure mailhelo for Exim. Configuring “mailhelo” for Exim ensures proper hostname verification during the SMTP handshake, enhancing security, and reducing the risk of spam and spoofing.
Follow the steps-
- Log in to your server’s WHM (Web Host Manager) interface.
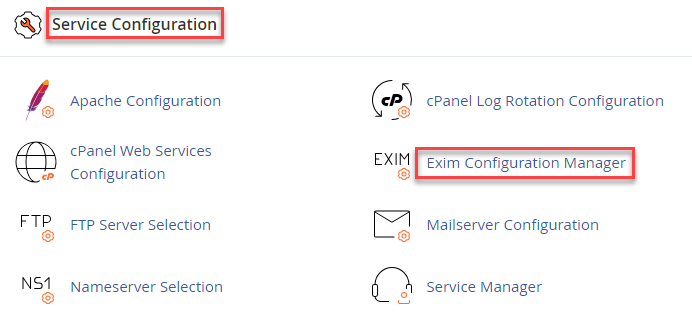
- Navigate to “Home » Service Configuration » Exim Configuration Manager.”
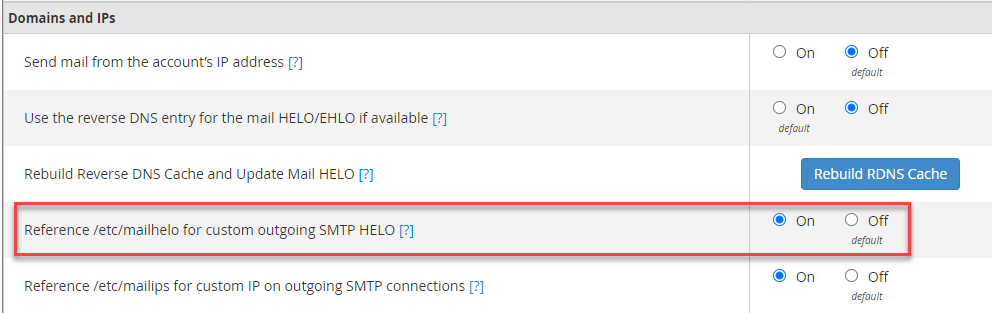
- Locate the “Use the reverse DNS entry for the mail HELO/EHLO if available” setting. Turn off this setting to disable the use of reverse DNS entry for the mail HELO/EHLO.

- Find the “Reference /etc/mailhelo for custom outgoing SMTP HELO” setting. Turn on this setting to enable Exim to reference the /etc/mailhelo file for custom outgoing SMTP HELO.
- Open your preferred text editor (e.g., vi, nano) on the server.
- Create a new file named /etc/mailhelo.
- Configure the /etc/mailhelo file to specify the desired custom outgoing SMTP HELO. Example-
# Custom outgoing SMTP HELO

example.com
- Save the changes made to the /etc/mailhelo file.
- Apply the configuration changes in WHM to ensure they take effect.

By following these steps to configure mailhelo for Exim, you can ensure proper hostname verification during the SMTP handshake, thereby enhancing the security and reliability of your mail server.