This guide explores crucial details on integrating custom fields into your WordPress site. Let’s explore it!
WordPress custom fields allow you to enhance your post or page content by adding extra information. These are like tags attached to your content, letting you include various details. Custom fields are organized with a key (like a name) and a corresponding value (actual information). This key/value setup helps maintain consistency, and you can use it across multiple posts or pages.
These steps will guide you on using custom fields in your posts. If you prefer using them on pages, you can apply the same concepts, but you’ll need to implement them in template files that build pages instead of posts.
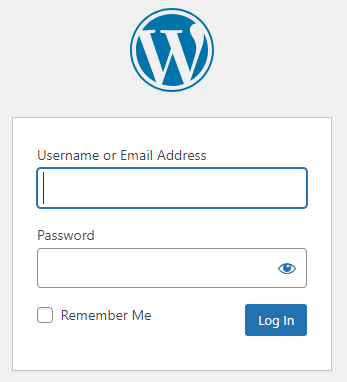
- Log into WordPress.

- Click on “Add New”.

- Tap on the three dots located in the upper right corner of the post editor.

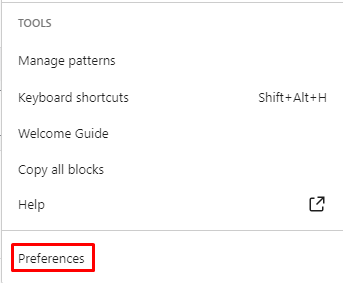
- Click on “Preferences.”

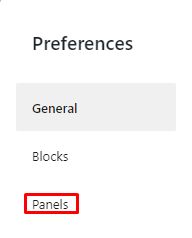
- Select the “Panels.”

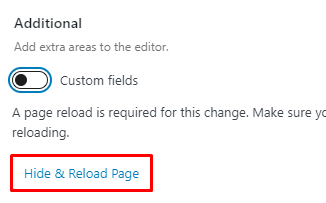
- Swipe the Toggle.

- Finally, press the “Hide & Reload Page” button to continue.

- Now, when you edit posts in the post editor, you’ll see a Custom Fields section

- Write “Type of Exercise” under the “Name” field and “Running” under “Value” field. Remember, this will only appear on this particular post. For other posts, you can enter a different value, like “Elliptical” or another exercise type.

- Save the post.
In this way, you can create custom fields in WordPress. For more information on WordPress, visit our knowledge base section.
