In this article, we have explained how to enable cPanel’s Leech Protection. Leech Protect is a cPanel security feature that allows you to identify unusual levels of activity in your website’s password-protected directories.
To enable cPanel’s Leech Protection follow the steps mentioned below:
- Log in to cPanel.
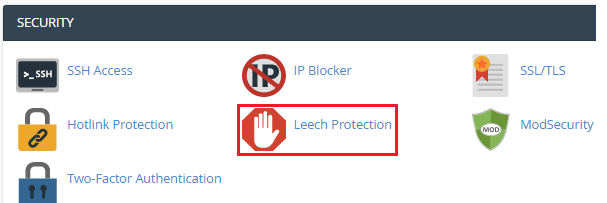
- Select the “Security” option.
- Click on the “Leech Protection” sub-option.
- Select the Directory and click on the “Edit” button.

- You will enter the “Leech Protection” set-up page.
- Enter the “Number of Logins Per Username Allowed in a 2-Hour Period”.
Note- Setting the number lower than four can result in the suspension of legal users who have disconnected and reconnected with their ISPs.
- Enter the URL to Redirect Leech Users. Redirected Leech users will see an internal server error notice if you choose a URL outside of the leech-protected area.

- Tick the box and fill in the email address to which you wish to send email alerts.

- Tick the box of Disable Compromised Accounts. Users that activate leech protection will have their passwords disabled and their accounts suspended by cPanel.

- Click on the “Enable” button.

- You will get a message that the Leech protection has been enabled.

In this way, you can easily enable Leech Protection in cPanel. Don’t miss out to check our latest web hosting plans today itself.