cPanel File Manager is a tool that enables you to manage your files directly within cPanel without having to use FTP. It enables you to create, upload, modify or remove files. Here, we’ll explain how to upload or import a new file.
Accessing File Manager
1. Log in to your cPanel account.
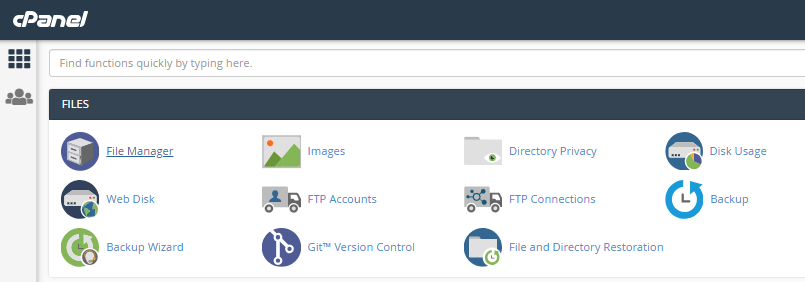
2. Scroll to the Files section and click on File Manager.

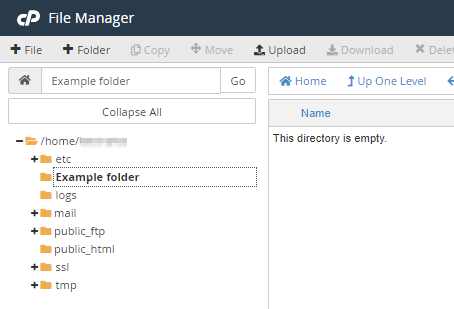
3. This will open the File Manager where you will be shown a hierarchical list of your main folders. It is very similar to the file manager used in Windows

4. When you want to import or upload a new file, the first thing you need to do is select the folder where you want the file to be located. Do this by clicking on it.
5. Next, click the Upload button in the ribbon at the top of the page.

6. This will cause a new tab to open on your browser.

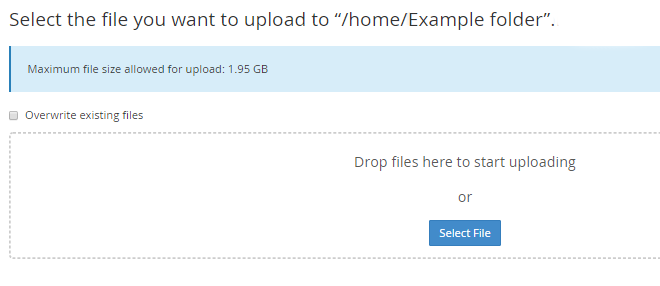
7. As you have already clicked on the destination folder in the left-hand menu, the details of where the folder is to be created will be automatically filled in for you, e.g., the home /Example folder.
8. If you are uploading a newer version of an existing file, decide whether you want the original file to be overwritten. If you do, check the Overwrite existing files box.
9. Next, either drag the file you want to import inside the dotted box or click on the Select button and choose a file from your computer’s hard drive. As soon as you have done this, the file will be uploaded. The upload progress will be shown as a green bar underneath the dotted box.

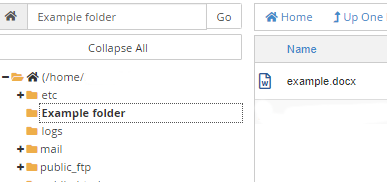
10. Once the file is fully uploaded, it will be shown in the folder where you imported it do.


