This guide will walk you through the steps to manually change the domain of your WordPress site.
If you want to duplicate your WordPress site and use it on a new domain, follow these steps. This is useful when promoting the same content under different domain names.
Important: Make a full backup of your site from cPanel before starting.
Follow the steps:
Copy Website Files
- Go to cPanel > File Manager > public_html.

- Select all files except .qidb, cgi-bin, and any addon domain folders.

- Copy and paste them into your new addon domain folder (e.g., /public_html/newdomain.com).
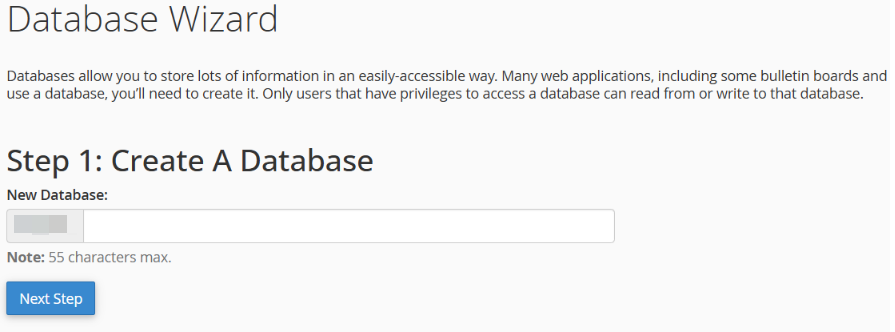
Create a New Database
- Open cPanel > Database Wizard.

- Create a new database, user, and assign full privileges.
Update “wp-config.php”
- Go to the addon domain folder in File Manager.
- Edit wp-config.php and update:
- DB_NAME
- DB_USER
- DB_PASSWORD
Export and Import the Database
- Export the original site’s database using phpMyAdmin.
- Import it into the new database you created.
Update the Database for New Domain
- In phpMyAdmin, go to the new database.
- Open the “wp_options” table.
- Update the siteurl and home with the new domain.
- Edit other details like blog name, description, and user login if needed.
Done!
You have successfully duplicated and moved your WordPress site to a new domain. If you want extra help, connect with our support specialists.
Making major site changes? Learn How to manually back up a MySQL database in cPanel