This guide explains how to modify DNS hosts file for windows. Operating systems, including Windows, employ the hosts file (also known as etc\hosts) as a text file to map IP addresses to host names and domain names. This file replaces the mappings from the DNS server to which your system is connected across the network and serves as a local DNS service for your local machine.
Follow the steps to modify DNS hosts file for windows:
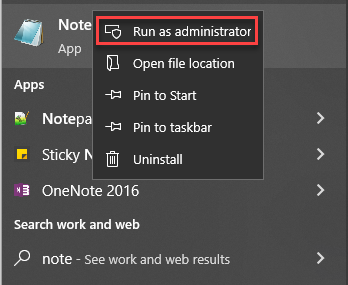
- Select the windows button and find notepad using the search box.

- Select notepad, right click, and choose “Run as Administrator” option.
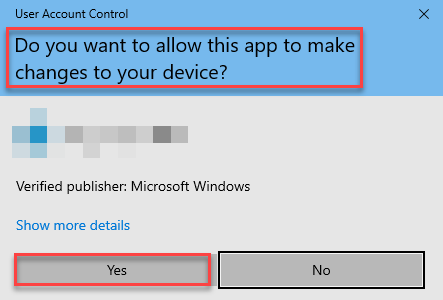
- The system will ask “Do you want to allow this app to make changes to your device?” question.
- Click “Yes” button.
- Select File and then Open in Notepad.
- Circumnavigate to C:\Windows\System32\drivers\etc\hostsor simply press the “Enter” key after pasting the path into the address box at the top.
- Select “All files” using the “File name:” drop down menu, if you do not find the host file in the “/etc” directory.
- Add an IP address and hostname at the end of the host file.
- Click on the “Save” button and then close the file.
- Lastly, in order for your computer to recognise changes to the file, you should cleanse your DNS cache.
- Go to Windows and type “command prompt” into the search bar and execute the following command:
ipconfig /flushdns
This way, you can modify DNS hosts file for windows. Hope you liked our article. If you get into any difficulty, do inform our support specialists.