This article will shed light on using WHM to install ImageMagick Extension for a PHP version. It is a must extension for clients who want to create and modify photos on your page.
Follow these simple steps to install ImageMagick on WHM:
1. Use your credentials to log in to “WHM”.

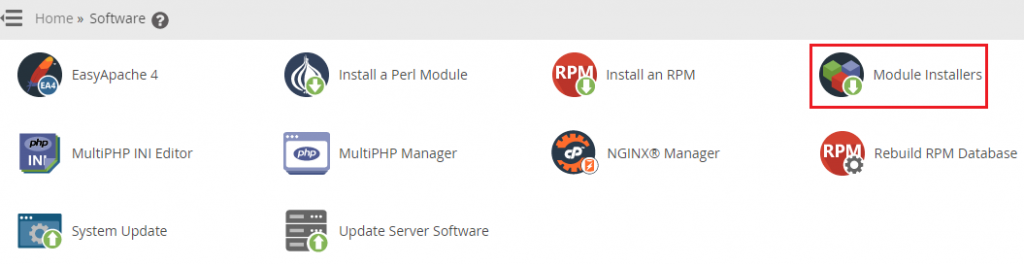
2. Go to the “Software” dropdown menu.
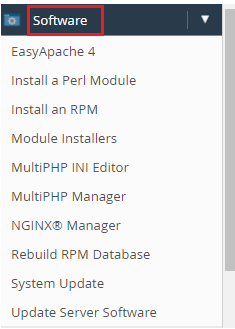
3. Select “Module Installers”.
4. A list of Language Modules that have been installed will appear.
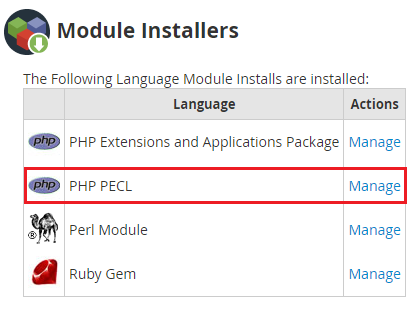
5. After that, click on “Manage” next to “PHP PECL” language.
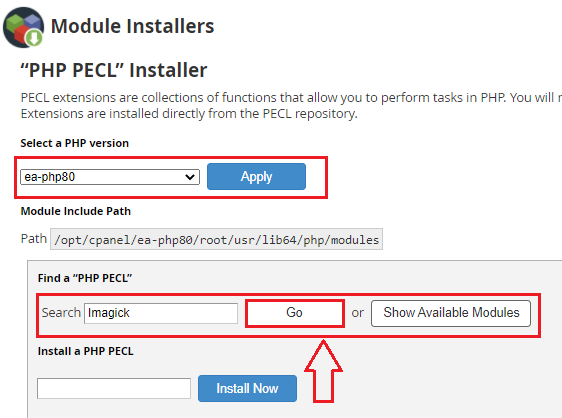
6. Select a suitable “PHP version” from the dropdown list to receive an ImageMagick compatible extension.
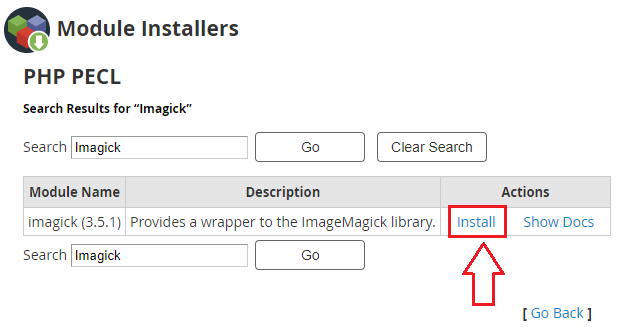
7. After typing “Imagick” into the Search box, click the “Go” button. The module for the Imagick extension will appear on the Screen Results.
8. Under the Actions column, you’ll find “Install”.
9. The installation process will start automatically. In a few instances, the system will conclude the installation of Imagick PHP PECL and show a success message.

This tutorial will show you how to install ImageMagic Extension for a PHP version using WHM. I hope you have fully comprehended everything.
If you have any questions, please contact eukhost customer service staff at any time. We are available to assist you 24 hours a day, seven days a week.
Need to manage file types on your Windows 10 system? Our guide on How to Change the File Extensions in Windows 10