Once you install WordPress, there are important tasks before creating content. Despite being partly pre-configured, you need to do some key steps. To tailor WordPress to your needs and ensure your site works well, review its general settings.
This tutorial explains every setting, helping you effectively manage your website.
- Log into your WordPress
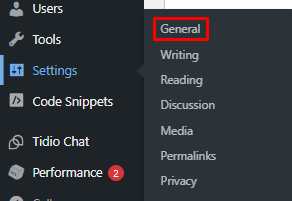
- Select “Settings”, and click on “General.”
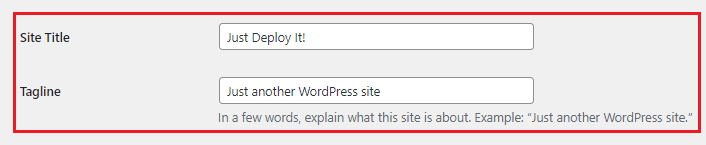
- The “Site Title” is your main website heading, usually at the top and in the browser title bar. Depending on your theme, it may vary, so enter your business name or brand-related text. The “Tagline” is like a slogan, shown below the site title in smaller font. Where it appears depends on your WordPress theme.
- The “WordPress Address (URL)” is where the core files are stored. If it’s in the main domain, the URL is “http://yourdomain.com”. If in a subdirectory like “blog”, it’s “http://yourdomain.com/blog”. The “Site Address (URL)” is the actual address people use to access your site. Usually, both URLs are the same.
Changing them is not recommended as it needs extra setup, and wrong changes may make your website inaccessible.
- The “Administration Email Address” is your WordPress website’s main email. It receives all admin and maintenance notifications from WordPress, serving a distinct purpose, even if it’s likely the same as your admin email address.

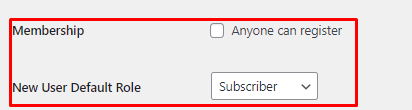
- The “Membership” checkbox decides if visitors can register on your WordPress site. If checked, everyone can register, but for security, it’s advised not to enable it. The “New User Default Role” sets the default role for new members or users.
- In the “Site Language” menu, pick the language for your WordPress Admin Dashboard. In the “Timezone” menu, choose the city for your website’s time zone.
If needed, you can select a UTC format option.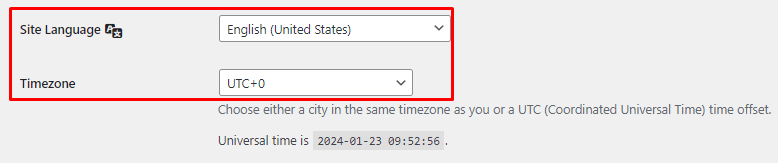
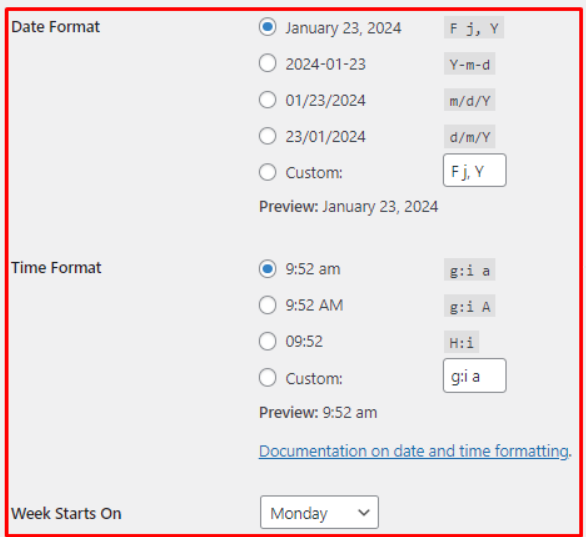
- Choose the “Date Format” to decide how dates appear on your website. Note that it won’t change dates in the Admin Dashboard.Likewise, the “Time Format” affects how time displays on your site, not in the Admin Dashboard.Pick the starting day with “Week Starts On” for WordPress calendars. The chosen day appears first on the monthly calendar.
- After making your desired changes, remember to click “Save Changes” to apply them.
Now, you’ve learned to set up the General Settings for your WordPress site. We hope this tutorial helps you tailor your website to meet your project’s specific needs.