This guide explains how to modify the Apache port in WHM. Modifying the Apache port in WHM may be necessary for security reasons, to resolve port conflicts, or to comply with specific network configurations, enhancing the server’s performance and functionality.
Follow the steps:
- Log in to WHM.
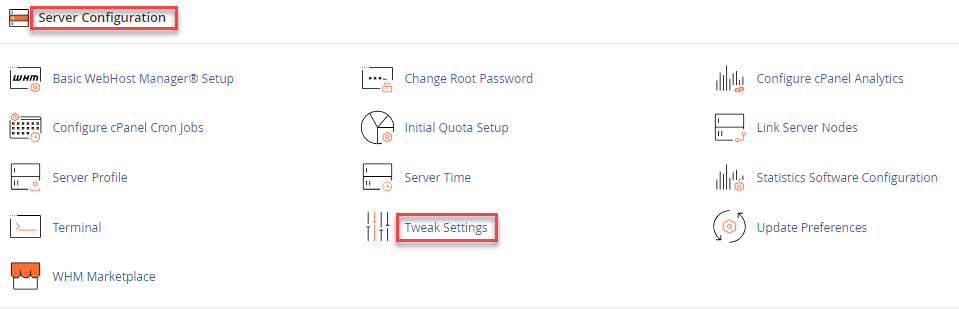
- Select the “Server Configuration” section and click on the “Tweak settings” sub-option.
- Select the “System” tab.

- Choose the textbox for “Apache non-SSL IP/port,” input the new port number after the colon (e.g., 0.0.0.0:81).
- Select the textbox for “Apache SSL port,” input the new port number after the colon (e.g., 0.0.0.0:444).

- Scroll to the page’s bottom, and click the “Save” button.

That is it! If you have any questions about this article, contact our support team. For resolving unexpected Apache shutdown errors, refer to our Knowledge Base (KB)- https://www.eukhost.com/kb/how-to-fix-the-unexpected-apache-shutdown-error/