
This guide will explain to you how to install an SSL certificate in WHM. After you get your certificate via email, you can install your certificate on WHM.
Let us find the steps:
-
Log in to WHM.
-
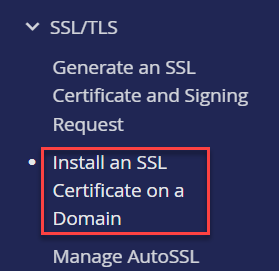
Find the “SSL/TLS” category on the left-hand side of the screen.
-
Click on the “Install an SSL certificate on a Domain” option.
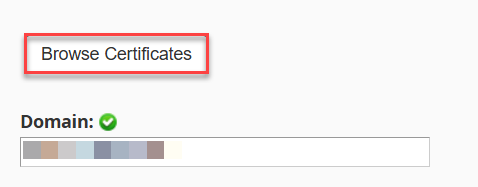
- Here, you can use an existing certificate for a domain using the Browse Certificate option.
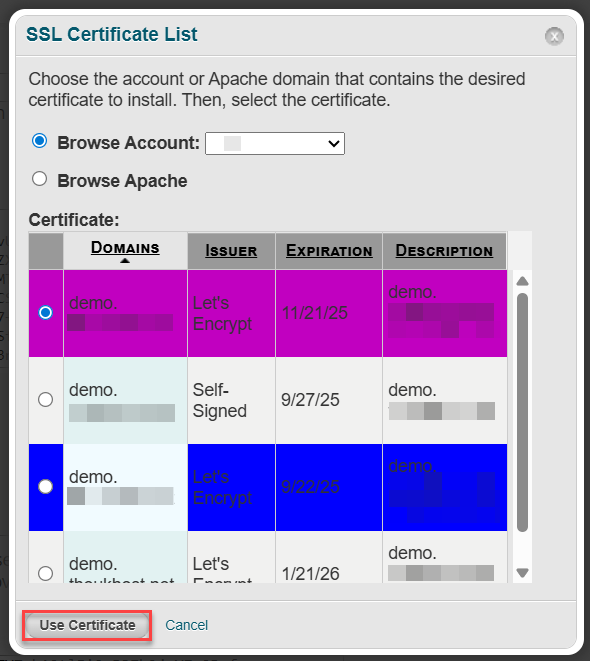
- As soon as you click this option, a window will pop up showing installed certificates.
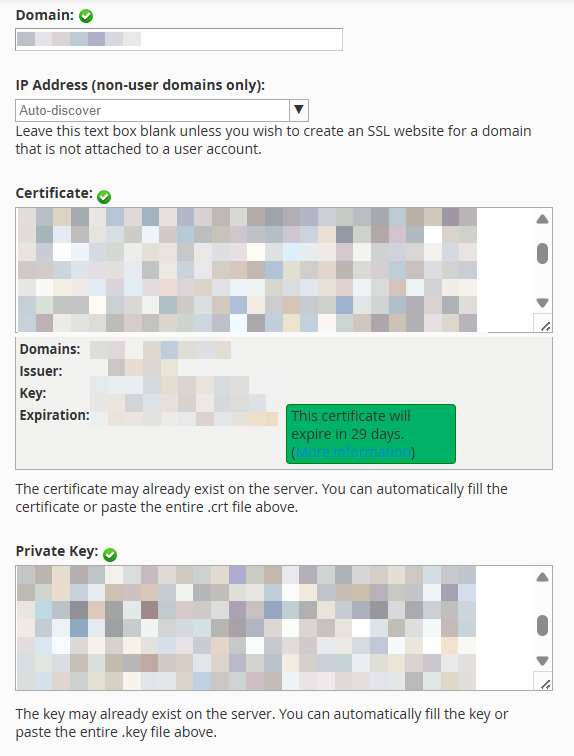
- Select the certificate you wish to add, and all the information will be automatically filled.
-
Or you can manually fill in the information as given below:
- Enter the domain name on which the SSL certificate is to be installed.
-
In the “Certificate” field, enter the certificate that was sent to you through the mail. Make a note, certificates that are sent in a zip format are to be unzipped first. Open this file with the help of any text editor, copy the content in it and then paste it into this field.
- Under the “Private key” option, manually enter the private key that was created with the CSR you used for the certificate activation. This particular text is the decoded one; it is owned by you. This process can be auto-filled if the CSR is created using the same WHM account.
- In the “Certificate Authority Bundle” section, enter the CA certificates that are generally sent with the certificate.
- CA certificates from Comodo (Sectigo CA) are sent as .zip files. If you have a file with the extension *.ca-bundle in your zip, paste its content into the Certificate Authority Bundle box. They can be sent in different formats. Different types of SSL certificates require different CA certificates. The Certificate Authority Bundle should contain all CA certificates in the correct order.
- Finally, click on the “Install” button.
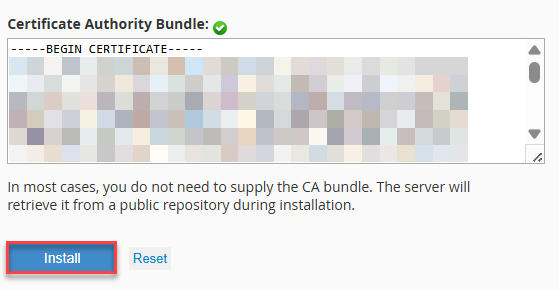
- You will receive a success message once the Certificate is installed.
In this manner, you can install the SSL certificate in WHM. Wasn’t it easy? Hope you liked our article. If you get stuck in any of the above steps, just connect with our support specialists, and they will assist you in any way.