
The Skeleton directory in WHM allows you to define default files and content for all newly created hosting accounts. This ensures consistency and saves time by providing a starting template for new websites.
How does it work?
When a new account is created, WHM automatically copies the files from the Skeleton directory into the account’s public_html folder. Visitors will see this temporary homepage or default content until the account owner uploads their own website files.
Steps to Configure the Skeleton Directory:
- Log in to your WHM.
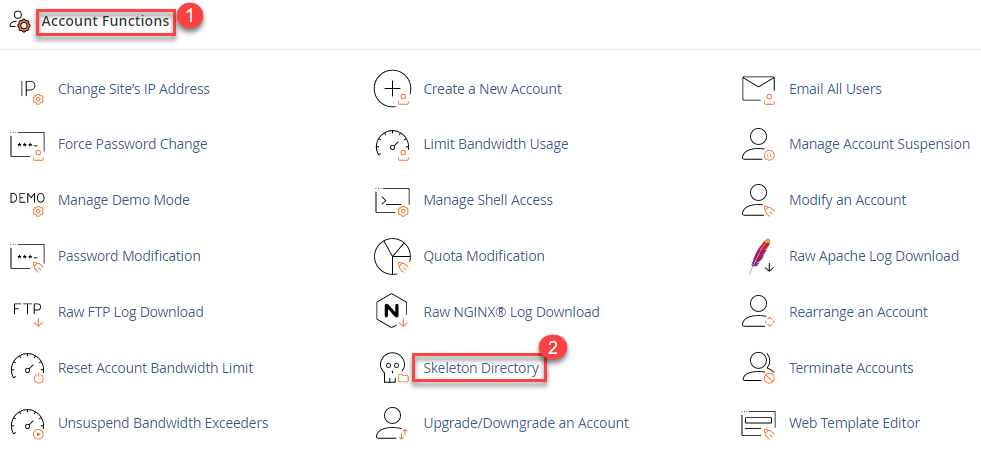
- Choose the “Account Functions” option from the side menu and click on the “Skeleton directory” sub-option.
- Add default files (e.g., index.html) to the Skeleton directory.

- Create a new account, and the files will automatically be copied to the new account’s public_html.
- The account owner can replace the temporary files via FTP or File Manager.
Hope you enjoyed reading this article. For any further information, contact our support staff at any moment.