In this article, we will explain to you how to install the Acronis Agent for Linux.
To install the Acronis agent on Linux, follow the instructions below:
- Log in to your Acronis Cyber Protect Portal.

- From the dashboard click Add.

- Scroll down to the Registration token section and click GENERATE.

- Set up token lifetime if necessary, click GENERATE TOKEN.

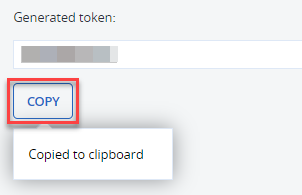
- Click COPY.
- Upload the agent to your servers using an FTP program such as FileZilla or WinSCP.
- SSH to your server and change to the directory you uploaded the agent to.
- Set the permission on the agent file:
chmod 755 Backup_Agent_for_Linux_x86_64.bin
- Execute the installer using the command below replacing %generated token% with the token you generated earlier:
sudo ./Backup_Agent_for_Linux_x86_64.bin --token=%generated token%
- Choose Agent for Linux and select Next.
1. If installation reports that “The Cyber Protection Agent setup has detected that some required packages are not installed” click continue and the agent will attempt to install the required packages. - Your server will now be registered within your Acronis portal and you can proceed with creating a backup plan.
The article came to a close with this. We hope you enjoyed reading it as much as we did writing it. You can get a lot of assistance in our Knowledge Base article about creating a backup plan in Acronis. for any query contact our support staff.
If you’re working with Plesk, check out our guide on Installing the Acronis Agent For Plesk