In this article, we’ll show you how to delete DNS zones using WHM.
A domain on your server may expire at any time. Either that or the domain has been claimed by a different DNS server. It will almost always result in an error. When you try to register an account for that domain, it shows a DNS Zone already exists. So, you need to remove the DNS zone for that domain to fix the problem. WHM allows users to update or delete DNS zones in a few simple steps.
So, let’s see the procedure to remove DNS Zones:
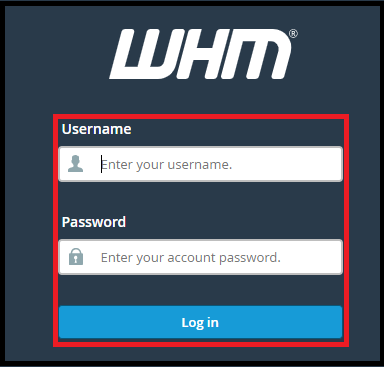
- Log into WHM as a “Root user”.
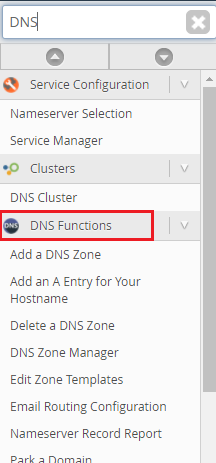
- From the navigation menu, select the “DNS Functions” option.
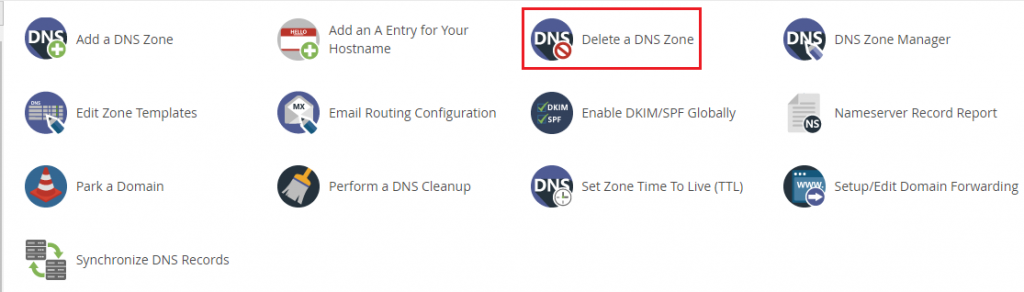
- Now, Click on “Delete a DNS Zone”.
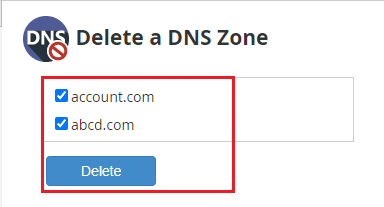
- There will be a list of existing DNS zones displayed. You can delete DNS zones by selecting them and clicking the “Delete button”.
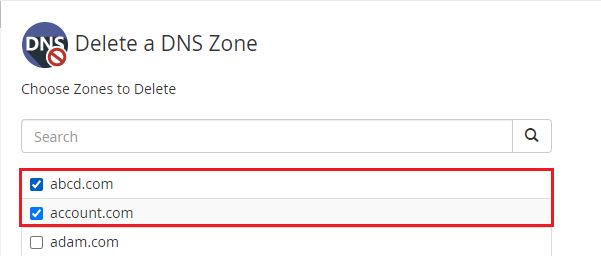
- You can easily edit the list and choose which records you want to keep/remove from the DNS zones. Once you finished, click on Delete.
- WHM will delete the DNS zone(s) you’ve chosen from your server.
Note: You may not be able to delete a DNS zone using this method in some instances. It’s because that zone must have been configured for HTTP use by another account.
To delete the domain, follow these steps:
- Using the Modify an Account interface, you can change the domain.
- Using the Terminate Accounts portal, you can delete the account.
We sincerely hope that you now have a clear idea regarding How to remove DNS Zones from WHM.
However, if you are still facing any difficulty in the procedure mentioned above, feel free to reach out to the eukhost team for proactive support 24×7.