
Data between your server and visitors is encrypted when you use SSL to secure your website. This tutorial covers how to set up automated HTTP to HTTPS redirection and install a Let’s Encrypt SSL certificate on your Windows server-hosted domain.
Table of Contents
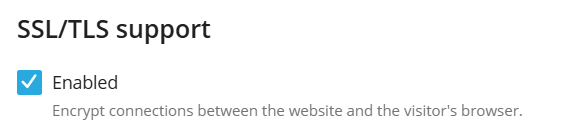
Ensure SSL/TLS Support is Enabled
- Navigate to Websites & Domains and click on your domain.
- Click on Hosting Settings.
- Under the “Security” section, ensure the SSL/TLS support checkbox is selected.
- Click Apply or OK.
Install the Let’s Encrypt Certificate
- Navigate to Websites & Domains, then select your domain.
- Click on SSL/TLS Certificates (or Let’s Encrypt directly if available).
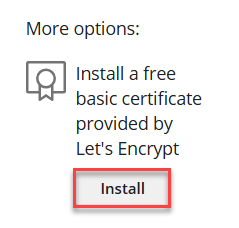
- If prompted, click Install a free basic certificate or Get it free from Let’s Encrypt.
- Enter a valid email address for important notifications.
- Select the desired options, such as “Include the ‘www’ subdomain for the domain and each selected alias” and “Secure webmail on this domain,” if needed.
- Click Install or Get it free.
Configure the Domain to Use the Certificate
- Once installed, go back to Websites & Domains and select your domain.
- Click on Hosting Settings.
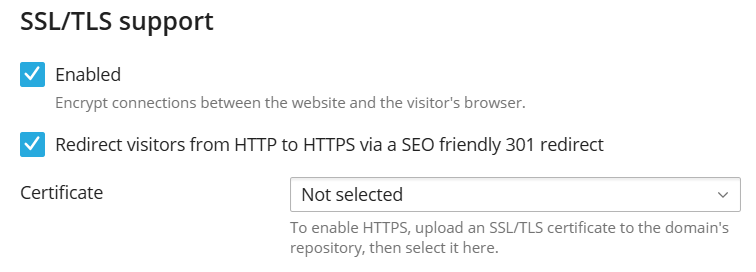
- In the “Security” section, select the newly installed Let’s Encrypt certificate from the Certificate dropdown menu.
- Optionally, enable Permanent SEO-safe 301 redirect from HTTP to HTTPS to ensure all traffic uses the secure connection.
- Click Apply or OK.
Verify Your SSL Setup
- Click the padlock in the browser’s address bar to open the security menu.
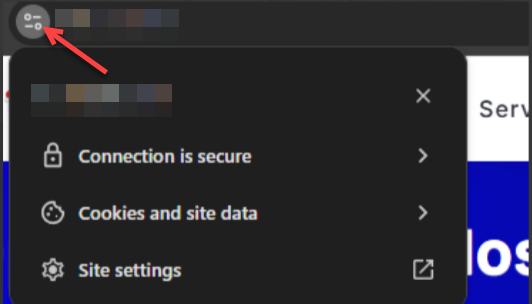
- Check “Connection is secure” and confirm the certificate is valid.
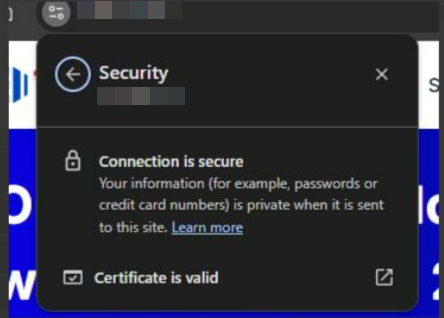
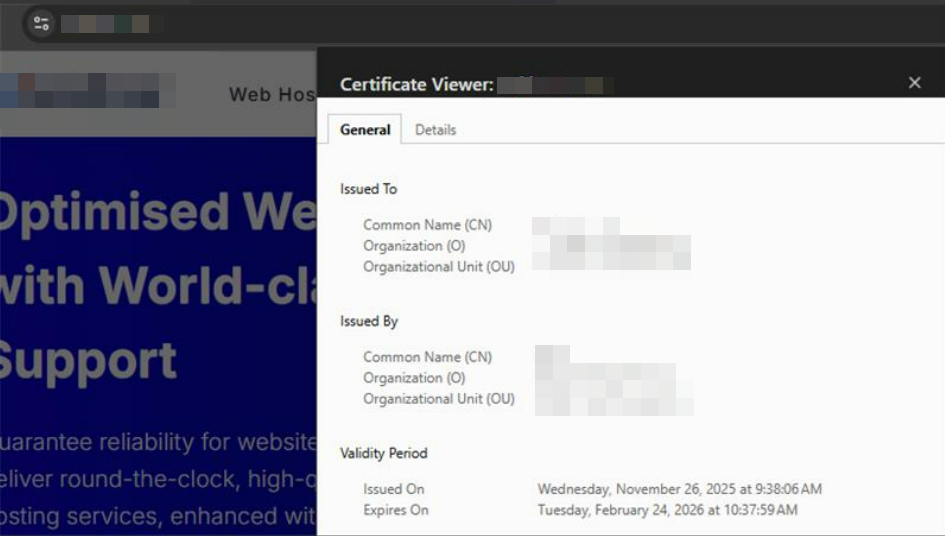
- Open Certificate details and verify the domain name, issuer, and validity dates.
Additional Tips: Only when the domain is hosted on the same server, that is, when the domain’s A record points to the server IP where Plesk is installed, can Plesk issue a Let’s Encrypt SSL certificate.
This way, assigning an SSL certificate in Plesk on a Windows Server is a straightforward process that confirms your website is secure and trusted by visitors.
learn how to identify your account’s server name. Please refer to our detailed guide: How to Identify your Account’s Server Name