It’s widely known that individuals are drawn to visually appealing content. Given this, it’s crucial to thoughtfully select, arrange, and oversee the media files showcased on your WordPress website.
This guide will walk you through configuring the WordPress Media Settings , empowering you to manage the visual presentation of your images and other media files featured on your site.
- Log into “WordPress.”
- Select “Settings”, and click on “Media.”

- When you upload an image on WordPress, it not only saves the original but also makes three more versions: thumbnail, medium, and large. The original image is adjusted based on your settings.
In the “Image Sizes” section, you can set the maximum dimensions for each type.Thumbnail size – Define the “Width” and “Height” in pixels. If checked, WordPress will crop images not fitting these dimensions.
Medium size – Specify “Max Width” and “Max Height” for medium-sized images.
Large size – Enter “Max Width” and “Max Height” for large-sized images.Check the example below for default dimensions. If you have many images, consider reducing these dimensions to enhance performance and save memory.

- In this next part, there’s only one checkbox, and it’s already checked. “Organise my uploads into month- and year-based folders” – This option puts your images into folders based on the upload time. It’s handy for managing your website’s media files later on. So, we suggest keeping it checked.
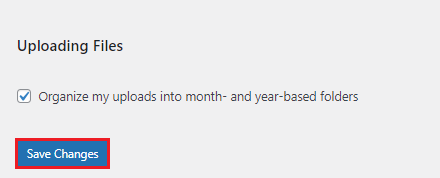
After making the changes you want, remember to click the “Save Changes” button to apply them.
That’s it! You have effectively configured WordPress media settings.
Now, you know how to adjust your image sizes and organise your uploaded images. We hope this info was helpful and will assist you in getting the best results for your images.