In this tutorial, we will show you how to use WHM to configure the DNS Resolver.
A DNS Resolver searches the local cache for a server name and, if not found, queries DNS servers until it retrieves the correct IP. It plays a crucial role in domain name resolution.
When configuring the server, the user must specify the resolver’s IP address. This can be done through the WHM interface, where the IP address of the resolver can be specified in the /etc/resolv.conf file.
To use WHM to configure the DNS Resolver:
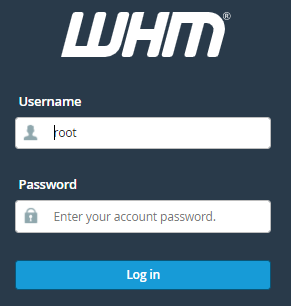
- With your root account, log in to the “WHM panel.”
- From the navigation menu, choose “Networking Setup.”
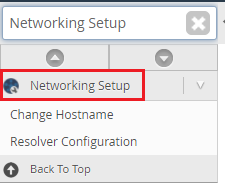
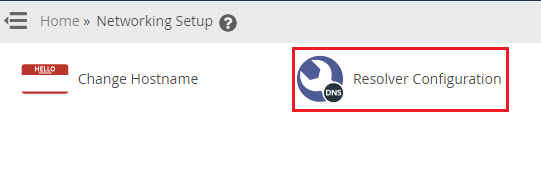
- Select “Resolver Configuration” from the menu.
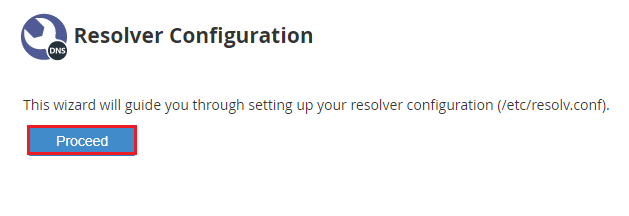
- To continue, click the “Proceed button.”
- Click the Continue button after entering the addresses of two nameservers to use as “primary and secondary resolvers.”
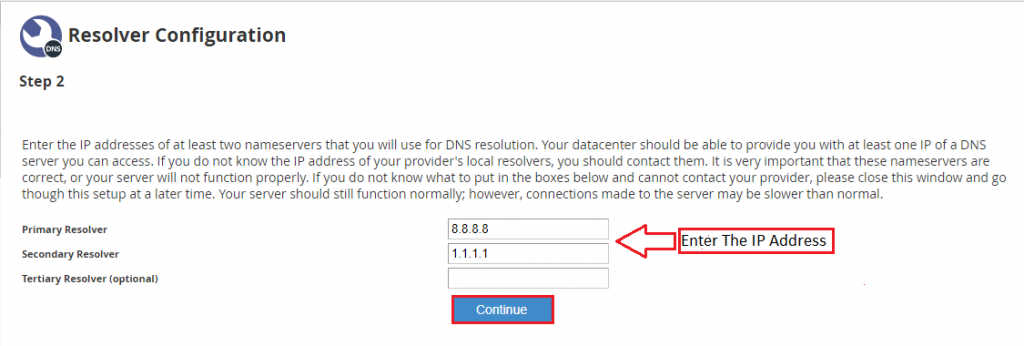
Note: You can add a third nameserver by entering its IP address in the Tertiary Resolver section, which is optional. It will serve as your server’s third resolver.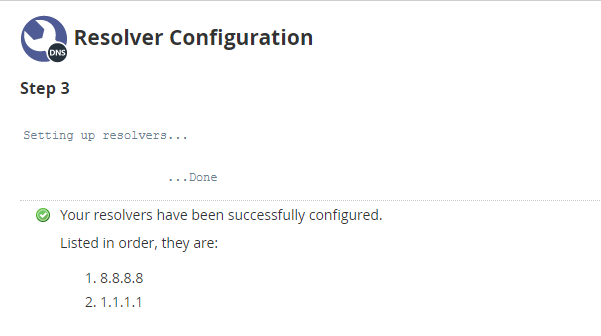
The system will begin the configuration process and set up the primary and secondary resolvers in the correct order.
If the steps indicated in this article do not resolve your issue, please submit a support request, and we will investigate it. Get in touch with the eukHost team for assistance.