This guide explains how to add a new customer to your hosting services in Plesk. When you add a new customer in Plesk, you are essentially creating a distinct entity that can have its own set of resources, permissions, and services within the Plesk control panel.
Follow the steps:
- Log in to Plesk.
- Select the “Customers” option under “Hosting Services” category.
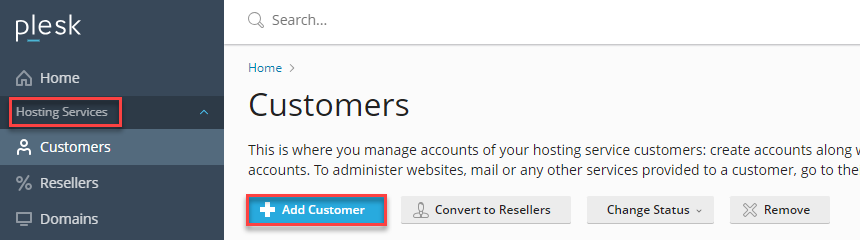
- Click on “+Add Customer” button.
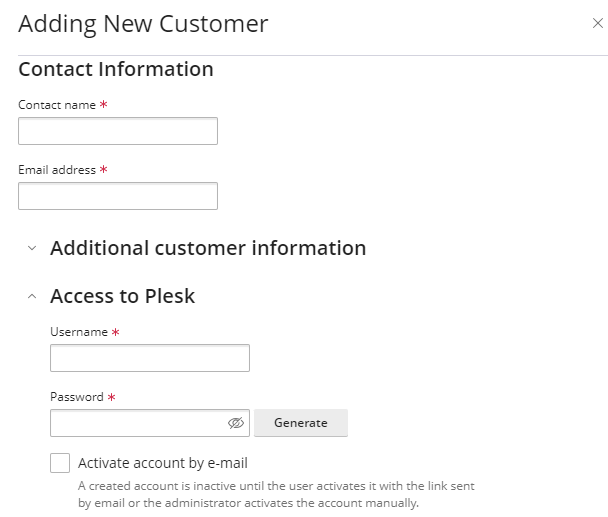
- A form type page will open up. Fill in the details as given below-
- Enter contact name, email address, and additional customer information.
- Enter Username and Password under “Access to Plesk” option. If you wish to activate account by e-mail, tick the checkbox.
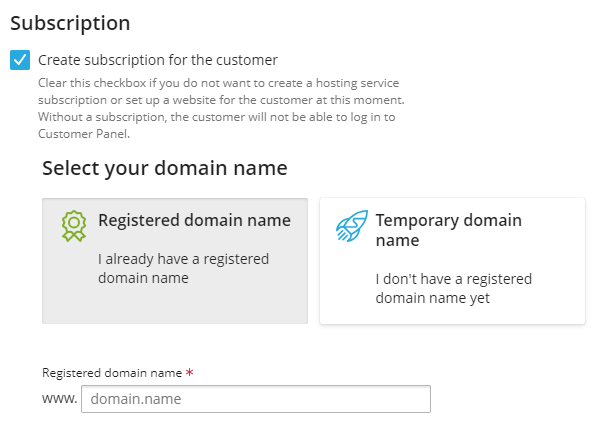
- Clear the checkbox “Create subscription for the customer” if you do not want to create a hosting service subscription or set up a website for the customer at moment. However, without a subscription, the customer will not be able to log in to Customer Panel.
- Select domain name.
- Enter registered domain name.
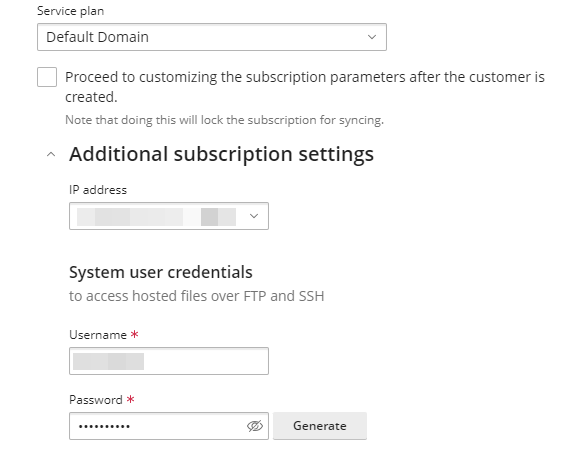
- Select the service plan.
- Tick the box if you want to proceed further to customise the subscription parameters.
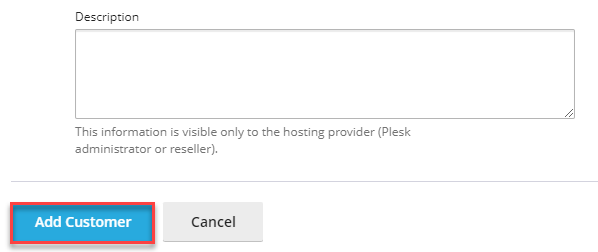
- Enter additional subscription settings, system user credentials, and description, which will be visible only to the hosting provider.
- Click on the “Add Customer” button.
After completing these steps, the new customer will be added to your Plesk control panel, and they can start using the hosting services based on the assigned service plan. Hope you liked our article. If you find any difficulty in this process, get assistance from our technical team.