In this article, we have explained how to add a new link to the WordPress sidebar.
Let us follow the steps-
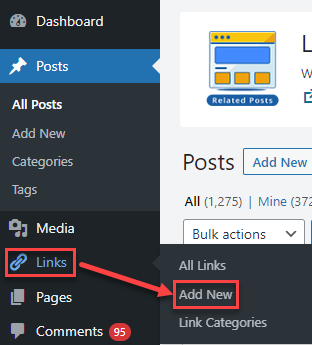
- Log in to WordPress dashboard.
- From the left side of the screen, select the option “Links”.
- Click on the “Add new” sub-option.
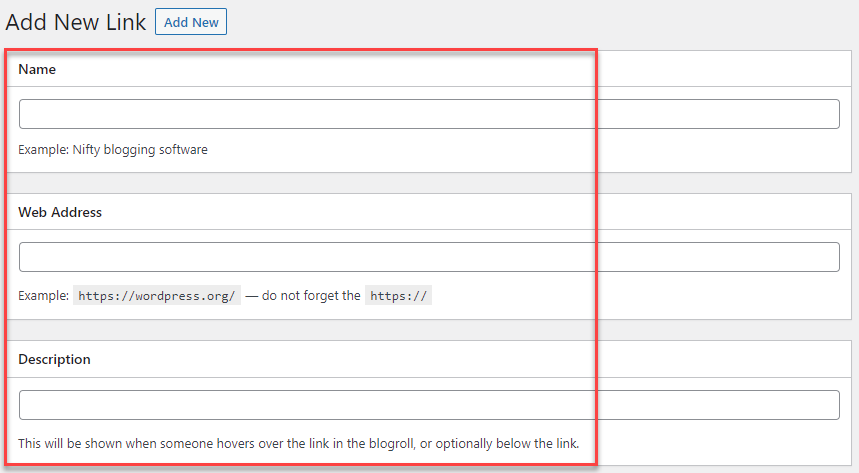
- You will enter a new page. Fill in the name of the link, Web address, and description.
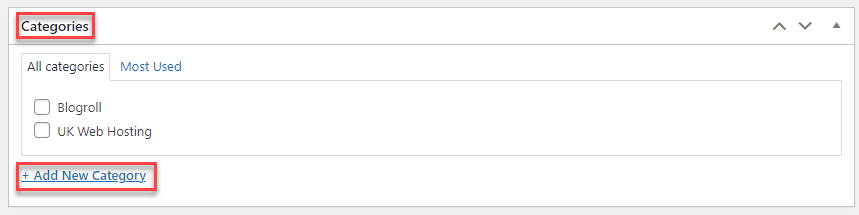
- Select the category and if required you can even add a new one.
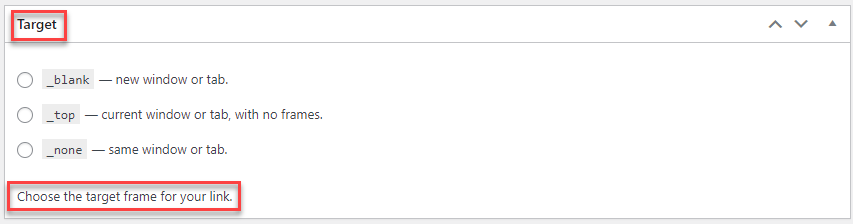
- Choose the target frame for your link.
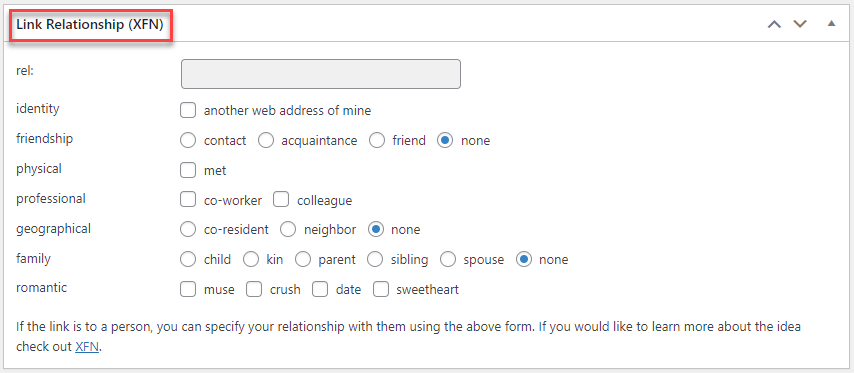
- Fill the XFN form. XFN stands for XHTML friends network. If the link is to a person, you can specify your relationship with them using the above form.
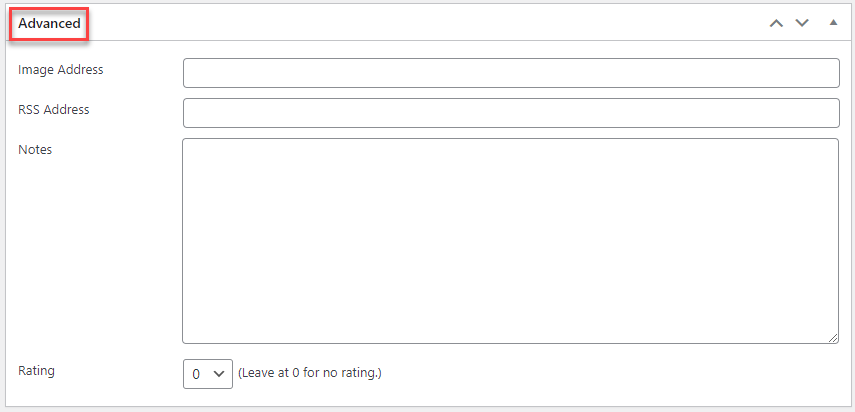
- Lastly, enter the advanced settings.
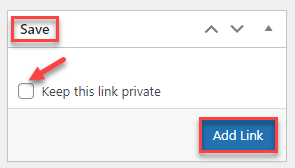
- Once done, click on the “Add Link” button on the right side of the screen to save the link. If you want to keep this link private, you can tick the check box provided.
This way, you can add a new link to the WordPress sidebar. Hope you liked this article. For more informative articles, do visit our KB section regularly. In addition, for extra assistance, seek help from our support specialists.