This guide outlines the steps to effectively clear the NGINX cache for users through the WHM interface. Clearing the Nginx cache for a user within WHM is a streamlined process. NGINX, an open-source software renowned for web serving, caching, load balancing, and acting as a reverse proxy, initially gained popularity as a high-performance and stable web server.
Utilising WHM’s NGINX Manager, users can seamlessly install, uninstall, and oversee NGINX along with its reverse proxy and caching server functionalities. This interface extends its capabilities to cache management on the server.
Let us install NGINX Manager-
- Log in to WHM as a root user.
- To initiate the process, you must install NGINX Manager on your WHM server.
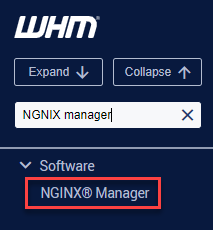
- To install NGINX, follow these steps-
- Log in to your WHM account.
- Navigate to the right-hand side of the pane; find NGINX Manager in the Search Tools and Accounts section.
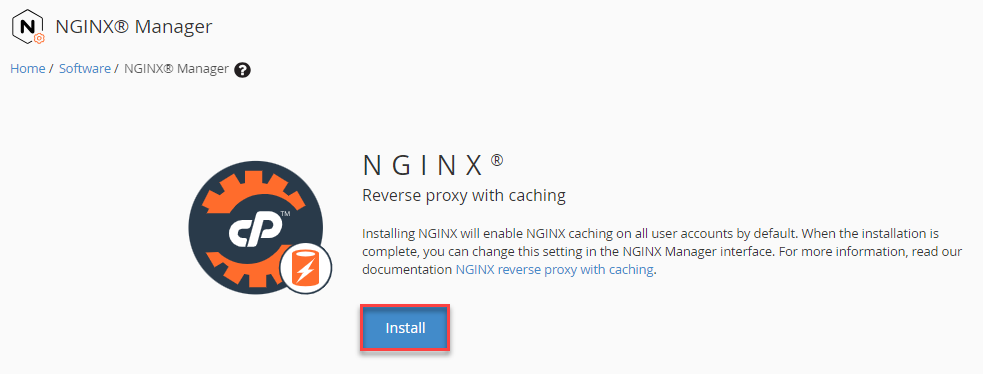
- Select “Install,” and once the installation is finished, a confirmation window will appear.

- Next, proceed to NGINX Manager.
- Instructions for Setting up Nginx for WordPress Statistics and Permalinks –
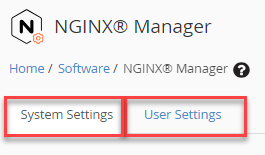
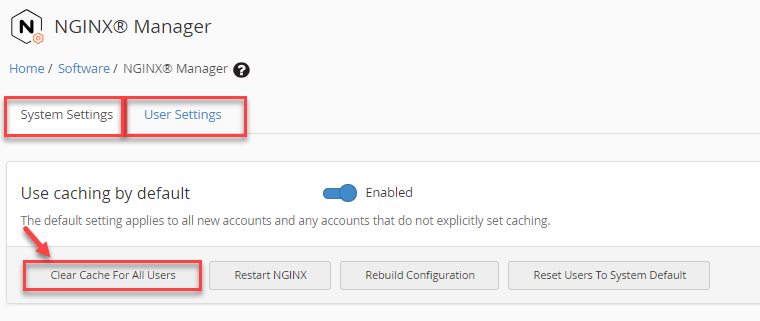
Within this section, you will find both System Settings and User Settings.
- For individual user cache clearance, mark the checkbox corresponding to the user you intend to clear and then press “Clear Cache.”
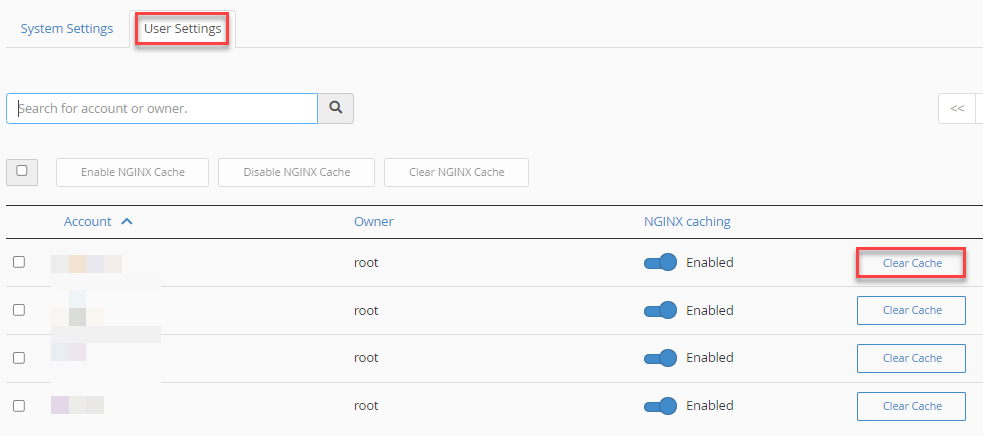
- Alternatively, within System Settings, you can opt to “Clear Cache for All Users”. To do this for multiple users, select the relevant usernames or use the checkbox above the table to choose all visible users.
Subsequently, click on “Clear NGINX Cache.”
That concludes the process! Hope you liked our article. If you still find any difficulty, seek help from our support team.
