
Email filters in cPanel allow you to automatically manage incoming emails by applying rules based on specific criteria. This guide explains how to configure and test email filters in cPanel to ensure they work as expected.
Follow the steps to configure and test email filters:
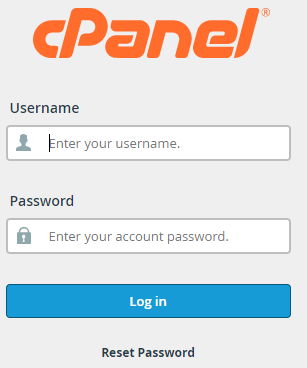
- Log in to your cPanel account.
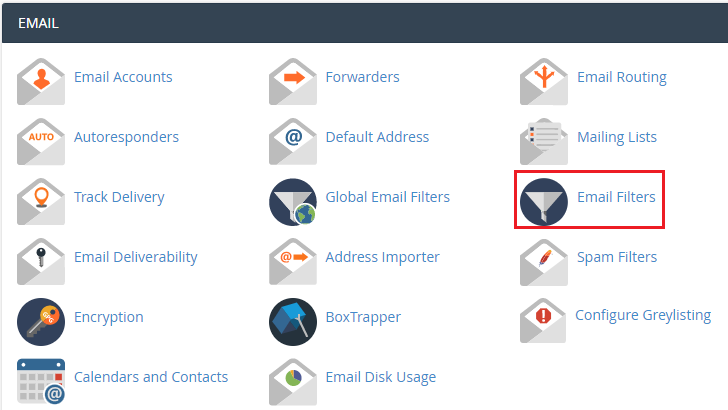
- Navigate to the ‘Email’ section on the cPanel dashboard and click on ‘Email Filters’.
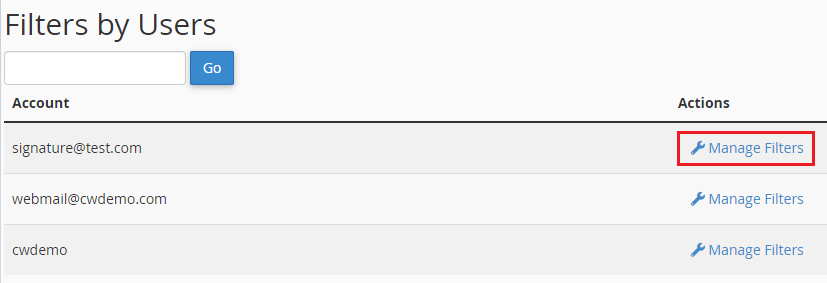
- Select the account you wish to configure and test, and click on ‘Manage Filters’.
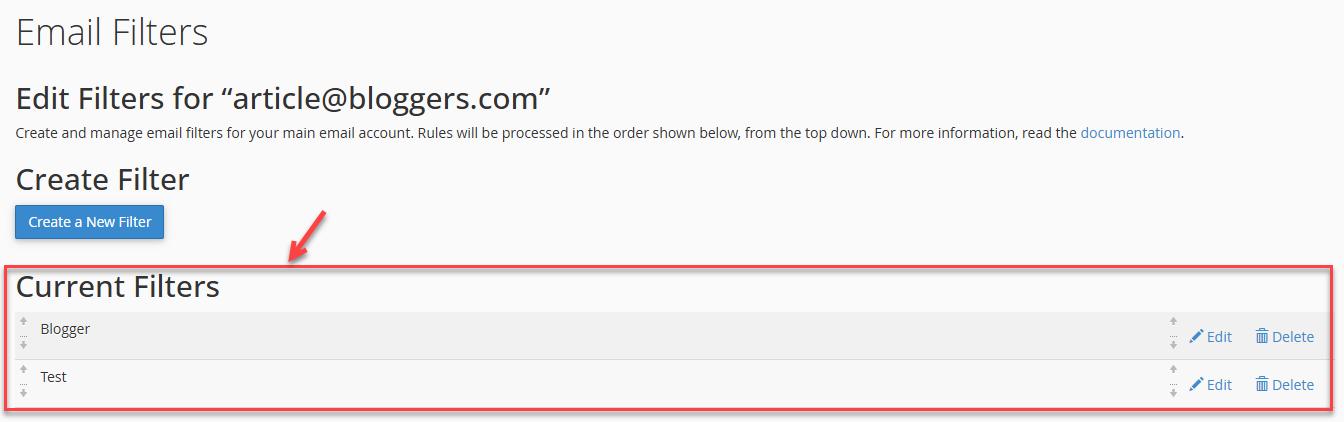
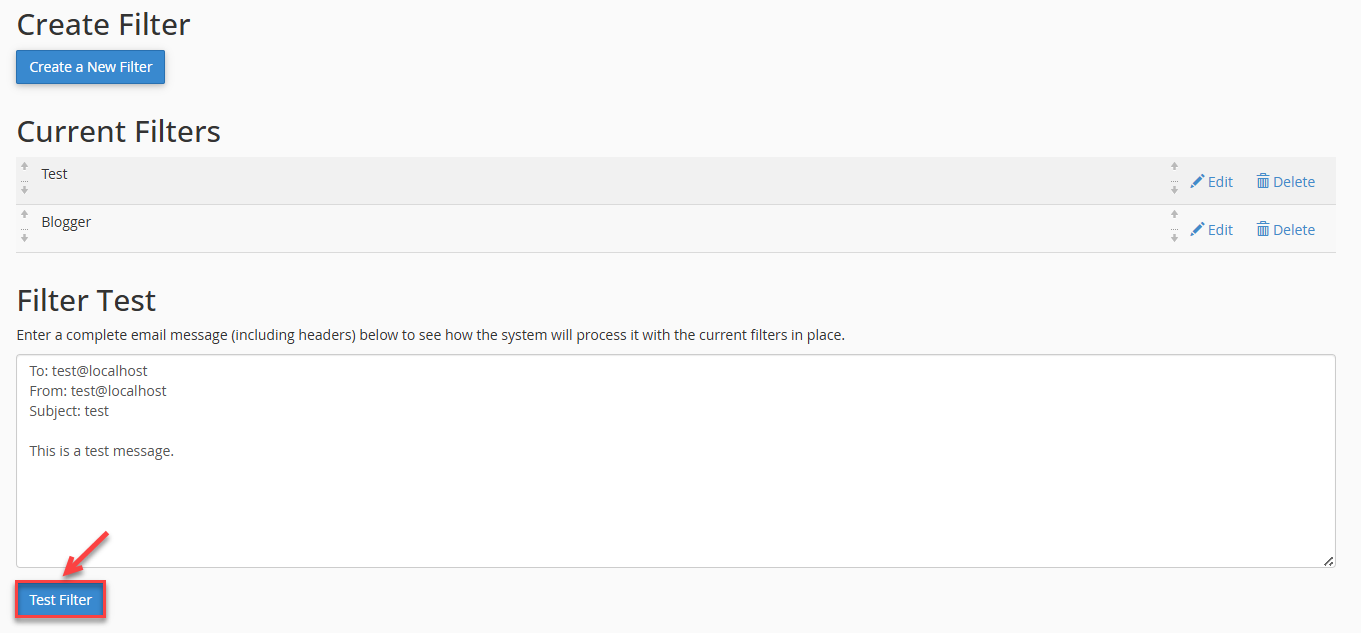
- A list of all current filters for the selected account will appear. Choose the filter you want to test, as shown below.
- Click the ‘Test Filter’ button.
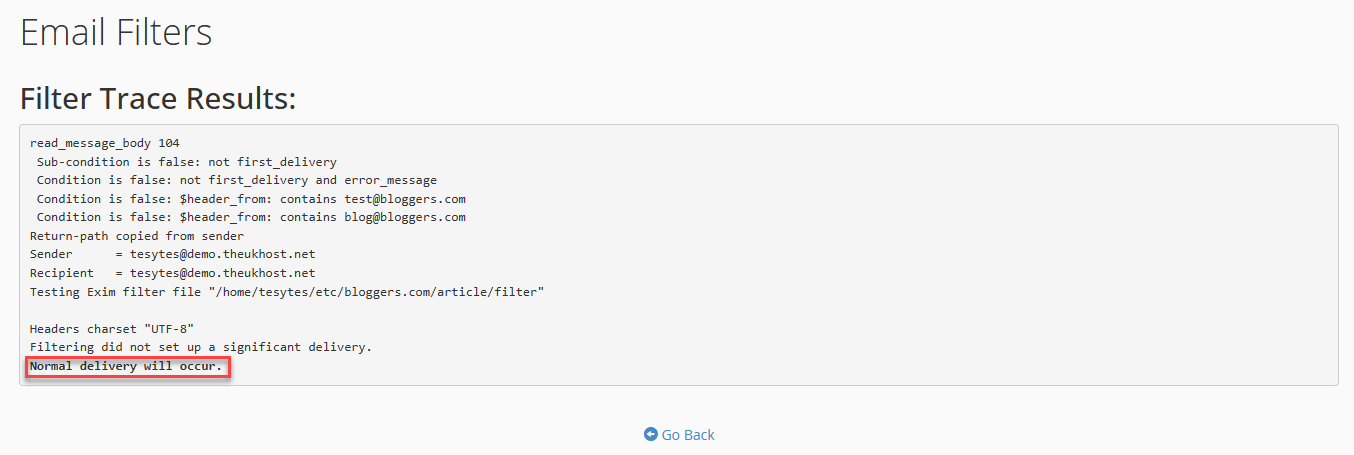
- A Filter Trace Results page will appear, showing how the filter would process incoming emails.
Expert Tips:
- Use descriptive filter names to easily identify them later.
- Test filters with sample emails before applying them to your inbox.
- Combine multiple conditions to create precise filtering rules.
Conclusion:
By following these steps, you can confidently configure and test email filters in cPanel to efficiently manage your incoming emails and keep your inbox organised. If you need any assistance, our dedicated support team is always available via live chat, ticket, or email to guide you.