The gallery function is a default function available in WordPress. Numerous image files can be added to an article which can be presented as a gallery.
Steps to Create Image Gallery in WordPress
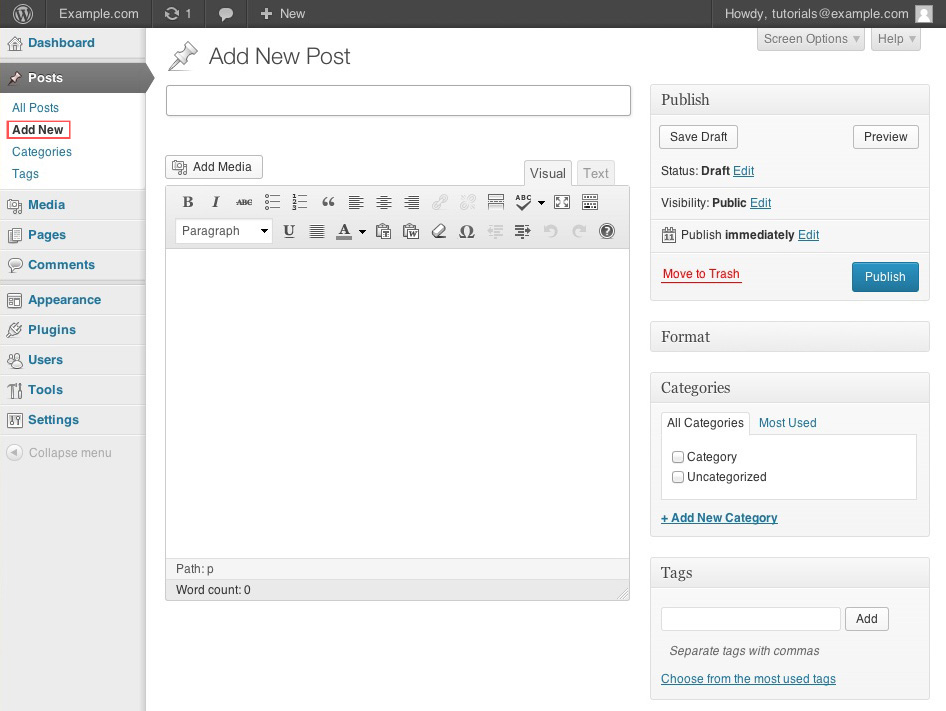
Step 1 : Assuming that you are in the admin area of your blog, click New Post.
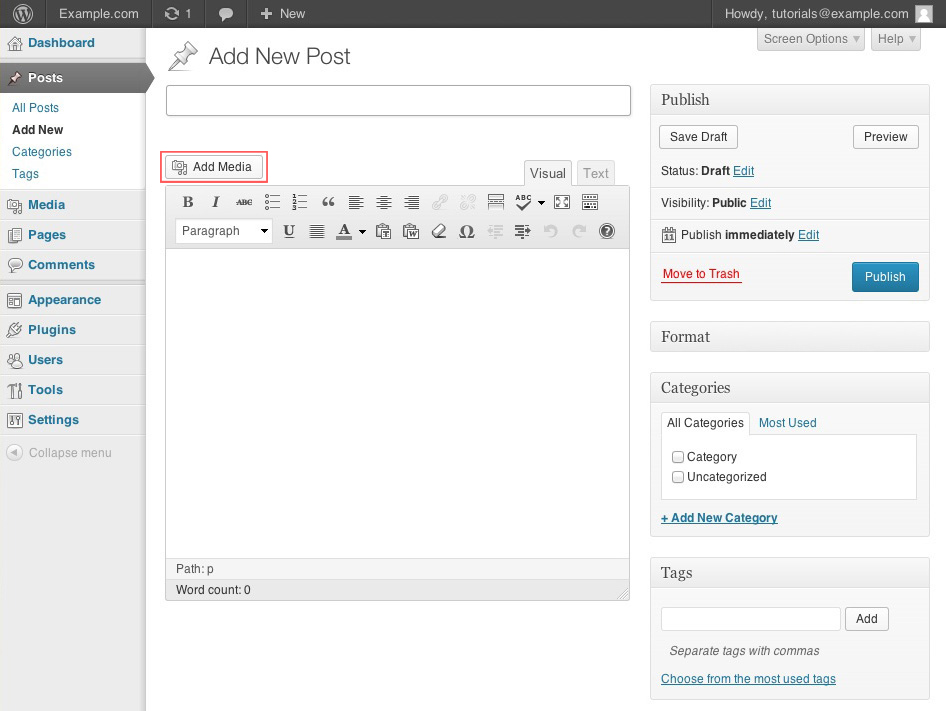
Step 2 : Click on “Add Media” button, it can be found above the WYSIWYG editor menu.
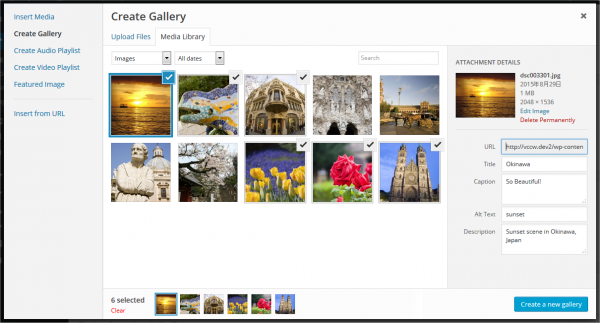
Step 3 : Proceed to Create Gallery on the left-side and add images to the gallery either by uploading images from computer or choosing images from the existing Media Gallery.
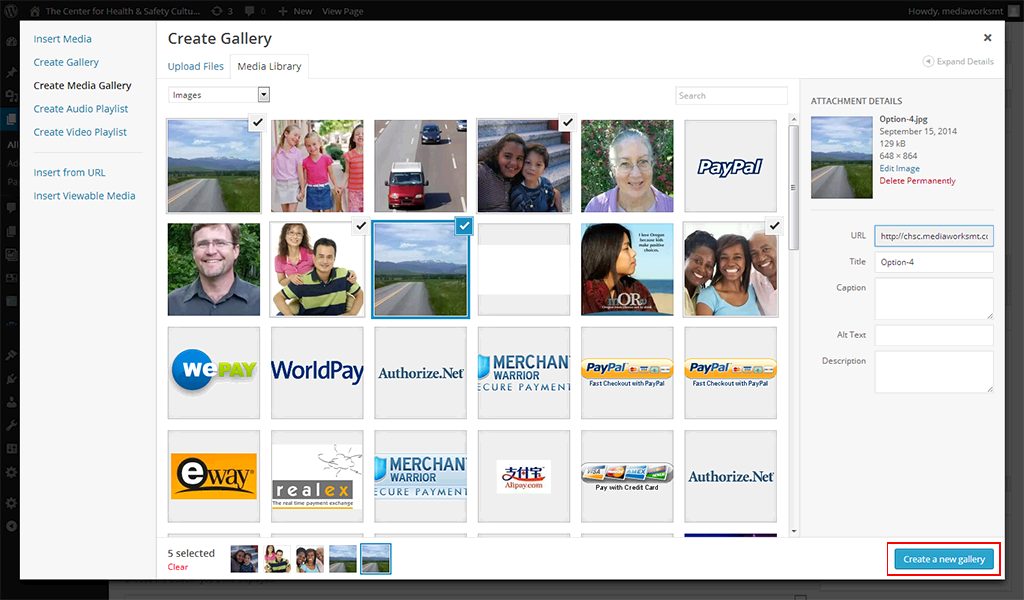
Step 4 : After selecting the images, click on the Create a new gallery tab on the bottom-right.
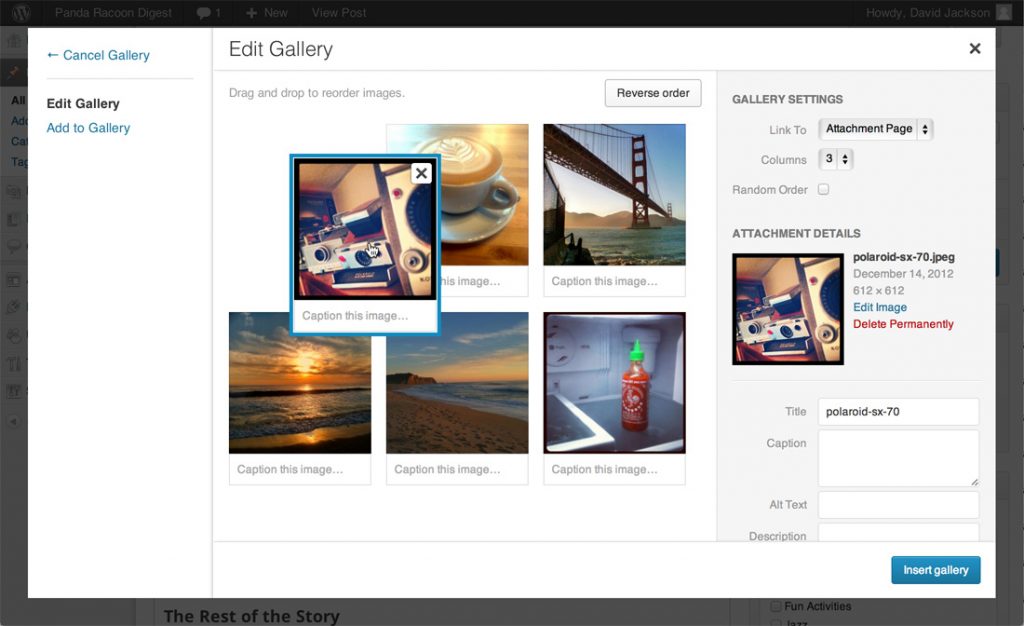
Step 5 : A new window named Edit Gallery will open where you can give a caption to your images, changes settings or rearrange the images.
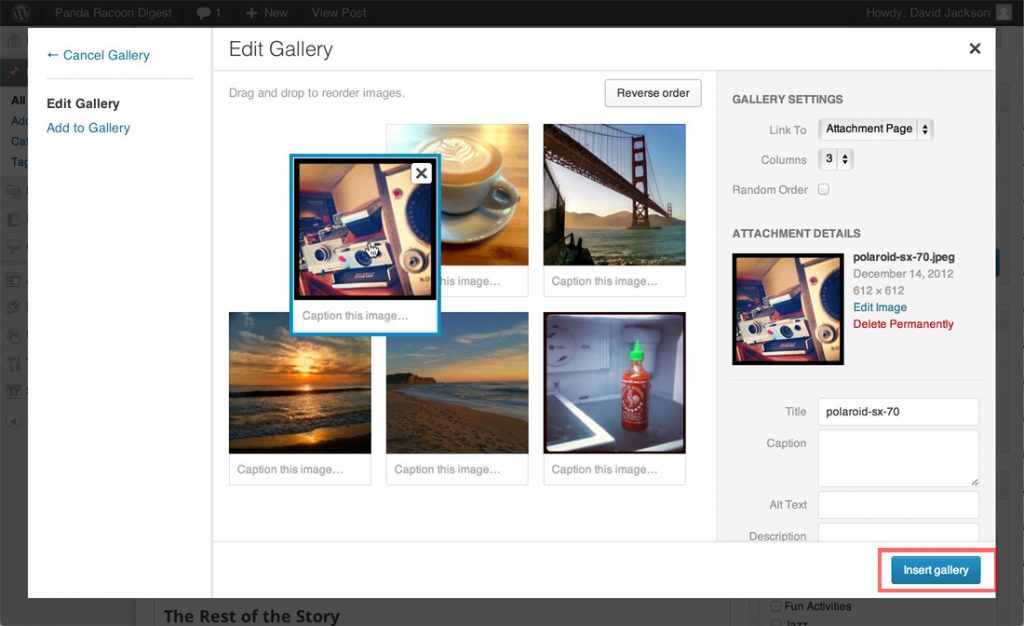
Step 6 : After rearranging the images, proceed to Insert Gallery button.
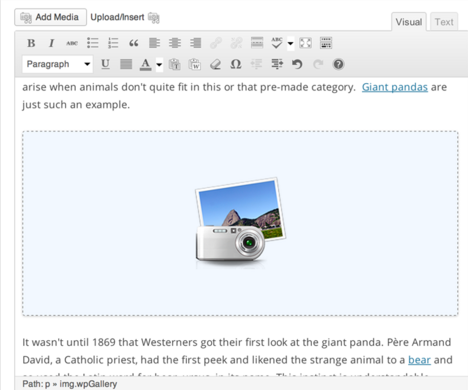
Step 7 : With this, your media uploader will close and you will see a box in post edit area indicating that there is gallery code in the visual editor.
Step 8 : Hit the Publish button for enabling others to view it.