This article explains how to download the WordPress Media Library in cPanel.
Follow the steps below-
- Log in to cPanel.
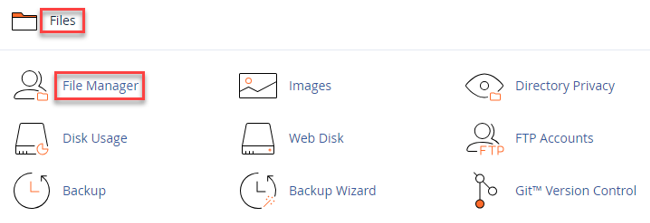
- Select the “File Manager” sub-option under the “Files” option.
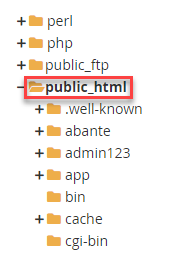
- In the File Manager, you will see a list of directories. Find the one where your WordPress website is installed. Typically, it is located in the “public_html” folder, but it might vary depending on your setup. Click on this folder to open it.
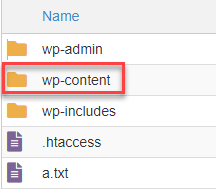
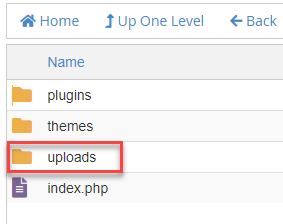
- Locate the “wp-content” folder within the WordPress installation directory and open it. Inside, you will find another folder named “uploads.” This is where all your media files are stored. Navigate to this folder.
- Once inside the “uploads” folder, you will see a list of folders organized by year and month. Open the latest year and month folder to access your most recent media uploads. You can also access previous months if needed. Select all the files you want to download. You can do this by clicking on the first file, scrolling down, holding the “Shift” key, and clicking on the last file. This will select all files in between.
- After selecting all the media files, right-click on one of the selected files and choose the “Compress” or “Zip” option from the context menu. This will create a compressed archive containing all the selected files.
- Once the compression process is complete, you will see a new ZIP archive file in the same directory. Right-click on this file and select the “Download” option. Alternatively, you can select the file and use the download option provided in the cPanel interface.
- After the download, verify that the ZIP archive contains all the media files from your WordPress media library.
That is it! You have successfully downloaded your WordPress media library via cPanel. Make sure to store this backup in a safe location for future reference or in case, you need to restore your media files.
If you want to manage your WordPress site more effectively, check out our guide on How to Configure WordPress Media Settings. It will help you configure images, videos, and other media on your site, making everything organised and easy to run smoothly.