In this tutorial, we will explain to you how to enable or disable proactive defense in Imunify360. With Proactive Defense, websites that run PHP are protected from zero-day attacks by automatically blocking potentially spiteful executions as soon as they are detected.
To disable or enable Proactive Defense, follow the below steps:
- Log in to WHM.
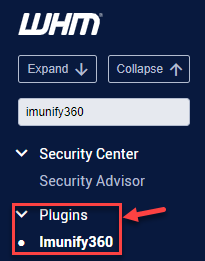
- Find the “Plugins” option.
- Click on the “Imunify360” sub-option.
- Click on the “Proactive Defense” tab.

- There are three modes of proactive defense:
a) Disabled: In this case, the Proactive Defense feature has not worked, so the system is unprotected.
In all modes other than Disabled, data is logged.
b) Log Only: By default, only possible malicious activities are logged, and no actions are taken.
c) Kill mode: The highest level of protection is Kill Mode. When malicious activity is detected, scripts are terminated.

- You can enable or disable any of the mode settings according to your need.
- For security purposes, you should always enable the “Kill Mode”.
Note: By blocking PHP scripts that contain code that could harm your website or visitors, adds an extra layer of security to your website.
Our team is available to assist you if you have any questions about Imunify360. There are many useful articles in our Knowledgebase section as well. Contact our Support team or chat live with a member of our team.
If you need to temporarily stop the Imunify360 firewall, check out our step-by-step guide on How to Temporarily Stop the Imunify360 Firewall