In this article, we will explain how to enable symlink protection through WHM.
Symlink protection is a security measure that guards against symlink attacks by validating file permissions and ownership during operations.
Follow these steps :
- Log into your WHM as a root account.

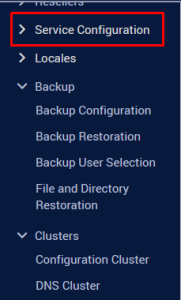
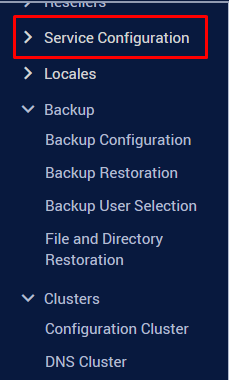
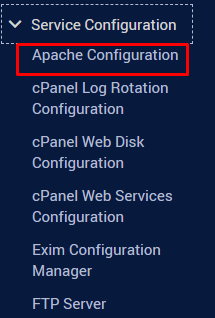
- Search for “Service Configuration”.
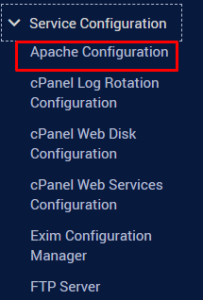
- Click on “Apache Configuration”
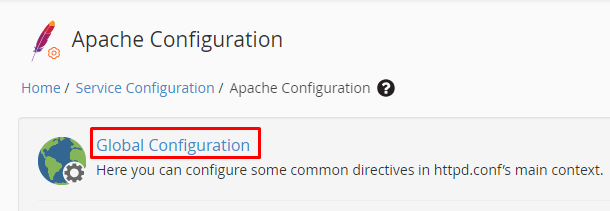
- Now, select “Global Configuration”
- Navigate to the Symlink Protection setting and select the “On” option by clicking the radio button.

- Select “Save” to confirm and save the configuration.
In this way, you can enable symlink protection through WHM. For more information on WHM, visit our knowledge base section.